This is not a new project, but a continuation of one started about two years ago. If I were to finish everything I have started, the world would probably be covered by quilts! I just love starting new projects.
This is from a class taught to our guild by Claire Witherspoon. The class was called "Scrap Strategies." It was a fun day of learning different ways to use our scraps. We all shared our scraps, piling them onto one big table, then helping ourselves.
In this square I sew several pieces of either red or blue fabric scraps together (because it's going to be a Quilt of Valor), then use a template to cut out the center shape.
 |
| Yes, this one has both red and blue fabrics in it! I know! I'll explain later. |
This is the paper template (very high-tech, right!!) used to cut out the red or blue "pieced pieces." It has rolled-up painters tape on it to help keep it from wiggling when cutting out the pieces. Obviously, a ruler gets placed on top of the paper template when making the cut.
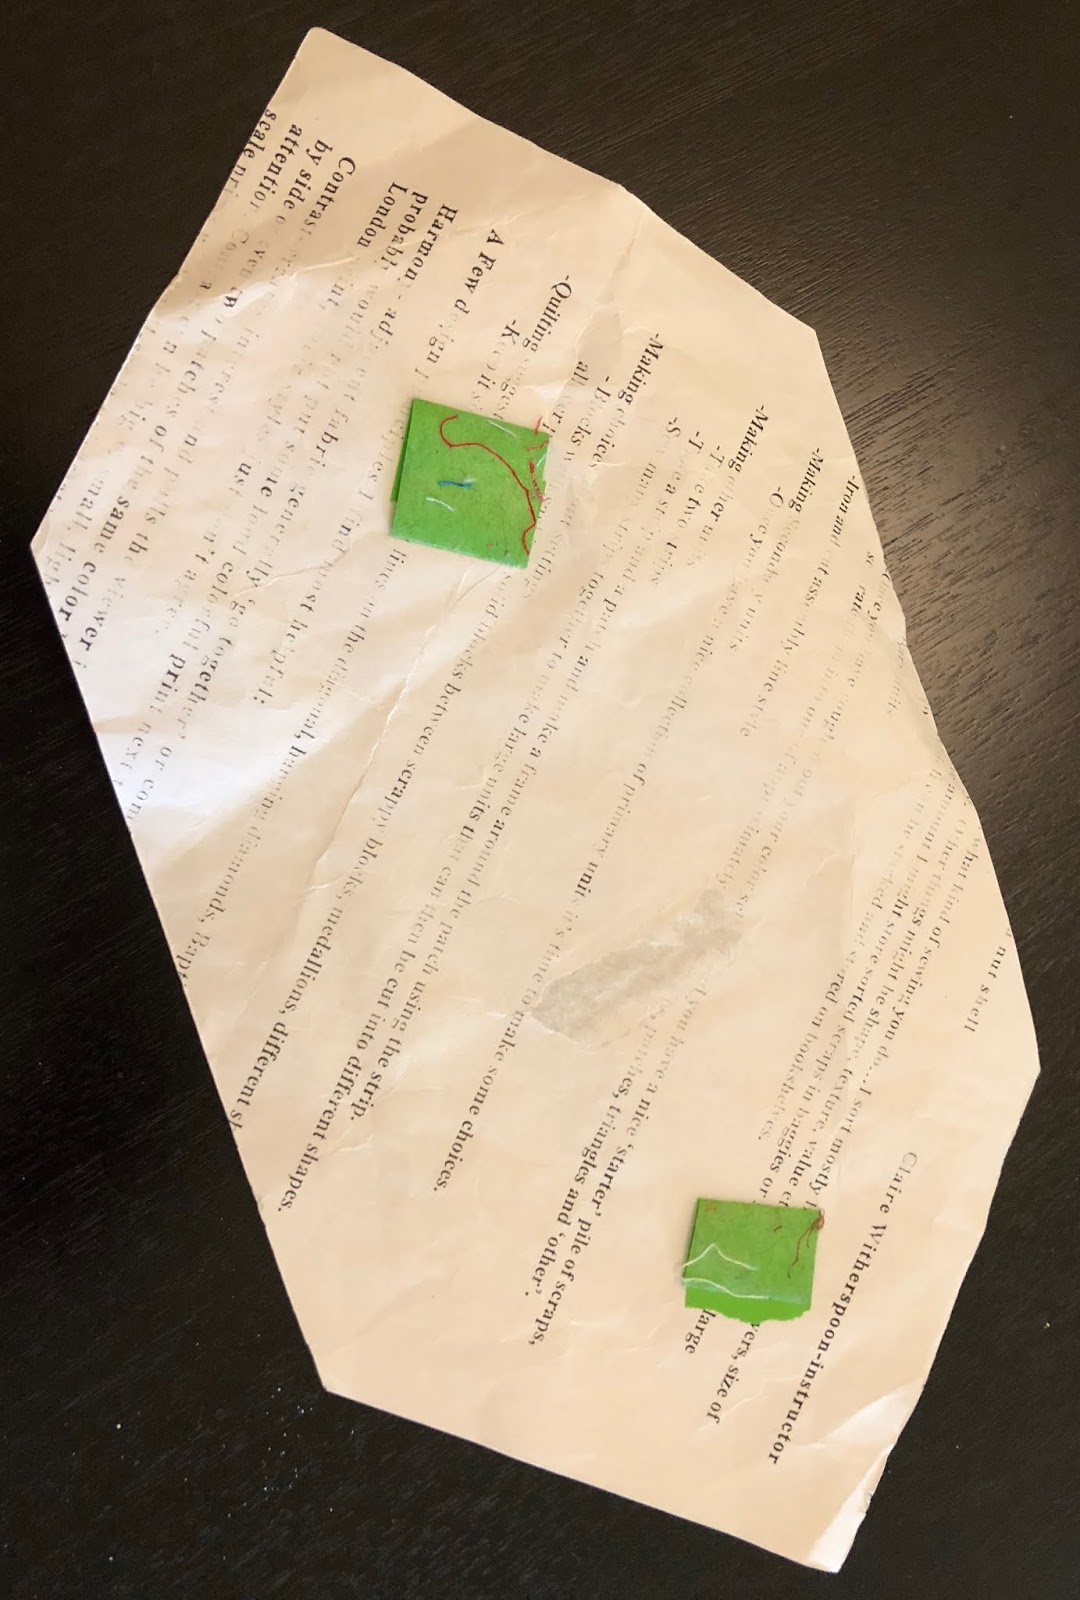
And these are the templates which are used to cut out the white pieces. (Actually, only one is needed.)

Here are some of the scraps I used for these squares. These particular pieces are leftovers from another quilting project (not sure which one), a pattern where I was trimming off corners.
And you can see at the bottom of the photo a red/light blue triangle. That's where the red and blue pieces came from! These pieces are about 4" to 7" at the longest. I don't usually have pieced triangles left over, but I just happened to have some that day.

The photo below shows how I pieced together lots of these little leftover triangles.

The next photo shows some very, very tiny pieces which are the result of piecing together lots of small pieces and trimming. Looks like I did some very intricate piecing, doesn't it!!

You can see that for two of these finished blocks, I had some quite large scraps to start with. As far as scraps go, I rarely keep anything really tiny. If I can't fold it up into a smaller square, I usually throw it away, I mean, put it in a bag for making pet beds.

This is how the blocks will get arranged, so that white-ish squares are formed at the intersections of the blocks.


