Sunday, August 26, 2018

Birkenstocks (NQR)

I'm curious.

I bought a pair of Birkenstock sandals within the last year.  DaughterStitches told me I could only wear them if I promised to not wear socks with them.


So I'm curious to know where you "stand" on the issue.  I certainly get the whole "dad-wearing-socks-and-sandals-usually-along-with-shorts" look and the objections thereto.  But if one has nice socks to wear, maybe they're "statement socks," wouldn't it be ok to wear Birkenstocks with socks?


Let me know what you think!

Wednesday, August 22, 2018

Some More Greeting Cards

I don't know if I've told you this, but I've recently started going to get-togethers of a local collage group.  A friend of mine invited me, and I really enjoy it.

Most of the other people are working on collages, and I've recently started a collage, but generally I use my time there to make cards.  They have a ton of collected "goodies" that are wonderful for collaging or making cards.  

old books to cut into
old sheet music
old photos and postcards
tons of rubber stamps
different types of papers
trims
markers
old calendars
old art books
etc, etc


Last time I took in some hexie templates, and cut some out of paper for the card in the upper left.  I thought if I could sew with hexies, maybe I could make cards with paper hexies.


For the card below I put a piece of pink fabric behind the two butterfly pictures.


Below is a really nice piece of handmade paper that I took to make into a card.  The shadows in the photo really show the texture nicely.


Here's another batch of cards I made.


I used washi tape to make this card.


Below are some examples of the beautiful old papers that are available at the collage group. 
(Some of the things are mine, too!)


This "reedy" thing looks like it is a piece of sushi roller.


I also used some laces and sewing pattern pieces.


It's a fun group, with great people, and I get lots of different ideas when I'm there.

Monday, August 13, 2018

More Aprons For TwoFish Bakery

It was time to make some more aprons for the wonderful bakers and workers over at TwoFish Bakery.  I gathered my fabrics and started preparations.  I planned to make seven aprons.  So I needed 14 different fabrics.  I put them into pairs--two that play fairly well together.  I use one fabric for the outside and its "friend" on the inside.  And the aprons are therefore reversible.

Most of these fabrics had been bought with aprons in mind when I found them on sale for $3.00 per yard.  (What a deal, right!?!)

Here you can see that I traced the paper pattern onto interfacing.  I've used it enough times that it is getting very worn.  Making this copy was a very good idea.  You can see that it is Kwik Sew pattern #2311.  It takes one yard of fabric for each side of the apron.


I worked on this project assembly-line style.  First I cut out the two fabrics at once (4 layers of fabric, with the pattern laid on the fold.)  

I took all of the pocket pieces and pinned them together. Then sewed them all together.  Then turned them all right side out.  Then pressed all of them.  Then pinned them all onto the apron pieces.  This worked way better than making one apron all the way through at one time.


Here are all the straps laying together.


And here is the big pile of finished aprons before they got ironed.


 And here they all are, one at a time.  This might be a little boring, so you can go through them quickly if you want!

Beautiful Kaffe Fassett fabric!

A pretty, "retro" fabric.

This "garden" fabric is leftover from BabyStitches quilt.

The beautiful Kaffe fabric again, paired with a different print.

A light and pretty floral. 

This paisley and check are both rust colors--almost brown.  They go together so well.

And this bold black floral print.
Here all seven are draped over the chair at once!


And stacked up. . .


. . . and showing the contrasting pockets.


A good job finished.  It is very rewarding to make these aprons, because the recipients like them so much!

Monday, August 6, 2018

How Long Does It Take To Make A Potholder?


Or
Why It Seems I Never Finish Anything
This first photo shows what I started with this morning.  A quilt sandwich for a potholder, all cut and pin-basted together.  Ready for a little free motion stitching, and then finishing up.  Oh, and I also had the binding strips already cut.  Not sewn together, but at least cut out.


So why did it take so #(%&;@"?#*{$@ long to finish?!?


First, of course, I got a practice quilting square.  And I changed my sewing machine foot to a quilting foot.  I tried a few designs, checked my thread colors, etc.  Eventually, I decided I'm not very good at free-motion designs this morning; think I'll use some straight-line quilting.  So I changed back to a regular quarter-inch foot and engaged my walking foot.

I was having a few thread issues, so I decided it was time to clean and oil the machine, and replace the needle.  Boy, was I right on this one!!  Lots of linty fuzz came out of the machine.  Necessary, but more time spent.
I got the binding strips sewn together and pressed in half with no problem.  I decided I needed to make a loop on the potholder, but wasn't sure what size to make it.  I ended up cutting a strip 1 1/2" wide, folded it in half, then folded the sides in to the center and stitched it.  These are the leftover pieces.  It was a good size!


I decided to do cross-hatching on the potholder, one inch apart.  So I made a chalk mark from one corner to the other, then used a handy drawing guide to draw one-inch lines all across.

I sewed all the diagonal lines, then realized that I'd forgotten the hanging loop!  So I sneaked it in on a corner where I hadn't done too much stitching yet.  All is good.  Then I marked the crosswise diagonal lines and sewed them.

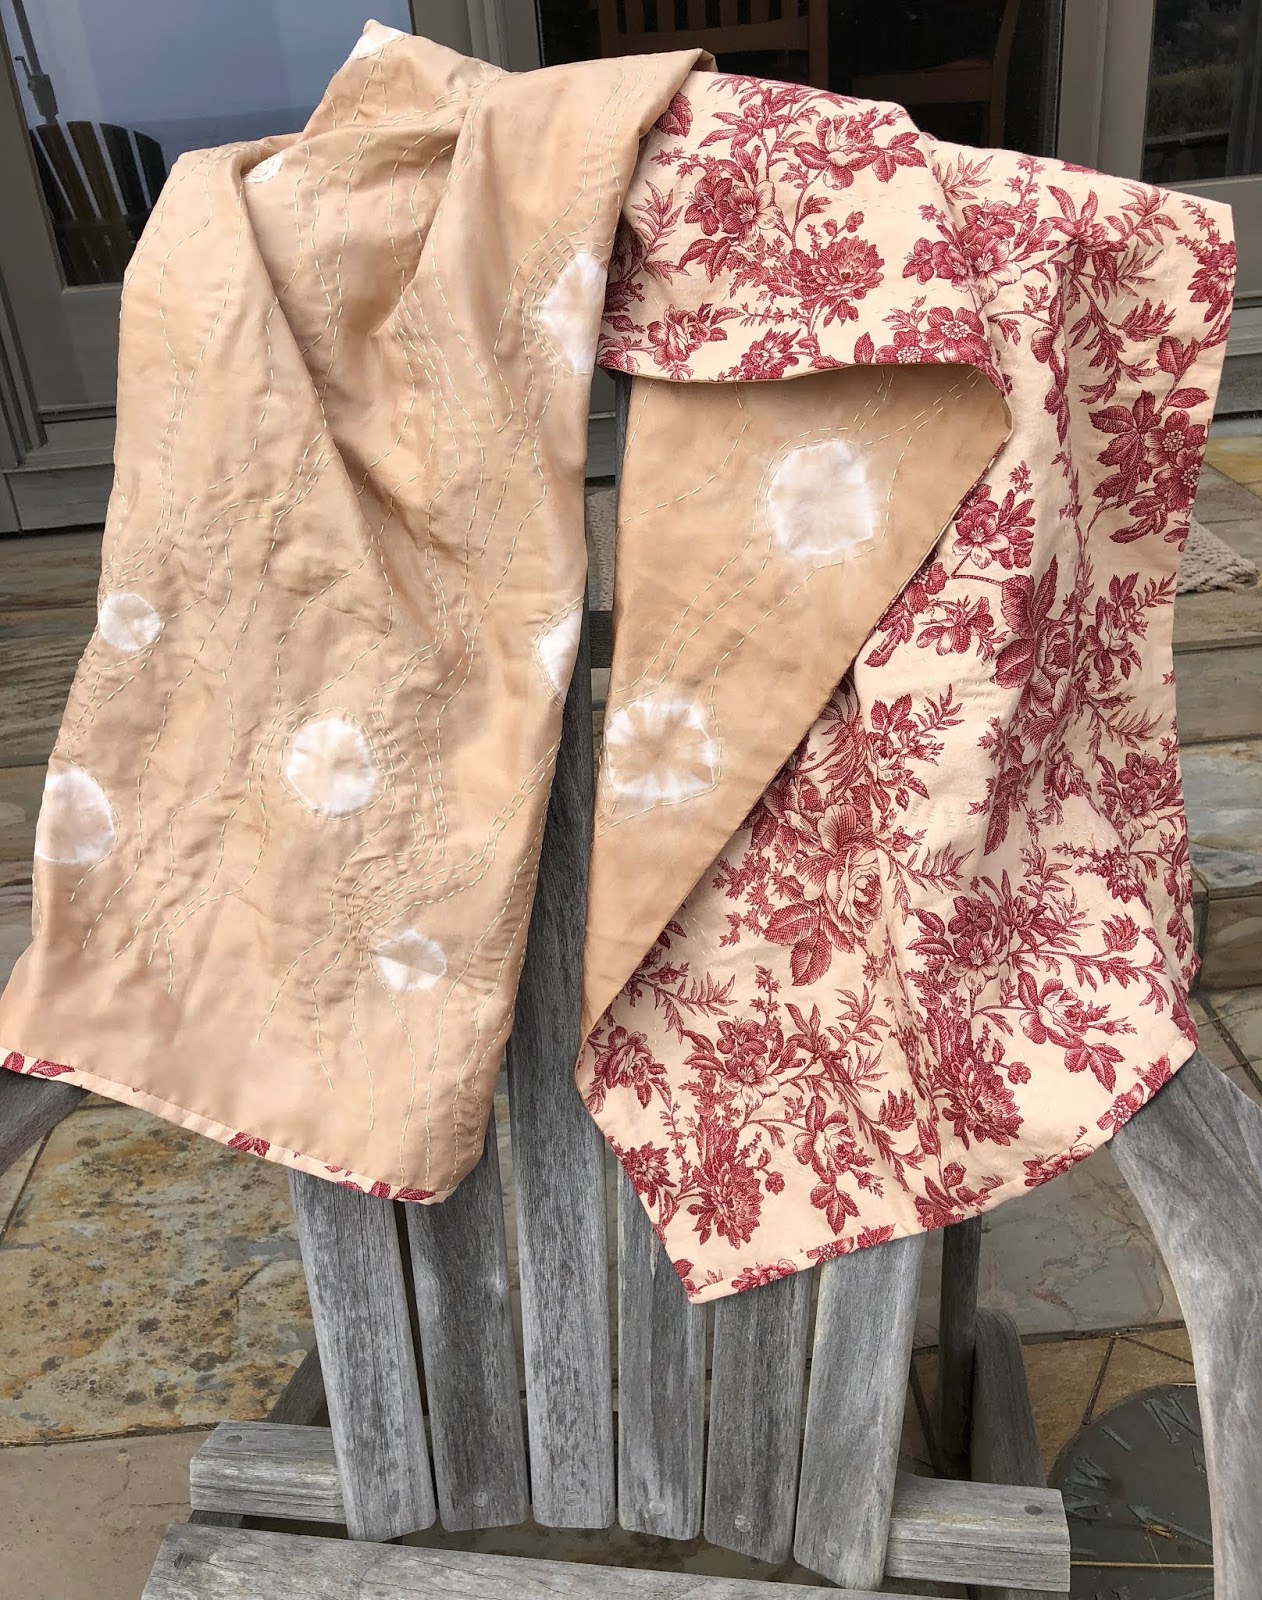
"Back side" of the pot holder.


Next I was left wondering how I would put the binding on, with that loop sticking out???  Okay.  Ripped out the loop, and realized I need to sew it on as part of the binding, not before the binding.

Now, finishing the other side of the binding.
My little Clover clips seemed like the perfect thing for the job, so I grabbed my little triangular container (thank you, SisterStitches!).  Where are all my clips?  Must be in some project bag somewhere.  Fortunately, there are enough for my use today. 


And finally, several hours later (I'm embarrassed to say how many hours), I have an approximation of a pot holder finished.  Even the little loop looks close to right! The photo is at an angle, which is why it resembles a parallelogram, not a square.  But I swear, it really is square!


Oh, and yes, that is marijuana fabric.  It's a POT-holder.  Get it!?!

Wednesday, August 1, 2018

Hand Stitching On A Scarf

Way back here I talked about the scarf I started with a piece of shibori dyed silk.  I decided that I finally had enough of the sashiko-style stitching on it, and was ready to finish it.

I used a quilt binding to enclose the ends.  However, I cut the two strips only 1 1/8" wide, because I neither needed nor desired a sturdier binding.  I ironed over 1/4" along the long side, and folded over the short ends.  

Then I sewed the unpressed side of the strip to the end of the scarf. . . 


. . . and ironed it over the cut edges.


Then I simply folded the binding over the raw edge and hand-sewed it down.


All finished! 


I am fortunate enough to have GranddaughterStitches here to model the scarf for me!


 The final dimensions are 21" wide by 64" long, a pretty good size for a scarf.