Showing posts with label binding. Show all posts

Friday, June 5, 2020

Scrappy Strippy Star Quilt (Part 3 the final)

It's finished!!
Binding, hanging sleeve, label, everything!!


Part 1 of this blog post is here.  And the second part is here.

 It was a windy day, so it's not an optimal photo.  But MisterStitches did a valiant job of holding up the quilt in the gale.  And it shows the quilt!  I'm really happy with this quilt.


Here you can see some of the (minimal) quilting.  I just meandered across the quilt in long undulating curvy lines.  Super simple.  I didn't want dense quilting, because I don't want the quilt to be too "stiff."


When I got to the border I wanted to do something different, so I chose another wiggly design, which almost (but not quite) looks like grass. 


Here is a close-up.  As you can see, almost (but not really!) grass.


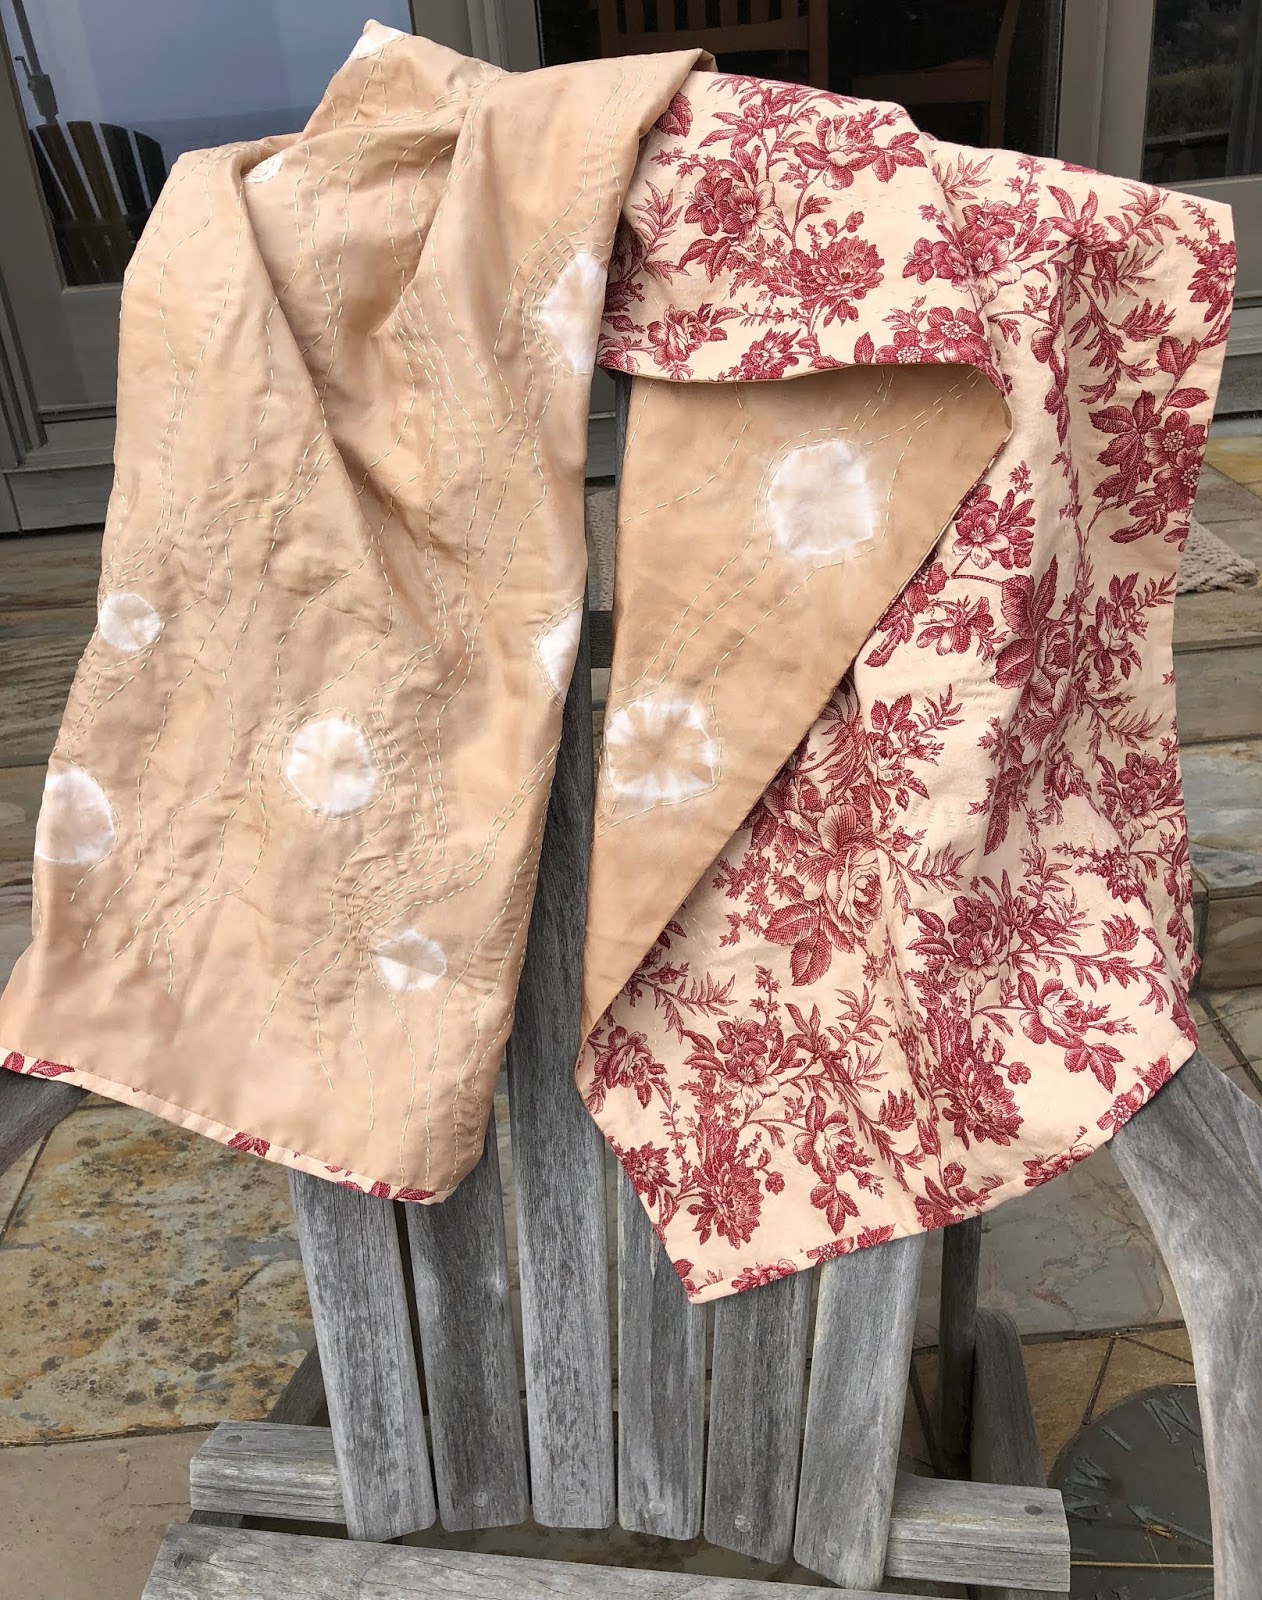
And here is the back of the quilt.  The Kaffe Fassett fabric is in the center, with more strip-pieced scraps on the sides.


Isn't this KF fabric pretty!  Now that I've used it, I'm almost sorry that I put it on the back of the quilt, instead of using it for a front of a quilt.  But, on the other hand, I really like to have pretty quilt backs, and this one is very pretty, I think.


Since the quilt is so big, I made a split sleeve for it.  Now I just have to find a dowel that is long enough for it!


I've named it "Scrappy String Star Quilt."  I know.  Not very elegant or creative!  
But it does the job.
Git 'er done!

Wednesday, August 1, 2018

Hand Stitching On A Scarf

Way back here I talked about the scarf I started with a piece of shibori dyed silk.  I decided that I finally had enough of the sashiko-style stitching on it, and was ready to finish it.

I used a quilt binding to enclose the ends.  However, I cut the two strips only 1 1/8" wide, because I neither needed nor desired a sturdier binding.  I ironed over 1/4" along the long side, and folded over the short ends.  

Then I sewed the unpressed side of the strip to the end of the scarf. . . 


. . . and ironed it over the cut edges.


Then I simply folded the binding over the raw edge and hand-sewed it down.


All finished! 


I am fortunate enough to have GranddaughterStitches here to model the scarf for me!


 The final dimensions are 21" wide by 64" long, a pretty good size for a scarf.

Saturday, April 2, 2016

Spring Training 2016

MisterStitches and I took our (seems to be) annual road trip to Scottsdale, Arizona for Giants spring training.  We had a great drive down, listening to Strangers on a Train by Patricia Highsmith.  You may have seen the old Alfred Hitchcock movie by the same name.  The movie was based on this book.  


The next day I took a jeep trip to the Sonora desert, a little ways outside of Scottsdale.  That was fun!  Hot and dusty, as one would expect.  I learned a lot about cacti and desert animals and desert life.

And of course, we went to baseball games.  We were able to go onfield before one game and watch the Giants take batting practice.  It was really cool to be on the field, so close to the players.


Brandon Crawford (on the right) is one of my favorite players, in addition to being one of the cutest!  Joe Panik isn't too bad either!


MissesStitches and Hunter Strickland.
I got to have my photo taken with Hunter Strickland, one of the relief pitchers.


MissesStitches and Mac Williamson
After the next game we got to go on the field again, and I had my photo taken with Mac Williamson.    He also autographed my baseball hat.  Pretty nice guy.


With all this time in the car, I was able to get some hand-sewing done.  I hand-sewed the binding on my president's quilt, a good job done.


I can only show you a glimpse of this project, as it is for our guild challenge show in May, and I'll show you the whole thing then.  I was doing needle turn appliqué on this piece.


And here are a few Christmas ornaments that I made.  While at home, I did the pre-work of sewing two circles together.  Then in the car I sewed the openings shut, and folded up the sides to form these ornaments.


Tuesday, April 17, 2012

"Placemats" or "Practice Quilting"


I completed a set of four placemats for our table.  These were practice quilting pieces.  I started them in a machine quilting class I took from a great teacher in our guild.  (See earlier post here.)


I chose a wild, multi-colored fabric, which should be good for not showing stains!  I was hoping it would be forgiving with my free motion stitching, too.


I tried out lots of different quilting designs on these placemats and had a lot of fun with them.

Then I decided to try binding them completely by machine.  I've read of a couple different ways to do this.  I sewed the binding to the back, then folded it around to the front of the placemat.

Select stitch #4.
I used a wavy stitch, which is number four on my Bernina.


Here is what it looked like on the back.  I sewed very, very close to the edge of the binding.


And here it is on the front.  I assumed it was going to overlap my binding edge like that, and I'm ok with that.  The only problem I had was with some uneven stitching.  When the machine was taking the stitches on the binding itself it was fine.  But some of the stitches off of the binding, onto the other fabric, had large stitches, which means some were being skipped.  Maybe it was the unevenness of the levels of fabric.  But it seems to me like it should have been more consistent.  

I'll try machine binding again some day.  But I have a few issues to work out with it first!

But for now I have a new set of great placemats!  And some worthwhile practicing.