Several years ago I started a sashiko embroidery piece in a class with Sylvia Pippen. Like a lot of my sewing, it got put away half-finished to be discovered at a far distant time.
I came across it and decided to finish it, as there wasn't very much more to do on it. And as I was working on it, I realized that the pretty blue mottled fabric (in the center below) was very similar in color to our guild's challenge fabric for this year (the outer fabric below).
I decided to frame it with the challenge fabric and finish up the wall hanging. Dear Daughter-in-law-Stitches was visiting us, and since she has such a good artistic eye, I got her input on my borders. We agreed that a thin white border and slightly bigger black border would work well inside the blue fabric. The white brings out the white stitches, and the black helps "tame down" the brightness a bit.
This photo shows the fabric auditioning process.
So I made the strip sets and sewed them onto the wall hanging to make a mitered border.
Here it's all laid out with the borders sewn on, ready to be mitered.
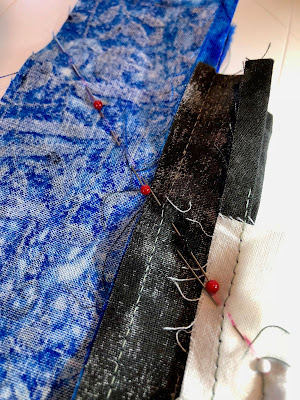
You can see a little bit of the diagonal line I drew to mark the 45 degree line, and then I added pins to stabilize it while I stitched it.
The front is finished!! I did very minimal stitching on this, with a solid line 1/4" inside the white border, and some wavy stitching (#4 on the Bernina) in the outer blue border. I may return to it and use blue thread to make a hand-quilted circle just outside the white embroidered circle.
Here it is all put together. I debated about blue or black for the binding, but chose black to make a good stopping point for the eyes. Now it is all ready! I even have the label and hanging sleeve sewn on!!


No comments:
Post a Comment