Showing posts with label Empty Spools Seminars. Show all posts

Friday, December 14, 2018

The Final Journey--A Quilt

The theme for our guild's challenge this year was "Journey."  My immediate thought was "the final journey," or death.  (I'm not always so macabre, I promise!!)  And what better way to show that, I thought, than "the light at the end of the tunnel."  So I googled that phrase and found these two representations, which I thought were perfect.


And I knew just what method I wanted to use to show my idea.  I learned this method back in 2015 in an Empty Spools class at Asilomar.  And I blogged about the quilt I made back then here.

 So I started cutting fabric confetti.  This is a very simple process.  Simply lay a piece of fabric down on the cutting mat, then cut random up and down strokes with the rotary cutter.  After that, cut random horizontal strokes.  You end up with confetti!


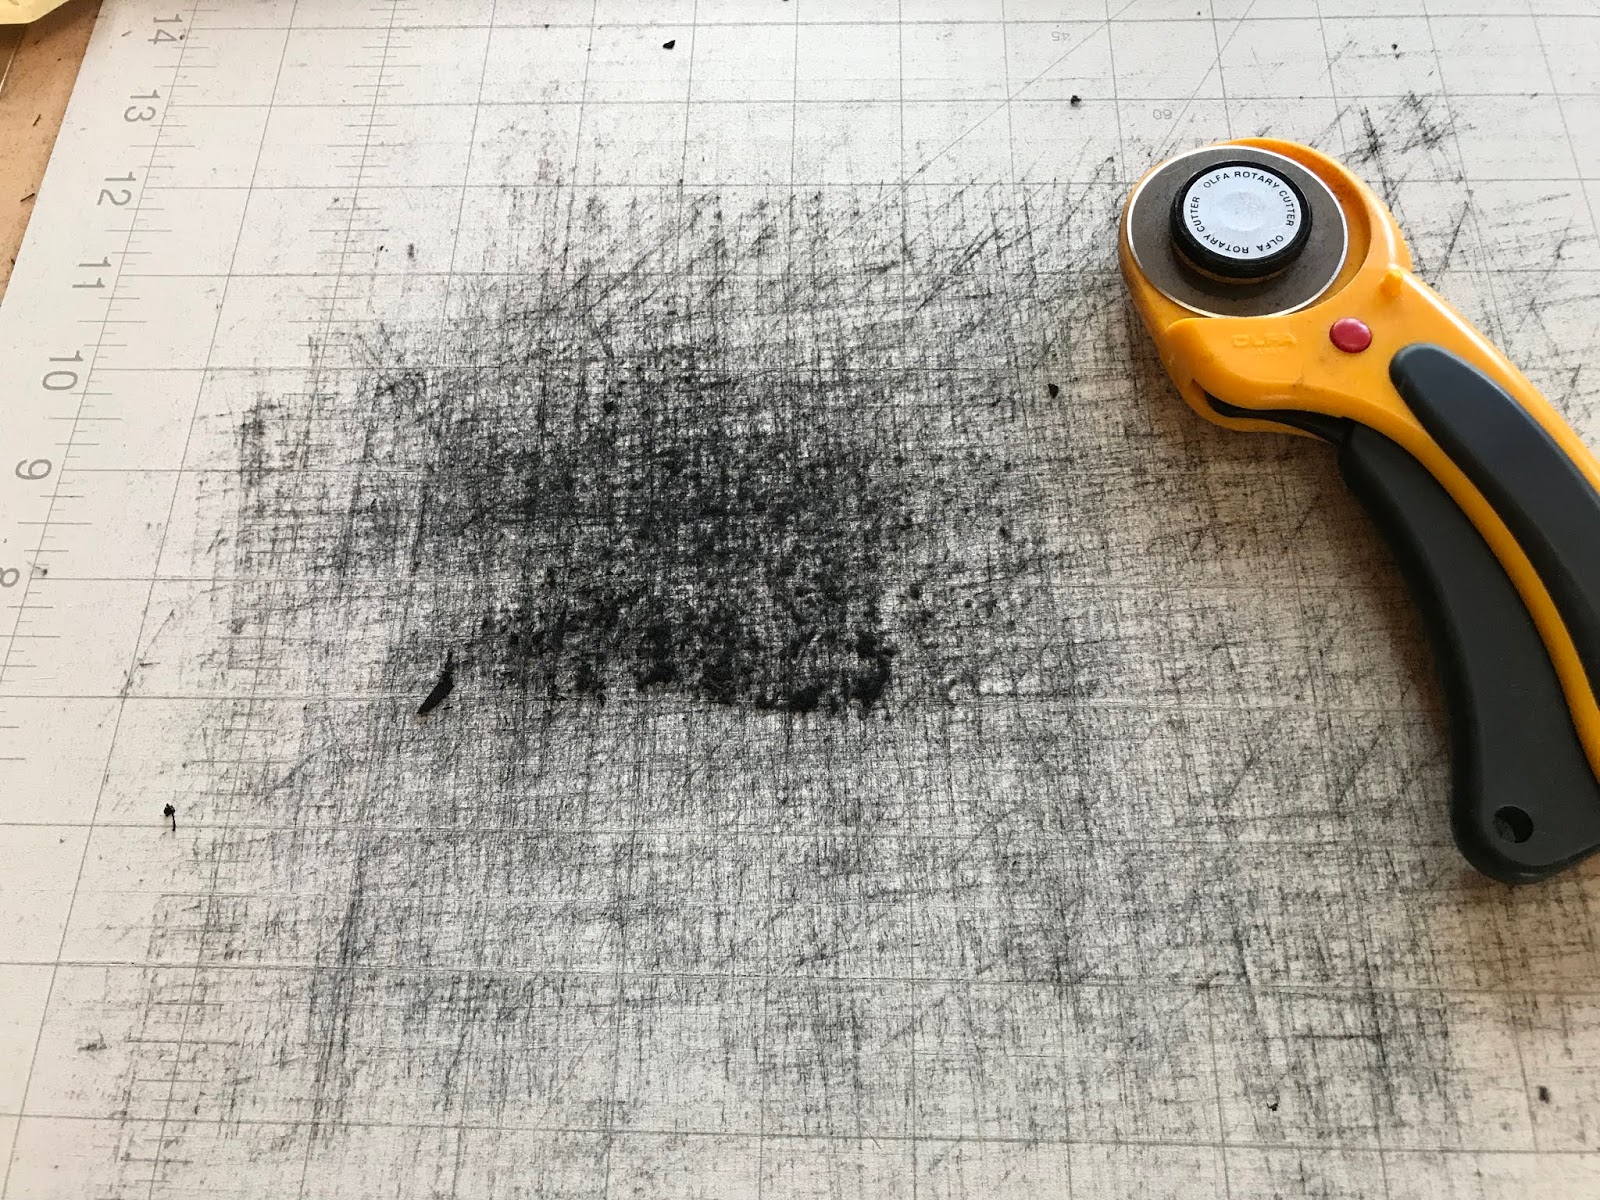
Maybe it wasn't a wise choice to cut the black fabric on a white cutting mat.  Uh-oh!


The plastic bags are kind of shiny and distorting, 
 but this shows some of the different colors of fabric that I cut into confetti.  I must add that with a lot of these, I had to get out more fabric and cut more confetti, as I ran out when I was building the design.


Finally I'm starting on the design!  Using the photo as a suggestion, I started laying down different colors of confetti fabric.  I started with the lightest colors and worked my way out to the edge.  (I have my backing fabric taped to the table, wrong side up, and then that is just batting laid over it.)  The confetti pieces stick pretty well to the batting.  Although I would not do this in front of an open window on a windy day!

You can see that m&ms are sometimes required when doing this!

Here is a close-up of some of the lighter pieces.


And this is what your floor looks like--even on a good day!!


Here I've made quite a bit of progress.  I just kept adding more fabric bits in a circular design.


You can see how the color gradation is changing as I get to the darker colors.  I wanted the light center to be off-centered on my quilt.


I pretty much have the whole piece filled with fabric bits in this photo.  Now comes the fun part!


A piece of black tulle gets laid--Very Carefully--on top of the whole thing.  Pretty sure MisterStitches helped me with this part.  Because once you lay the tulle down, you really don't want to re-position it.


And then came the fun part of safety pinning the living daylights out of it!  The pins have to be placed very close together so that the fabric pieces don't shift.  And yet, you can see that the fabric has shifted some; the white batting is showing through.  That will get taken care of with the quilting.

I know I used every safety pin in my house, and then borrowed some from a friend for this!


This photo shows the quilting.  While I'm quilting, I need to stop every so often and use a long pin to reposition some of the fabric pieces that have migrated.  This is the part where it gets quilted oh-so-heavily, to hold down all the little pieces.


When the quilting was all done, I hung it back up on the wall.  Wow, it really looks different from this angle!  Instead of laying on a table top!  


But now you can see a problem I had.  That white batting really looks awful.  At this point, I thought that maybe I should have used black batting, but that would have shown through the lighter fabrics, probably.  Not sure.  Maybe I should have used white batting for the inside circle and then black batting to fill in the outside edges.  That might have worked.  

What I did here was to take a sharpie and color in all the side parts of the batting.  
This. Was. Not. A. Fun. Job.


Another part of this challenge was that we had to use at least a five-inch square of a particular blue fabric.  I pondered how I was going to achieve this!  But then I simply cut the five-inch square into confetti.  I spread the little pieces around in the outer black part of the quilt.  And it worked!  In fact, I really like the effect. 


Here is a close-up of the little blue specks.


The final product.  About 36" by about 36".


I should maybe add a p.s. here at the end.  In May of 2017 I fell and broke my left arm.  That really hampers sewing and quilting!  I already knew this because I had broken my left arm in 2007 also!  But this type of "quilting" was very easy to do with just one (dominant) hand.  All the cutting of the confetti used just my right hand.  I started placing the confetti on the batting with just one hand.  Then I needed two hands for basting and quilting, and my arm had healed by then!

Tuesday, April 10, 2018

Asilomar 2018

I went to Asilomar again a few weeks ago, to attend Empty Spools Seminars.  This time my teacher was Louisa Smith, and her class was called Strips and Curves.  So, of course, our class was known as the strippers!  Oh, what a fun class, having nothing to do with stripping!!

In preparing for the class, I first chose a focus fabric, which is the large floral Kaffe Fassett in the foreground of the first photo below.  Then I pulled as many fabrics as I could find in my stash that even remotely went with that fabric.  Those are swatches that I've glued onto a piece of paper next to the focus fabric.  At the last minute I also threw in a set of 1/2 yard cuts of turquoise fabrics that I found.  Really glad that I did.  


Our class instructions (before we arrived at class) said to cut one or two 1 1/2" strips from each fabric.  So here are all my strips, plus the turquoise ones I cut later, during class.


Louisa then played with my fabric strips.  She grouped all the purples together, the aquas, etc.  She also took into consideration hue, making a pleasing "array" of the strips, so they all flowed nicely together.  I pieced all of these strips together, the result of which was a new "fabric" consisting of one-inch (finished) strips.  You can see in the photo below how nicely the turquoise/aqua strips play together and show up the tiny bits of that color in my focus fabric.


I have to say, sewing all of these strips together was not a piece of cake!!  Each seam had to be pressed open, so the new "fabric" would lie flatter than it would with seams pressed to one side.  

A couple years ago I made for myself a "gizmo" to help with pressing seams open.
Here it is.  I don't even know what the tool is called, but I know a quilting tool exists which is shaped like this.  At the time, I needed one NOW!  Living in the boonies as I do, I decided that I could make one; it's fairly simple.  


This tool is like a wooden dowel that has been sliced in half length-wise.  So I went to my local hardware store/lumbar yard and asked if they had any half-round molding, which is what this shape is called.  No, they didn't, but they did have quarter-rounds.  So I bought a strip of that, and they cut it into two equal lengths for me, about 17 inches long.  

 This photo shows the end of the thingy, and you can see that there are two quarter circles, which I glued together with wood glue.  


Then I covered the whole length with a strip of batting, then a piece of muslin, which I glued on top of the batting.  When it's lying flat side down, there is a nice curved surface on top.  That is a big help when pressing seams open, because the seam line lies on top of the "hill" and is very easily pressed open. I needed this when I was making Disappearing Four Patch blocks.  Those have a lot of intersecting seams, so it's a good idea to press them open.  


Flat side (bottom) of the pressing tool.

Anyway, I knew I would be pressing seams open, so I wanted to take my pressing tool to Asilomar with me.  I thought of it in the middle of the night. . .  You know the story:  completely forgotten!  (BTW, I've since decided that in the middle of the night I should send myself an email if I have an idea about something.  I don't have paper and pen beside my bed, but I do have my phone charging.)

So I forgot to take the pressing tool with me.  That would have helped a lot, but I managed to get things pressed flat.  

Louisa Smith has created a set of curved cutting templates.  We proceeded to create blocks by cutting pieces of our focus fabric, pieces of our strata (sewn together strips), and pieces of some of the accompanying fabrics.  In the photo below you can see the large piece of focus fabric making the curve in the top left of the block.  Then I used one of the templates and cut a piece of my strata to put next to the focus fabric.  I used the turquoise part of the strata, so there would be nice contrast between the two pieces.  The "spikey" piece made up of bright pink and turquoise fabrics, the next curved arc, was paper pieced.  Louisa has also designed paper piecing diagrams as another way to combine fabrics.  And the small flowered piece in the lower right of the block is one of the fabrics from the strata.


The rest of the week's class was devoted to putting together pieces like this.  Although it sounds simple, it can be very tricky to find the right template to use when cutting the next piece of fabric.  As anyone who has done curved piecing and/or drunkard's path blocks knows, those two fabric edges do not look like they will fit together.  But they do!  

We used our design walls, and moved pieces here and there, trying to find the best arrangement of blocks.  Below is a photo of my design wall during the process.


Here is my group of 20 blocks which I ended up with.  They are not sewn together in this photo.  Some of the individual blocks are not even sewn together into the blocks.  I used many, many pins to secure the blocks to my piece of white fabric piece (which covers the design board), in order to transport them home with some sort of order!  I also took a lot of photos before I left.  I rotated the photos to decide which configuration looked best to me.  


Now I'm working on sewing together the pieces of my blocks, then I'll sew the blocks together.

This has been (is being) a very fun thing to do.  I learned a lot from this class.  Louisa Smith is a great teacher, and I recommend taking a class from her if you ever get the chance.


Wednesday, May 25, 2016

Asilomar 2016 - Ann Shaw

I went to Asilomar Conference Grounds again this year to attend Empty Spools Quilting Seminars to attend Ann Shaw's class.  She teaches the Ruth McDowell style of quilt-making, as Ruth is no longer teaching.  I wasn't familiar at all with this style, although I had heard of Ruth McDowell.  I looked at the quilts on Ann's website.  Lots of animal quilts using lots of little pieces of different printed fabrics as a sort of collage.  Looked pretty interesting.

There I was, in my studio, packing up all my things for this class.  I had the class supply list that Ann had furnished, which had the {helpful} suggestion to bring LOTS of fabric--all different colors and prints.  But no solids.  At least I could rule out the solids!  I was checking things off the list, and getting down to the bottom when I realized that there was no fusible listed.  I double checked the list, but found no fusible required.  I thought maybe Ann had her own brand of fusible that she wanted us to use, and would furnish it for us.  

Boy, was I surprised when I got to class!  I saw Ann's quilts up close--beautiful, by the way--and heard her introductory remarks about making these quilts.  And then I realized that we were expected to actually sew together all these little blankey-blank tiny pieces!  I couldn't believe it!

Ann Shaw, instructor at Asilomar/Empty Spools.

Above is a photo of Ann.  Not the best picture, but we'll call it an action shot.


My original photo of California Poppies.
After a long process, I finally ended up with the pattern that you see below.  We traced our original photo onto tissue paper, divided it into sections and sub-divided it into pattern pieces for every little color change.  Each section, no matter how tiny, was numbered A-1, A-2, B-1, B-2, etc, etc.  Enlarged it by 300%, traced the pattern onto freezer paper, and ready to use templates.


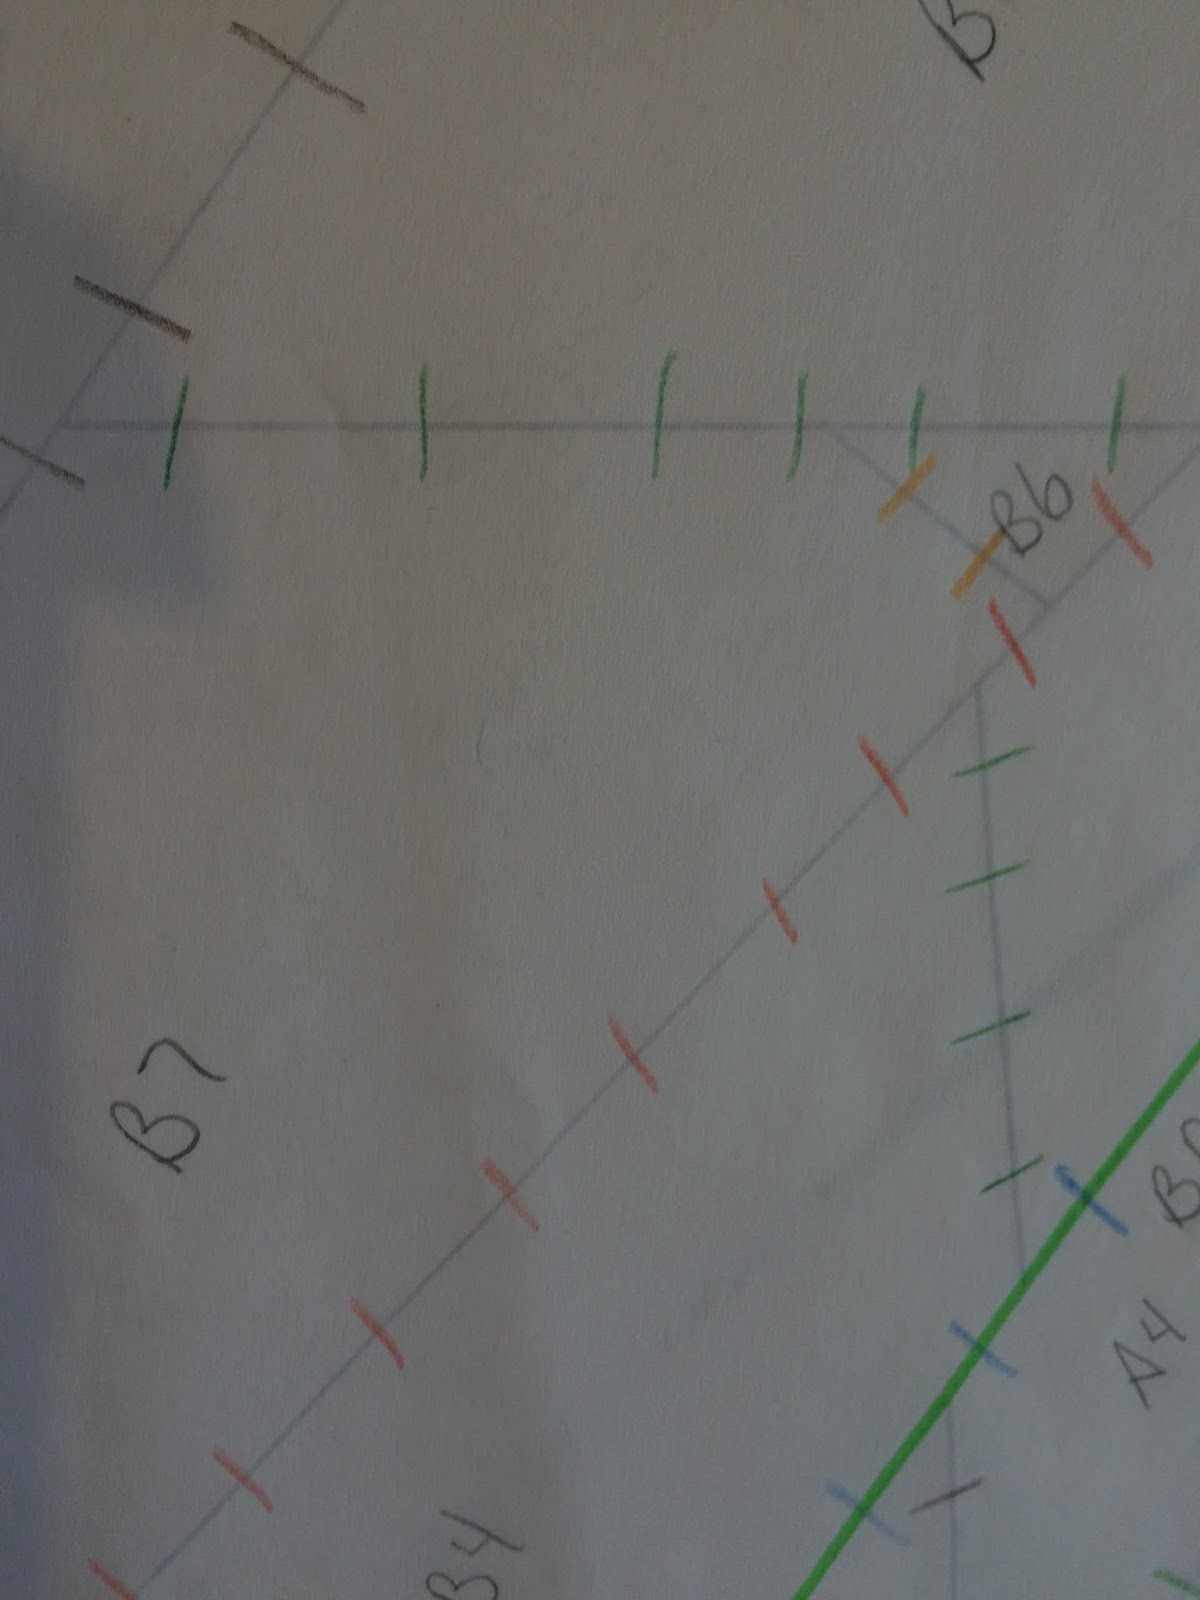
Here is a close-up of part of my pattern.  You can see the letter-number labels.  We also drew many, many hash marks along each seam line so everything would line up ok when we got to the sewing.


Now I'll take a little time out from this boring pattern stuff to show you some photos of my classmates' work.


This cute little dog was made as a memorial quilt.


This woman from Colorado was building a gorgeous cactus.


A very wise owl. 


This woman had a lovely photo of a mama and baby elephant.


I had to add another close-up of the elephant quilt because it is just so stinkin' cute!


And this is the daughter of one of my tablemates.  It's amazing how life-like it looks with just a few pieces depicting the actual person.


Now, back to work.  After two full days of work on paper at our tables, we were finally able to touch some fabric!  We needed A Lot Of Fabric Pieces to make these quilts.  So we traded around the classroom.  You might hear, "Who has a lime green?"  There would be several answers and the person in need would try a few different fabrics, then choose one and be given a piece of the fabric.  Quilters are always eager to share fabric, it seems to me.


Here is a shot of just part of our table, where fabrics are spilling over each other.


This shows my design wall with my freezer paper pattern templates.  I've chosen some yellows, and oranges and green stems.  As the freezer paper gets cut out on the pattern lines, each piece is ironed onto the back of our chosen fabric.  Then we added a 1/4" all around and cut the fabric so we had our seam allowances.


This is where I'm starting to audition fabrics for the background and border.  I thought about greens for the background (after all, it is a flower growing in my yard), but that didn't jump out to me as the perfect solution.


Then I tried these bright blues and really liked that combination with the yellows.  And the bright yellow for the border will make this a sunshiny quilt.


Here I have it almost completely mocked up into how it will look finished.  Each of these pieces is pinned separately onto the design wall.


I'll keep you informed as I make progress on this.  By the way, my sewing machine stayed in my car the whole time.  Ann had told us to bring them, but that we might not use them.

Tuesday, August 18, 2015

Hooray! I Won A Prize!

I'm not sure if you remember this quilt (from here).  I made it in a class at Empty Spools Seminars/Asilomar.  The class was taught by  Denise Oyama Miller and Nancy Ryan.

Last weekend was the annual Art In The Redwoods art fair, and my humble wall hanging won second prize in the Textiles category!  To say that I'm excited is A Lot of understatement.


The art display will be up until August 30, so if you're in the area you should really check it out.  There is a lot of phenomenal art, besides my own!


Friday, March 13, 2015

Asilomar/Empty Spools 2015

I just spent a wonderful five days at Asilomar, on the Monterey coast of California, attending Empty Spools Seminars.  Such a beautiful place to be, and quilting all day long with others is a real treat.  This year I took a class from Denise Oyama Miller and Nancy Ryan called "Landscape Impressions."  Boy, did I learn a lot!  They were great teachers with a great technique.

I started with a landscape photo.  I chose the one below, a street full of gingko trees in the fall when they are a beautiful yellow.  I proceeded to make the landscape mine by removing the street, houses, and cars, and adding in greenery/forest floor instead.


First I fused my batting onto my backing fabric.  The size of my piece is 14" x 24".  Onto this "canvas" of the layered batting, I began to build my landscape.

It was loosely sketched out with chalk onto the batting.  See--I've added a small path instead of the street and cars.  


The next job was to choose some fabric for my "picture quilt."  I had several blues that I thought would work for the sky, and someone in the class let me use these very light fabrics.


To make an impressionistic quilt with this method, I needed to cut my fabric up into tiny, tiny pieces.  I started with two strips about 2" wide lying on my cutting board.  After I had cut them into tiny strips by going back and forth with my rotary cutter, I cut the tiny strips into tinier pieces by slicing at 90 degrees from the first cuts.  (Sort of like finely dicing carrots!)


You can see how small the pieces are in this photo of my green pieces.


When I was done cutting all my blue colors, this is what my "palette" looked like.


Now comes the fun part!  I sprinkled these little blue pieces at the top of my canvas to form the sky.  I added the lighter pieces near the top.  Even though there are going to be those lovely yellow gingko leaves covering some of the same place, I needed to have a background of sky on which to build.


Now that the sky is pretty much done, it's time to start working on the lower part of the canvas.  This needs to be done before I work on the trees.  Here I have laid down a few very dark (black and dark gray) pieces for the very back of the undergrowth, where there would be shadows from the trees. 


Here I have it filled in with several different shades of browns and grays.  I've left a space where I'm going to put a path.  


At long last I get to start working on the beautiful trees.  Below you can see the palette of colors which I've prepared.  A hotel plastic room key is an easy way to pick up (or move) a lot of little pieces at once. As is a putty knife.  I used my fingers to pick up small amounts to sprinkle on my quilt.


Now I have all the trees finished.  As the original photo showed different shades of yellows, golds, and oranges, I have added these colors to my quilt.  Also, some of the leaves haven't turned yellow yet.  They are a lighter green than normal, and were just about to turn yellow.


I filled in the path with a lighter brown color.  Later I will do some stitching on the path to further differentiate it from the area around it.  You can see a few places where the sky is showing through the trees.  I learned that the technical artist's term for this is "sky holes."


After I had the leaves in place, I cut some tree trunks and branches from brown fabric.  I tucked them in underneath the leaves, and sprinkled some more leaves on top.


A closer view of the path.


At this point it was time to start getting all of this stuff held down.  I did that by v-e-r-y 
c-a-r-e-f-u-l-l-y laying a piece of black tulle over top of everything.  Then it needed to all be basted together with millions of safety pins!  They are placed one to two inches apart.


Close-up of quilt with safety pins.

A word about the tulle netting.  It doesn't obscure the scene, but it tends to help meld the different colors together.  It will dull down just slightly a very bright quilt, or make a little darker an already dark quilt.  Strangely enough, white tulle obscures the quilt a lot more than black tulle.


The following photo shows the small branches that I quilted into the trees.


In the photo below I have filled the quilt with closely spaced stitching using monofilament thread.  You can see some of the tulle netting here.


Here you can see the meandering stitches I used to define the path.


There is a lot of dense quilting on the back, isn't there!


And here is the final product.