Showing posts with label California Poppies. Show all posts

Sunday, July 24, 2016

Electric Poppies


This is Electric Poppies--finally finished.  I'm happy with how it looks.  I posted about the process of 

making this quilt previously, here.  It measures 29" wide by 36" tall.  Just in time for me to 

enter it into Art in the Redwoods, an annual art show held at Gualala Arts Center.  It has 147 

separate pieces in it--no fusing at all!

Wednesday, May 25, 2016

Asilomar 2016 - Ann Shaw

I went to Asilomar Conference Grounds again this year to attend Empty Spools Quilting Seminars to attend Ann Shaw's class.  She teaches the Ruth McDowell style of quilt-making, as Ruth is no longer teaching.  I wasn't familiar at all with this style, although I had heard of Ruth McDowell.  I looked at the quilts on Ann's website.  Lots of animal quilts using lots of little pieces of different printed fabrics as a sort of collage.  Looked pretty interesting.

There I was, in my studio, packing up all my things for this class.  I had the class supply list that Ann had furnished, which had the {helpful} suggestion to bring LOTS of fabric--all different colors and prints.  But no solids.  At least I could rule out the solids!  I was checking things off the list, and getting down to the bottom when I realized that there was no fusible listed.  I double checked the list, but found no fusible required.  I thought maybe Ann had her own brand of fusible that she wanted us to use, and would furnish it for us.  

Boy, was I surprised when I got to class!  I saw Ann's quilts up close--beautiful, by the way--and heard her introductory remarks about making these quilts.  And then I realized that we were expected to actually sew together all these little blankey-blank tiny pieces!  I couldn't believe it!

Ann Shaw, instructor at Asilomar/Empty Spools.

Above is a photo of Ann.  Not the best picture, but we'll call it an action shot.


My original photo of California Poppies.
After a long process, I finally ended up with the pattern that you see below.  We traced our original photo onto tissue paper, divided it into sections and sub-divided it into pattern pieces for every little color change.  Each section, no matter how tiny, was numbered A-1, A-2, B-1, B-2, etc, etc.  Enlarged it by 300%, traced the pattern onto freezer paper, and ready to use templates.


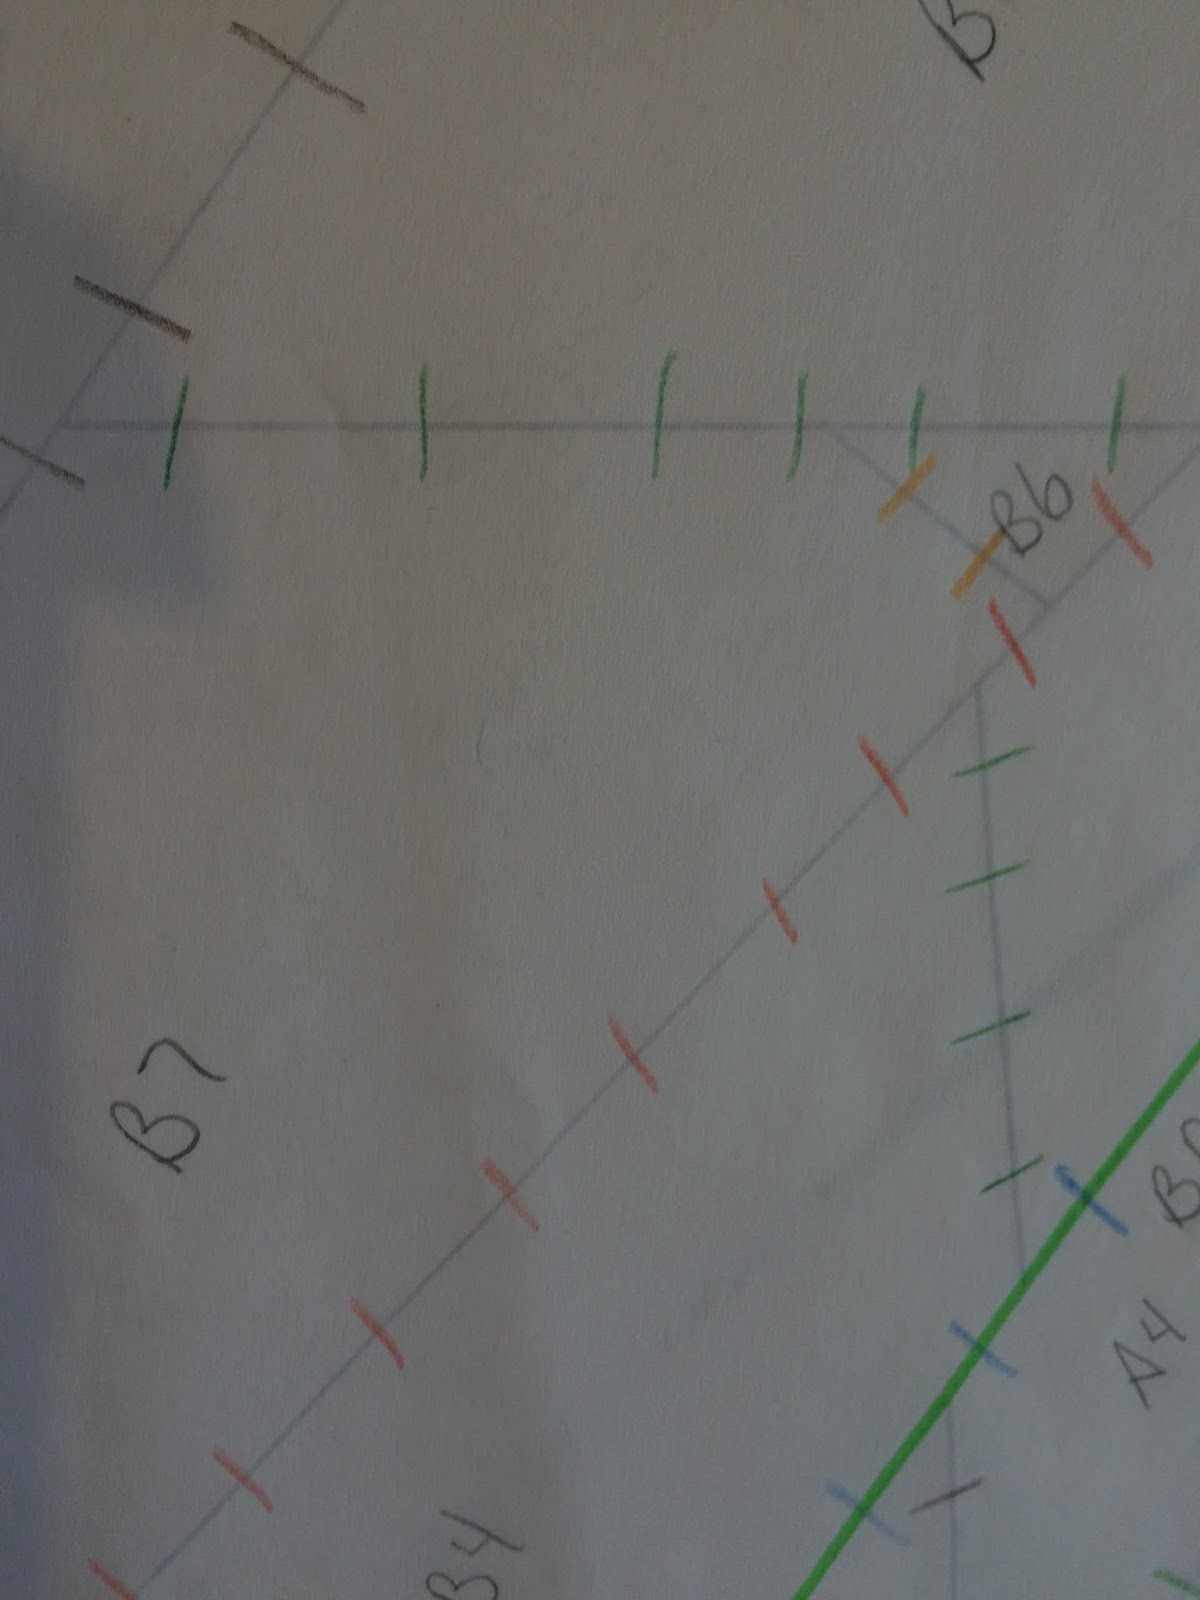
Here is a close-up of part of my pattern.  You can see the letter-number labels.  We also drew many, many hash marks along each seam line so everything would line up ok when we got to the sewing.


Now I'll take a little time out from this boring pattern stuff to show you some photos of my classmates' work.


This cute little dog was made as a memorial quilt.


This woman from Colorado was building a gorgeous cactus.


A very wise owl. 


This woman had a lovely photo of a mama and baby elephant.


I had to add another close-up of the elephant quilt because it is just so stinkin' cute!


And this is the daughter of one of my tablemates.  It's amazing how life-like it looks with just a few pieces depicting the actual person.


Now, back to work.  After two full days of work on paper at our tables, we were finally able to touch some fabric!  We needed A Lot Of Fabric Pieces to make these quilts.  So we traded around the classroom.  You might hear, "Who has a lime green?"  There would be several answers and the person in need would try a few different fabrics, then choose one and be given a piece of the fabric.  Quilters are always eager to share fabric, it seems to me.


Here is a shot of just part of our table, where fabrics are spilling over each other.


This shows my design wall with my freezer paper pattern templates.  I've chosen some yellows, and oranges and green stems.  As the freezer paper gets cut out on the pattern lines, each piece is ironed onto the back of our chosen fabric.  Then we added a 1/4" all around and cut the fabric so we had our seam allowances.


This is where I'm starting to audition fabrics for the background and border.  I thought about greens for the background (after all, it is a flower growing in my yard), but that didn't jump out to me as the perfect solution.


Then I tried these bright blues and really liked that combination with the yellows.  And the bright yellow for the border will make this a sunshiny quilt.


Here I have it almost completely mocked up into how it will look finished.  Each of these pieces is pinned separately onto the design wall.


I'll keep you informed as I make progress on this.  By the way, my sewing machine stayed in my car the whole time.  Ann had told us to bring them, but that we might not use them.

Wednesday, May 9, 2012

Asilomar and Melinda Bula

I had the great opportunity to go to Asilomar, in Pacific Grove, California in April to attend Empty Spools Seminars.  This is the fourth year I've done this, and it is an incredible experience.  (I've blogged about it previously here.)

This year I took a class from Melinda Bula.  She is a great teacher, and a lot of fun, too.  There were eleven of us in the class, so it wasn't too big, which is always good.  My classmates were fun, too.  Some felt like real friends before the week was over.

For this class we were making flower quilts.  Melinda is very well-known for her flower quilts.  (Really, you should go to her website and look at them.  Here's the link for her flower quilts.  Go now.  I'll wait for you.)

Original Poppy Photo I Chose

So we were told to come armed with a flower picture that we would like to turn into a quilt.  I absolutely love California poppies, so this is the photo I chose.  I wish I could say I took the photo, but it was just one I found on the internet.

It's not complicated, but there is a specific process to follow.  We traced our photos, drawing in shading marks, and other details, as well as the petal outlines.  We took those tracings to a copy shop downtown and had them enlarged very big; mine went up 325%.  We then used that blown-up copy to make our pattern pieces.

First Iteration of Poppy
Here you can see the first version of my poppy.  Then I stood back and decided that there was too much darkness in it.  So I made some changes.  This was relatively easy, as all the fabric pieces are on Steam-A-Seam II, and nothing was ironed down permanently yet.  You might be able to tell from the photo that my poppy is lying on a backing sheet from Steam-A-Seam.  Underneath it is lying my enlarged photocopy with the pattern markings on it.

Second Version of Poppy
Here is my second version.  I like it better.  As you can see, there are about a gazillion little (and big) pieces of fabric on it.  But it's no where near done yet!  There is a long ways to go.

Current Version
Here you can see the current version.  It is temporarily placed on this bright blue backing fabric.  I'm liking how it looks now.  The next step is to add some leaves to the background.  When I'm finished with that, I will have a lot of thread-painting to do on the machine to add even more detail to it.

Detail Photo
Here is a detail photo showing part of the flower.  I've added this photo just to show you how many little pieces of fabric we used to make the whole flower.  Like an impressionistic painting, you can't really tell from this tiny portion that it's a flower.  You have to back up from this quilt to see the whole thing.

I'll keep you posted with my progress on this quilt.

Monday, April 2, 2012

California Poppies! Quilt

Remember these little orange and yellow hexies I told you about previously? They were for a quilt for my guild's annual challenge show. This year's theme was West Coast Splendor. The challenge was to choose something we love about living on the coast, and represent that with fabric. The show will be at Gualala Arts Center from April 6 through April 29. Now I'll show you how I got from a pile of hexies to a finished wall hanging.


I made 94 small 1 1/4" hexagons. A lot of these were sewn in the car on our trip down to Phoenix. The next photo shows how I laid all the hexagons out on the desk in our hotel room to get the arrangement just right. After I was pleased with the arrangement, I turned each hexie over and wrote a row and column number on the paper. That way I knew I could keep them in
the correct order.


By keeping these small pieces in order via hotel stationary envelopes, I got all 94 of them hand pieced together.

That job done, my next step was to buy some backing fabric. I thought about going with a green, but Melody at Britex Fabrics helped me to look at a lot of different fabrics. A green background actually made the few green hexagons really stand out, and that drew in the eye too much. So we found a nice batik that blended well with my other colors.

I pinned the hexagon grouping to the batik, then appliquéd it down all around the edges. That done, the next step was to cut away the batik that was directly behind the hexagons. Which is what I'm doing in the next photo.


That was actually a little nerve-wracking, as I had to be very careful not to make a snip into the hexagons. But I wanted to trim very close to the edges of the hexies.


Now we come to the sandwiching part. I have this nice little bandaid box, courtesy of one of my dear friends, in which I keep some of my safety pins. So, out they came and I got the quilt sandwiched. This one is not very big, about 24" by 26", just slightly longer than it is wide.


I chose to do some straight-line quilting, following the lines of the hexagons. This made a large pattern of X's all over the quilt. You can see it in the photo below.


And here is the final product. I've named it "California Poppies!," with an exclamation point at the end.


Did I mention that I really love California poppies? Their bright yellow and orange colors, the fact that they are a nice sign of spring, seeing them growing beside the highways here in northern California, just their brightness! Can a flower really be optimistic?!? That's how I feel about poppies.