Thursday, June 30, 2016

Stencil Painting on Fabric with April Sproule

We had a great workshop with April Sproule at our guild in April.  She does beautiful stenciling on fabric and clothes.  In this two-day workshop she taught us about choosing stencils, arranging them, about mixing paint, and applying it to fabric with stencil brushes.  Lots to learn.  

We learned this procedure on pieces of fabric that we brought in to play with.  On the second day April invited us to bring in clothing that we might want to paint.  Some of us went to second-hand stores to find clothes, some used our old clothing.  I looked through my closet for things that I haven't worn for a long time, or things that I wouldn't mind trying to paint (meaning that I wouldn't mind if I ruined that particular garment!).

April brought in many pieces of her own clothing that she has painted with her stencils (she designs her own).  On the knit top below she made a mask using freezer paper to paint the curved pink area in the middle.


Here is a detail of that shirt showing the precise painting and her beautiful hand-stitching and beading which she adds to almost everything.  


Another garment had a stitch I hadn't seen before.  A back stitch which then had blanket stitch done over it.  I love this look.


A beautiful knit shirt transformed by April's painting.


She also showed us samples of painting on a separate fabric, then cutting them out and raw-edge appliquéing them onto a garment.  


Now here are some samples that I stenciled.


Here I was trying to give the oak leaves a little golden touch on the ends.  I need a little work on my subtlety in painting!


I thought this design looked nice on printed fabric.


On the second day of this class we brought in some of our own clothes to stencil.  Looking through my closet, I noticed a short-sleeved white knit shirt that I have hardly worn at all.  I also found a light blue shirt dress.  I've had this dress for quite a few years.  Suffice it to say that at this age, I feel I should no longer wear dresses of this length (or lack of length)!  My idea was to stencil it, then cut it off to make  it a tunic instead of a dress.


The finished product!


Detail of upper shirt.

Detail of shirt tail.


Then I stenciled this white knit shirt, too.  With a variety of different designs.


Collar detail.

Lower front of shirt.


Back design.

I'm very happy with how both of these garments turned out.  And I've given new life to two items of clothing that were languishing in my closet.  Win-win!!

Monday, June 20, 2016

Blue Jeans and Lace

Pinterest can either be a blessing or a curse, I guess, depending on how much time you spend waste there!  I use pinterest to keep track of patterns I find and ideas that I want to try.  They send me many emails of ideas that they think I will like.  While I often ignore those emails, sometimes I look at them.

And that's how I found this idea for decorating blue jeans with lace.  It was from a blog that you can visit here.


I have a bag full of lace pieces and trimmings, so I went to it and pulled out this piece.  First it needed to be ironed.  You can see that it is about 2 1/2 inches wide.


On the inside of the pants hem, I pinned, then sewed the edge of the lace onto the pants.


Then I folded the remaining part up onto the right side of the pant leg and sewed around the edge of it.


Very easy.  Hardly took any time at all!


And here is the finished product.


Now I'm thinking that I should add some lace edging to the pockets maybe, or somewhere else on the jeans.  Maybe on a different pair of jeans.  Who knows what I'll come up with!


Thursday, June 9, 2016

A Number Eight Shirt For GranddaughterStitches

It's time for GranddaughterStitches's new birthday number shirt!  This time I chose a light heather blue t-shirt for her.  I like the v-neck on this one.


 For the number eight fabric I used a piece of fabric that I'm pretty sure is from Judith Baker Montano's collection of several years ago.  I love the different colors in it, and how it looks almost shiny.


Fusing between the fabric and the shirt, and with a nice soft stabilizer behind the shirt, the machine blanket stitching went very well.  


I can't believe how old GranddaughterStitches is getting!  And pretty soon she'll be taller than I am!


Wednesday, June 1, 2016

Sunbonnet Sue In Gualala

My guild's 2016 challenge theme was about taking something from the past and bringing it into the present or the future.  And since this is our 20th year as a guild, there had to be 20 of something in each quilt.

My Tuesday quilting group decided to use Sunbonnet Sue to start with, as she is a rather old-fashioned quilt pattern.  Then we added certain touches to modernize Sue.  We brought her to our town of Gualala, California!


This shows the section of the challenge show where our group of quilts was hung.


 I saw this pattern in a SBS (Sunbonnet Sue) book, and just knew that I had to make it!  Isn't she funny!  And also brave, as the water is very, very cold here.  There are 20 small real shells sewn onto the beach fabric.


Another one of mine, Sue standing on the bluff top.  It can be very, very windy here at the edge of the ocean.  Hard to see, but there are 20 little tufts of grass embroidered onto the green bluff.


This is Sunbonnet Sue watching migrating whales.  Look at the cute ruffle on her dress.


Sunbonnet Sue at the Yoga Studio.  Twenty different poses of Sunbonnet Sue doing yoga!  I wonder how she keeps her hat on in some of those poses!


Sunbonnet Sue is neighborly.


Sunbonnet Sue watches the sunset.


Sunbonnet Sue goes shopping.  Pay N Take is a local once-a-month charity re-sale market.  Everyone in the whole community goes there to shop and socialize!  It's really quite fun.  And Sue is, of course, carrying her reusable fabric shopping bag.


Sunbonnet Sue walking her dog.


And another one of mine, Sunbonnet Sue Makes a Quilt.  There are 20 squares in Sue's quilt.  The quilt and the curtains are 3-D.

It was so much fun making these little quilts.  It's nice to be a part of a group making an entry into the  challenge show.

Wednesday, May 25, 2016

Asilomar 2016 - Ann Shaw

I went to Asilomar Conference Grounds again this year to attend Empty Spools Quilting Seminars to attend Ann Shaw's class.  She teaches the Ruth McDowell style of quilt-making, as Ruth is no longer teaching.  I wasn't familiar at all with this style, although I had heard of Ruth McDowell.  I looked at the quilts on Ann's website.  Lots of animal quilts using lots of little pieces of different printed fabrics as a sort of collage.  Looked pretty interesting.

There I was, in my studio, packing up all my things for this class.  I had the class supply list that Ann had furnished, which had the {helpful} suggestion to bring LOTS of fabric--all different colors and prints.  But no solids.  At least I could rule out the solids!  I was checking things off the list, and getting down to the bottom when I realized that there was no fusible listed.  I double checked the list, but found no fusible required.  I thought maybe Ann had her own brand of fusible that she wanted us to use, and would furnish it for us.  

Boy, was I surprised when I got to class!  I saw Ann's quilts up close--beautiful, by the way--and heard her introductory remarks about making these quilts.  And then I realized that we were expected to actually sew together all these little blankey-blank tiny pieces!  I couldn't believe it!

Ann Shaw, instructor at Asilomar/Empty Spools.

Above is a photo of Ann.  Not the best picture, but we'll call it an action shot.


My original photo of California Poppies.
After a long process, I finally ended up with the pattern that you see below.  We traced our original photo onto tissue paper, divided it into sections and sub-divided it into pattern pieces for every little color change.  Each section, no matter how tiny, was numbered A-1, A-2, B-1, B-2, etc, etc.  Enlarged it by 300%, traced the pattern onto freezer paper, and ready to use templates.


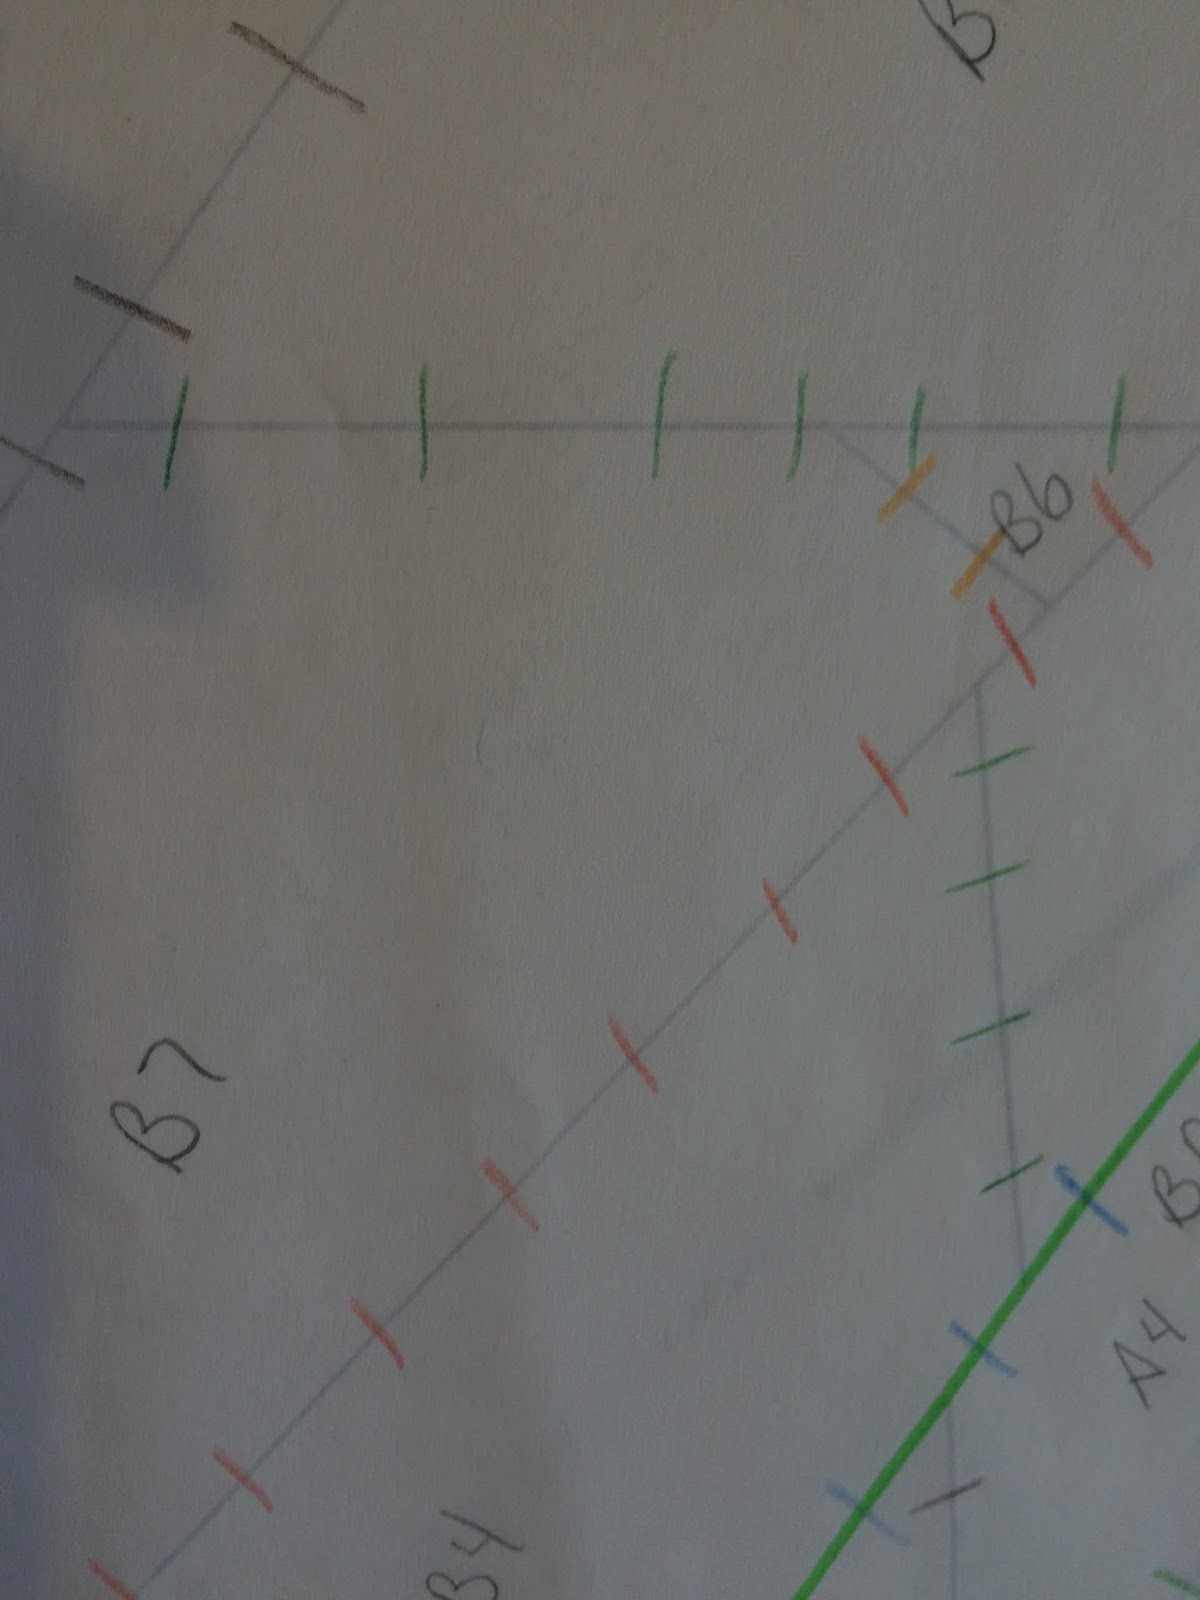
Here is a close-up of part of my pattern.  You can see the letter-number labels.  We also drew many, many hash marks along each seam line so everything would line up ok when we got to the sewing.


Now I'll take a little time out from this boring pattern stuff to show you some photos of my classmates' work.


This cute little dog was made as a memorial quilt.


This woman from Colorado was building a gorgeous cactus.


A very wise owl. 


This woman had a lovely photo of a mama and baby elephant.


I had to add another close-up of the elephant quilt because it is just so stinkin' cute!


And this is the daughter of one of my tablemates.  It's amazing how life-like it looks with just a few pieces depicting the actual person.


Now, back to work.  After two full days of work on paper at our tables, we were finally able to touch some fabric!  We needed A Lot Of Fabric Pieces to make these quilts.  So we traded around the classroom.  You might hear, "Who has a lime green?"  There would be several answers and the person in need would try a few different fabrics, then choose one and be given a piece of the fabric.  Quilters are always eager to share fabric, it seems to me.


Here is a shot of just part of our table, where fabrics are spilling over each other.


This shows my design wall with my freezer paper pattern templates.  I've chosen some yellows, and oranges and green stems.  As the freezer paper gets cut out on the pattern lines, each piece is ironed onto the back of our chosen fabric.  Then we added a 1/4" all around and cut the fabric so we had our seam allowances.


This is where I'm starting to audition fabrics for the background and border.  I thought about greens for the background (after all, it is a flower growing in my yard), but that didn't jump out to me as the perfect solution.


Then I tried these bright blues and really liked that combination with the yellows.  And the bright yellow for the border will make this a sunshiny quilt.


Here I have it almost completely mocked up into how it will look finished.  Each of these pieces is pinned separately onto the design wall.


I'll keep you informed as I make progress on this.  By the way, my sewing machine stayed in my car the whole time.  Ann had told us to bring them, but that we might not use them.