Saturday, November 25, 2017

A Quilt For Little Hudson

I have another NieceStitches who had a baby this summer, a little gentleman named Hudson Robert.  Isn't that a nice-sounding name?  I love it!

I chose to do half-square triangles for this quilt.  What a surprise!  I paired blue and white squares for the main part of the quilt.  And I intentionally made the design off center.  You can see where I started it in a previous post.


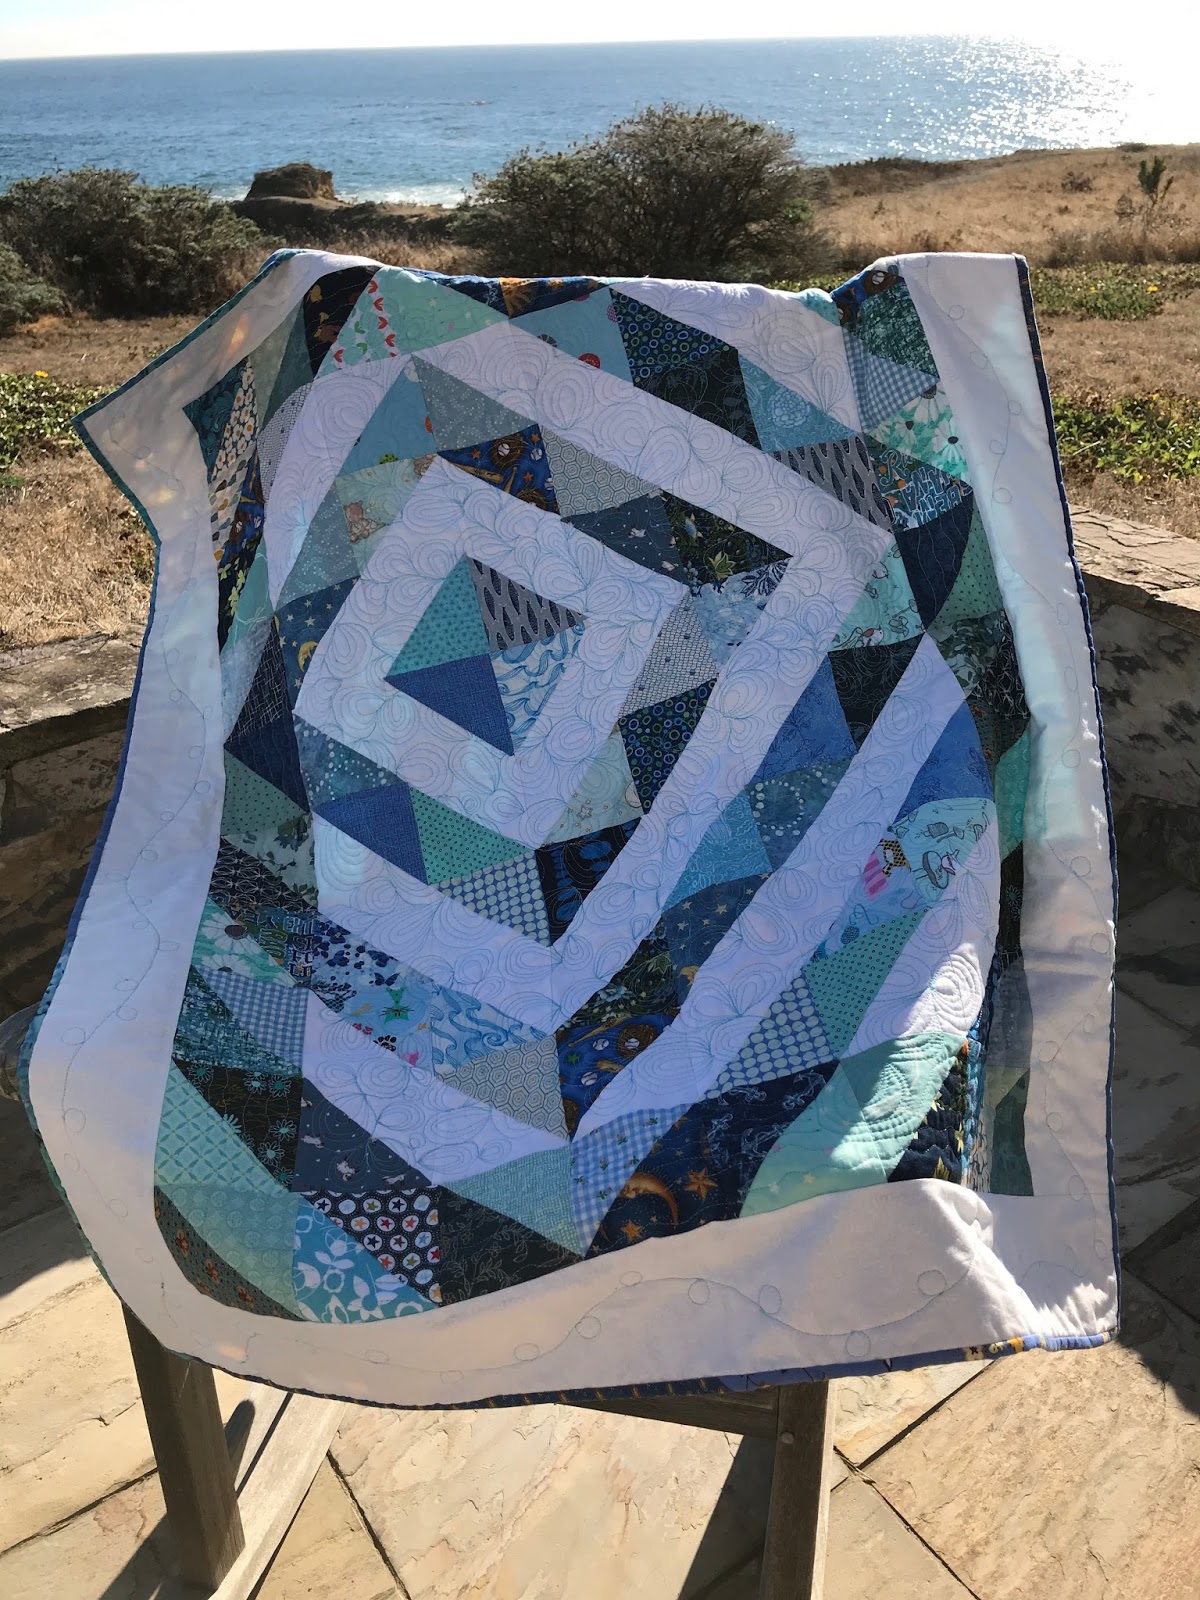
For the back of the quilt I used two different blue fabrics.  (I think it's cute how the quilt looks with the sun shining through it.)


I used a paisley sort of design for the main part of the quilt.


 In the first border I simply quilted a wavy line of stitching all the way around.  Several trips around the quilt, to be precise!


In the white outer border I used a simple wavy line with balloons on it. . .


. . . till I came to one point and decided to try quilting Hudson's name.


I'm pretty happy with this quilt, and I can't wait to meet the little guy!


Saturday, November 11, 2017

Gorgeous, Dahling!


A friend who is moving decided to whittle her stash down to a packable amount, so she held a fabric sale at her house.  Yes, I really do need some more fabric!!

I found a few really pretty fabrics, including some whites/near whites, which are always good to have.  


My treasure, though, is these gorgeous, luscious fabrics.  Aren't they beautiful!


They are all fat quarters, and I purchased them for a song! 


I think they are really pretty pieces that can be used for some lovely splashes here and there.


Thursday, November 2, 2017

A Logical Progression

As I showed you in a previous post, I added some lace fabric to flowered fabric to make two scarves for myself.  And as there was still lace left when I was done, I think the logical progression is:


A scarf made from the two colors of laces sewn together.


Again, it was a little "futzy" sewing the lace.  I needed to pin carefully (and it's hard to pin fabric that is full of holes!) and again, I used tissue paper underneath for a stabilizer.

I thought of using my little red clips instead of the pins, but then decided against, and toughed it out with the pins.