Monday, May 24, 2021

The Blue Quilt (for lack of a better name!)

This is a quilt that I've been hand appliquéing for quite a while.  The top is all finished.  I added one star into it, because the theme of our guild's challenge title (the challenge show that was supposed to be spring of 2020, but which has been postponed indefinitely--maybe next year) was A Star Is Born. Any quilt qualifies for the challenge, as long as it has a pieced (not appliquéd) star somewhere in the quilt.

I was using this hand appliquéing as a traveling project, something to take along with me when I'm on the move.


After I got the squares put together, I saw a friend's quilt which I really loved.  She had put a narrow white border around the quilt, with a wider pieced border around that.

So I went to my strips box.  It was handy because of the strippy star quilt that I made recently.  I pulled out all the blue fabrics.  I cut some muslin rectangles, 6" wide by about two feet long or so.  On to that muslin I sewed strip after strip after strip.


This shows my little iron (beside my sewing machine) where I'm stitching the strips to the muslin.  Grab a blue strip, sew RST to the last strip, iron, return to machine, repeat.


This is how the quilt top looks now on my design wall.  All the borders have not been  sewn together yet.


This photo shows only the top portion of the quilt.  This is not the whole quilt top

But what name to give this quilt?  I really have no ideas. "Scrappy Elipses"?  Doesn't quite roll off one's tongue.  I'm really at a loss.  I would certainly appreciate any suggestions for a name.


Wednesday, April 21, 2021

A Sewing Project That I Don't Recommend


I was doing some sewing the other day and look what happened.  I got my finger under the sewing machine needle.  Really, really stupid, MissesStitches!!!  I was pulling the threads out from under the foot, something I've done with my finger for many, many years.  But now I'm using a stiletto to do that!

The needle went into the pad of my finger and came out right near the outer end of my nail.  I put a tissue on it right away, but it didn't really bleed very much.  It sure hurt, though!  So I put a bandaid on it.  Then, later when I took the bandaid off to replace it, because of my aging, thinning, deteriorating skin, the bandaid adhesive pulled a small patch of skin off my finger!  That really made me mad!  So now I've reverted to gauze and paper tape.  This is working well, but obviously it's not waterproof.

Anyway, don't get complacent about your sewing machine like I did.  They are power tools.  I've also noticed that I'm not always careful enough about taking my foot off the pedal while I'm doing something else, like raising the foot a little to readjust some fabric with a stiletto or "purple thang."  So I'm trying to pay a little more attention now.

Monday, April 5, 2021

A Baby Quilt

 I've been quilting for the past few days on a baby quilt for my guild.  We need to "fill our merchandise" to sell at the next Art in the Redwoods, and then Winter Wonderland.  These are the two main fundraisers for our guild (and for other organizations as well as the parent organization, Gualala Arts Center).  I had some fabric in my stash that had multi-colored squares printed on it, and I bought it with the idea of making it into a baby quilt.  So I pulled it out, got it sandwiched with a cute "kiddy print" on the back, and am now doing the quilting.

I don't pretend to be a very good free motion quilter, but I think that the more I practice, the better I should become, right?

This first design is simple leaves, all over and all different directions.  It was fun!


I believe this was a design that I found in a Leah Day free motion quilting book.  I drew one line wavy from corner to corner, then drew a straight line between the other corners.  Then simply followed the line, and echoed it.  I like this design a lot.


This kind of looks like a star to me, or a flower.


And some plain old stippling, which I really like, now that I've finally learned how to do it!


Several years ago, in my free motion quilting attempts, I could do "pebbles" quite well.  Now, however, something has changed, and I find myself pebble-challenged.  But I thought I'd try pebbles again.  The bigger pebbles are definitely easier for me than the small pebbles.


Below you see a square with a very simple wavy line going across it.  Also, you can see that these squares are about 5" square.


I still have several squares to quilt.  I'm quilting every other square, leaving the alternating squares blank.  I thought the quilt might get too stiff if it was quilted in every single square.

Sunday, March 21, 2021

Virtual Quilt Retreat 2021

For the past six (or so) years it has been my job/honor/privilege/duty to plan our guild's annual retreat in February.   We've always gone to nearby Healdsburg--close enough to be fairly convenient, but far enough to really feel away from home.  

2020, though, threw a wrench in absolutely everything, as you know.  Actually our retreat in February of 2020 was held as normal.  There was an inkling of an impending pandemic at the time.  So for the 2021  retreat, I knew we would not be having our normal retreat in Healdsburg.  But I wanted our guild to feel just a little air of "getting away" and "retreating."  This led me to plan a virtual retreat.  I did a little digging online for ideas, but most of what I did was just a twist on what we usually do at retreat.  

The main thing about this year's retreat was that everything about it was optional.  I did have about 27 or so women signed up, which is only a few more than we generally have at retreat.  I kept telling people, in my emails to the guild, that the cost would be small, and I would need to have a better idea of how many people and what types of things I was going to have to pay for.  Mostly, as I said, for xeroxing cost and mailing costs.  In the end, the amount that I put into the retreat was really negligible, so I set the cost at $10.00 per person, with any money over what I spent going back into the guild treasury.  And at the guild meeting in late January when I announced this, it was suggested that the guild could underwrite this small cost.  So it cost nothing to participate in the retreat.

I planned a daily schedule--something that is done only very loosely when we are at retreat--with lunchtime, happy hour, things like that.  In 2020, for the first time, I scheduled a "quilters' stretch time" into the afternoon.  Those of us who wanted/needed to stood up at our tables, and I led us in some simple stretches:  neck flexion, waist bends, overhead stretching, that sort of thing.  Nothing too strenuous.  People seemed to like that at Retreat.  So this year I printed out a couple pages exhibiting stretches.

In the very first email to retreat participants, I wrote a welcome letter, and explained how some of the things would work.  We always play "QUILTO," which is a form of Bingo, so I sent out this page of quilt retreat bingo, just for people to play at home on their own.  I have to admit that I don't think this idea went over very well.  People wanted to know what the prizes were.  Perhaps it needed a little more explanation.


Our retreat ran from Monday morning to Thursday afternoon.  Each evening I emailed out to everyone the next day's schedule.  Here is part of the first day's schedule.


And here is a copy of the stretching exercises to do.


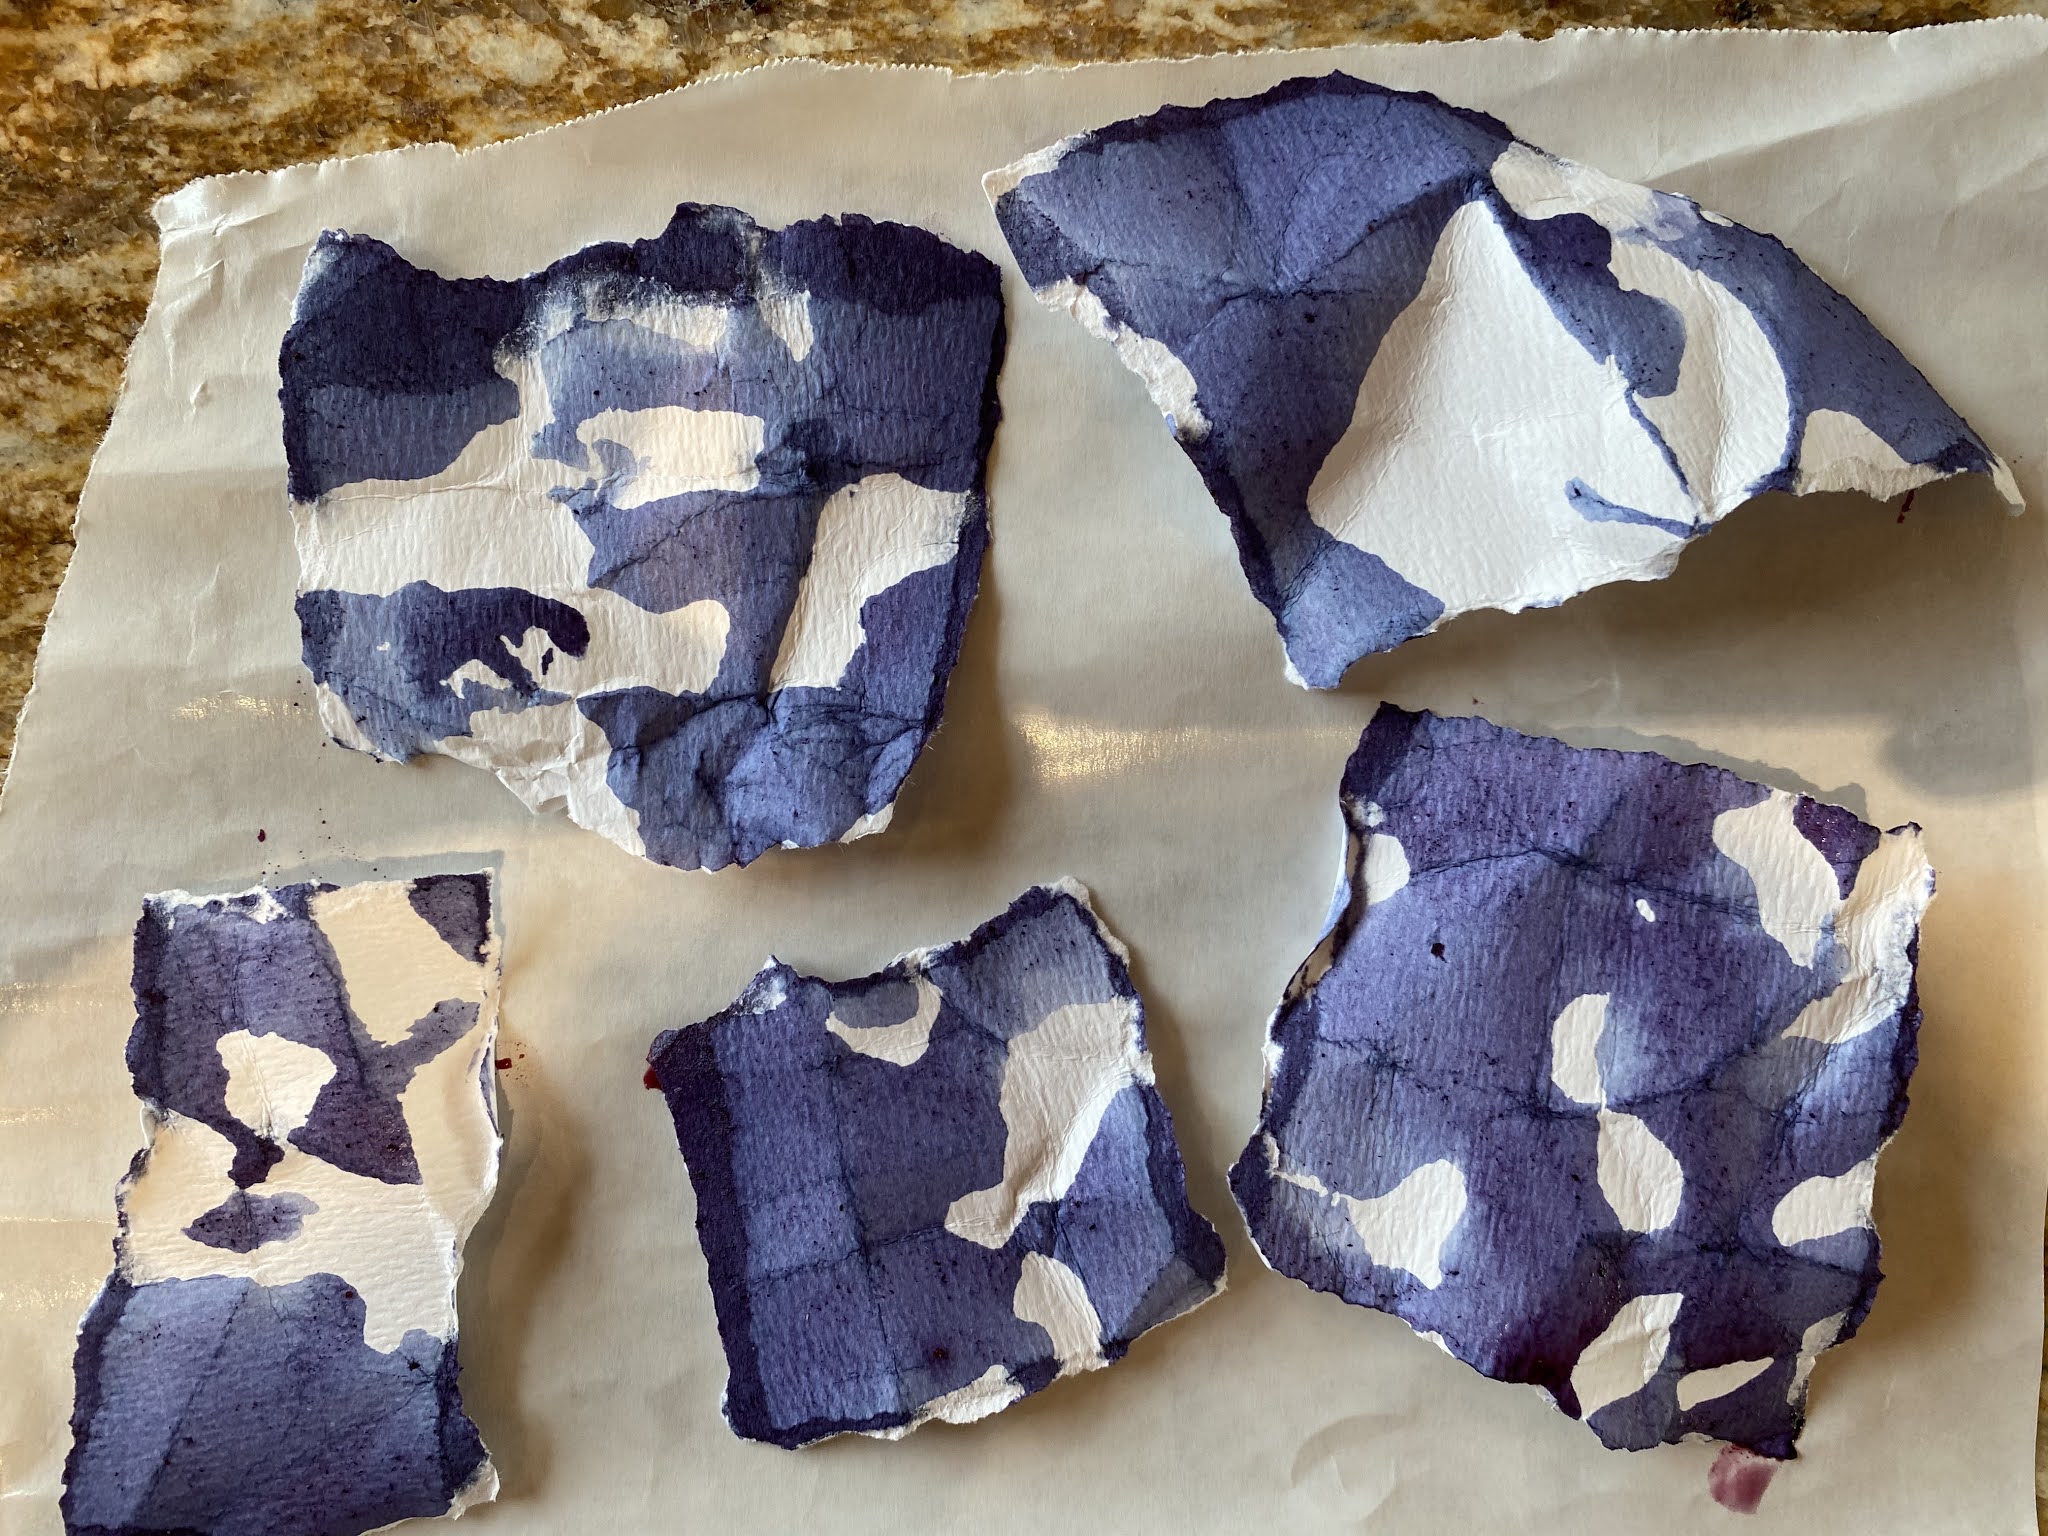
A big part (I think) of our retreats has been the making of a Quilt of Valor.  I choose a block and exhibit it with instructions, then everyone makes their version of it.  When I get them all together I square them up to the same size and sew them into a Quilt of Valor, which then goes to a wounded veteran.  People seem to really like this activity.  This year's block was based on this quilt that I saw in a magazine.  I thought it might be nice in reds, whites, and blues.


Retreat participants were told to start with a 10" square of white-ish fabric, then to simply add a triangle of red and/or blue to one corner.  I didn't specify what size of triangle to add, but I did give some parameters.  After receiving a few of the squares in the mail, or dropped off at my house, here are some of them up on my design wall.


I always love the variance and "scrappiness" of our communal QOVs, and this year I'm especially loving all the different white fabrics used.  

As you can see from the photo below, there will be a lot of playing around I can do with these blocks.  Here I've arranged all the colored corners to meet in the center.  I could put all the triangles in the same corner, as pictured above, and there are other options, too.  This will be fun!!


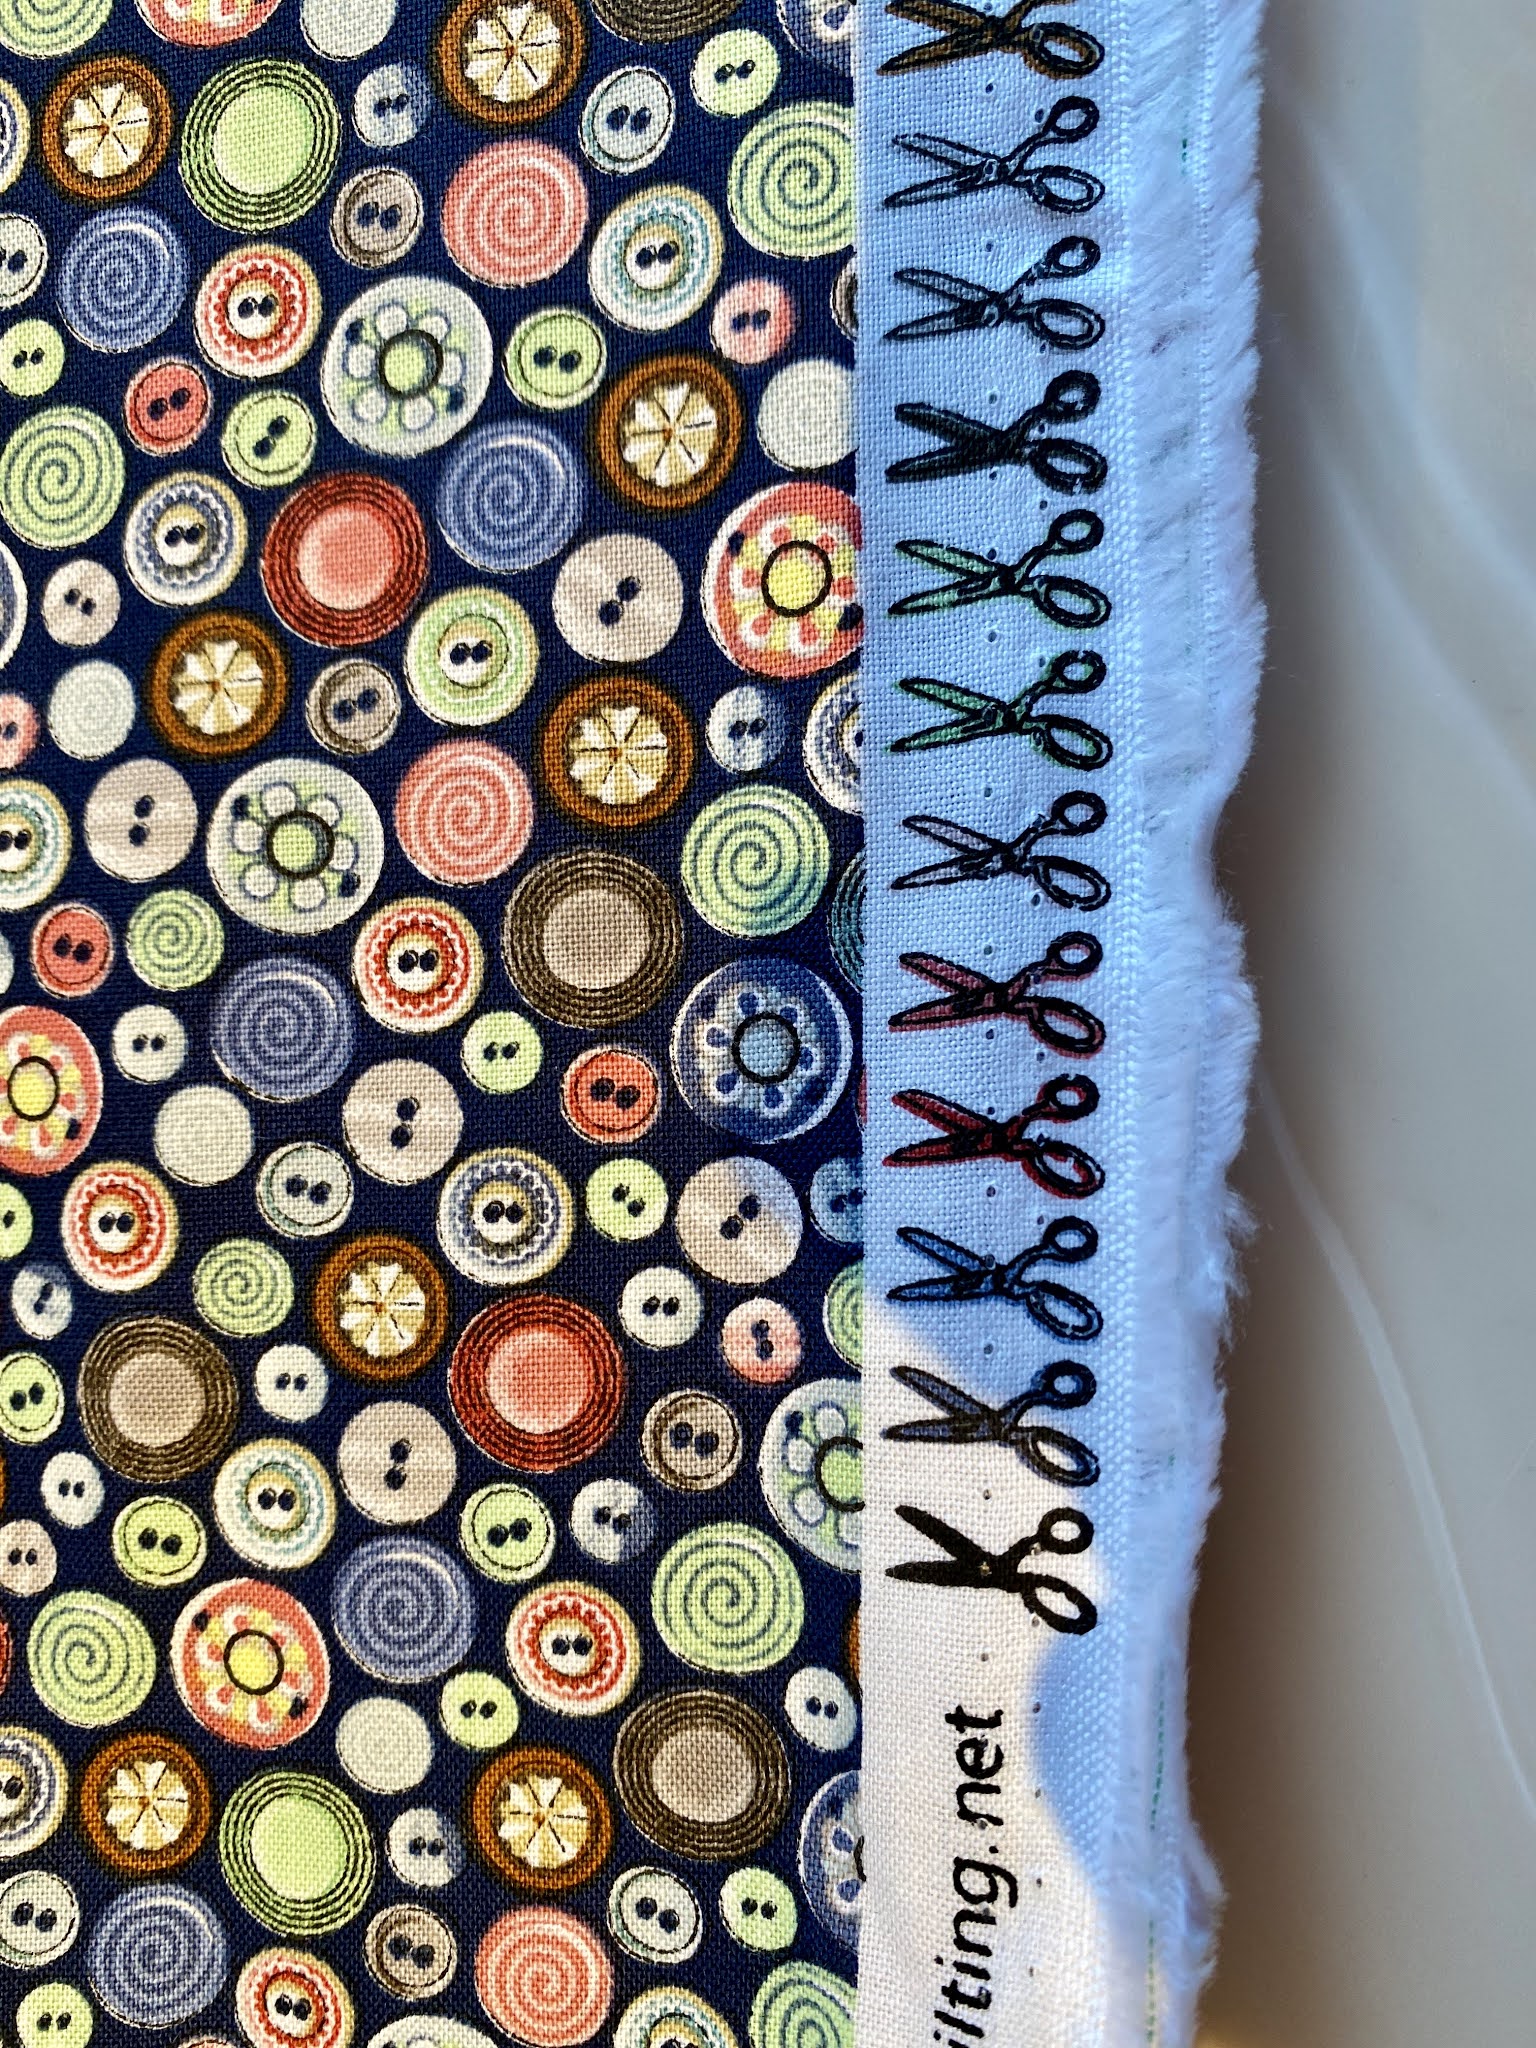
One of the fun things about retreat is going fabric shopping with friends.  We couldn't replicate this exactly, but I did encourage shopping, and announced that one day was Fabric Shopping Day.  Our local quilt shop, The Loft, and a quilt shop near Healdsburg, Bolt Fabrics, gave us a retreat discount for our shopping during this week.  I think we still had some fun, even though we couldn't all go en masse to the stores.  We got to exercise our credit cards, and show each other the fabrics we'd bought.  Here are two of the pieces I bought.


Look at the cute button fabric below, and the really cute selvage!


One of our favorite times of day at our retreats is usually our happy hours, where we sip and nibble and have some fun.  And I'll just leave it at that.  Because you know, what happens at quilt retreat stays at quilt retreat!


Thank you, Lori!!


For this retreat, since we couldn't all be together in one room, I counted on Zoom meetings to help us get a hint of togetherness.  Thank you to dear Caroline, who engineered our morning coffee hour get-togethers, and our afternoon happy hour get-togethers.  Even though we weren't there in person, it was still a lot of fun to see our friends' faces popping up on our screens.  As usual at retreat, we have a few people who are coming from quite a ways away, and that's the only time we get to see these people, so that was fun.  Here's a screenshot of one of our get-togethers.


We don't know what this coming year will have for us, so Retreat 2022 cannot be predicted.  We'll see what happens in the next year.  And keep our fingers crossed.

Monday, January 11, 2021

Playing With Paper Dyeing

One Sunday morning when MisterStitches and I had finished our waffles and eggs breakfast, I noticed this bowl of residue from the frozen blueberries.  The berry juice was such a deep, rich color so I decided to play with it a bit.  (I know--incorrigible!)


So I crinkled up some watercolor paper and dipped it into the bowl.  


And look at the results!  It's a totally different color!  I like the blueish/purplish color that was produced.  These will be fun to make into some cards.


Some very nice color graduations going on here.


I like these papers!

Monday, December 28, 2020

1504 Lakeside Avenue

I have been wanting to make a certain embroided wall hanging for quite a while.  So I finally got around to it this fall.


Here is a photo of my parents' house.  I had a regular-size photo, which I xeroxed and enlarged.  I outlined the important parts of the house. 


Then I traced it onto tracing paper.  I had always thought that I'd make this a red-work project.  But then I thought, red isn't exactly my mom's favorite color.  Oftentimes one also sees "blue-work" and "black-work."  But in the end I decided to make it multi-color.


I had a lot of fun with this embroidery.  I used Frixion pens to transfer the image from the tracing paper onto the fabric.  It was a piece of fabric that I had tea-dyed a long time ago, and it had a fusible lining on the back.

I'll show you some of the detail.


Finished with the embroidery, I had to decide on border(s).  These next four photos are really poor quality, but all I was wanting to see was color combinations.


I finally decided on a green flange with the brown grunge fabric.


Of course, I added a hanging sleeve and a label before mailing it to MomStitches for Christmas.  
Of course, I forgot to measure it, but it's not real huge, maybe 15 inches wide(?).

Tuesday, December 22, 2020

A Christmas Wreath

 I made a new Christmas wreath last week.   I got the idea from a wreath I saw at my local quilt store, The Loft, in Gualala.  I saw it in the store a couple years ago, but one thing and another (including a broken arm!) got in the way of my finishing it.  Here's how I made it: 


Tools you need are a chopstick (or 2) or a pencil, a straw-wrapped wreath form, some glue, and quite a few fabric squares about 3" by 3".  I rough cut my squares with a wavy blade to reduce fraying.


This glittery, glow-in-the-dark glue will be wasted here!  But it was handy.


You will actually need many, many of these fabric squares!

I do not know how many squares I cut.  I was keeping track of the count, just for fun (?), but I can't find the little paper with my count on it.  If I find it I will amend this blog post.


I basically used red and green fabrics, with a few "rogue" colors thrown in for variety.  My rogue colors were reds and greens of a "non-Christmas" hue, sort of pink-ish, or a green with a lot of brown in it, etc.


Here is the process.  The pencil or chopstick needs to be sharpened but not too sharp.  You don't want it to poke through the fabric, but it needs to be sharp enough to poke into the wreath.

Center the chopstick in the center of a piece of fabric, then dip the fabric-covered point into a little glue.  Push the whole thing into the wreath form.  And carefully pull the chopstick out.

Repeat.

Repeat.

Repeat.

Just keep filling in the spaces until you don't see any more of the wreath.

You can see that I left the plastic covering on the wreath, but I did remove the label!  I suppose a styrofoam wreath might have worked as well--I haven't tried that.


And here is the final result.  I'm very happy with it.