Friday, July 24, 2020

Pattern File Box

I store a lot of my patterns in a file cabinet beside my machine.  That works pretty well.  But I noticed that the files were getting "messed up" with the smaller patterns (the kind that usually come in plastic covers).  They didn't fit the 8 1/2" x 11" format of the file drawer!

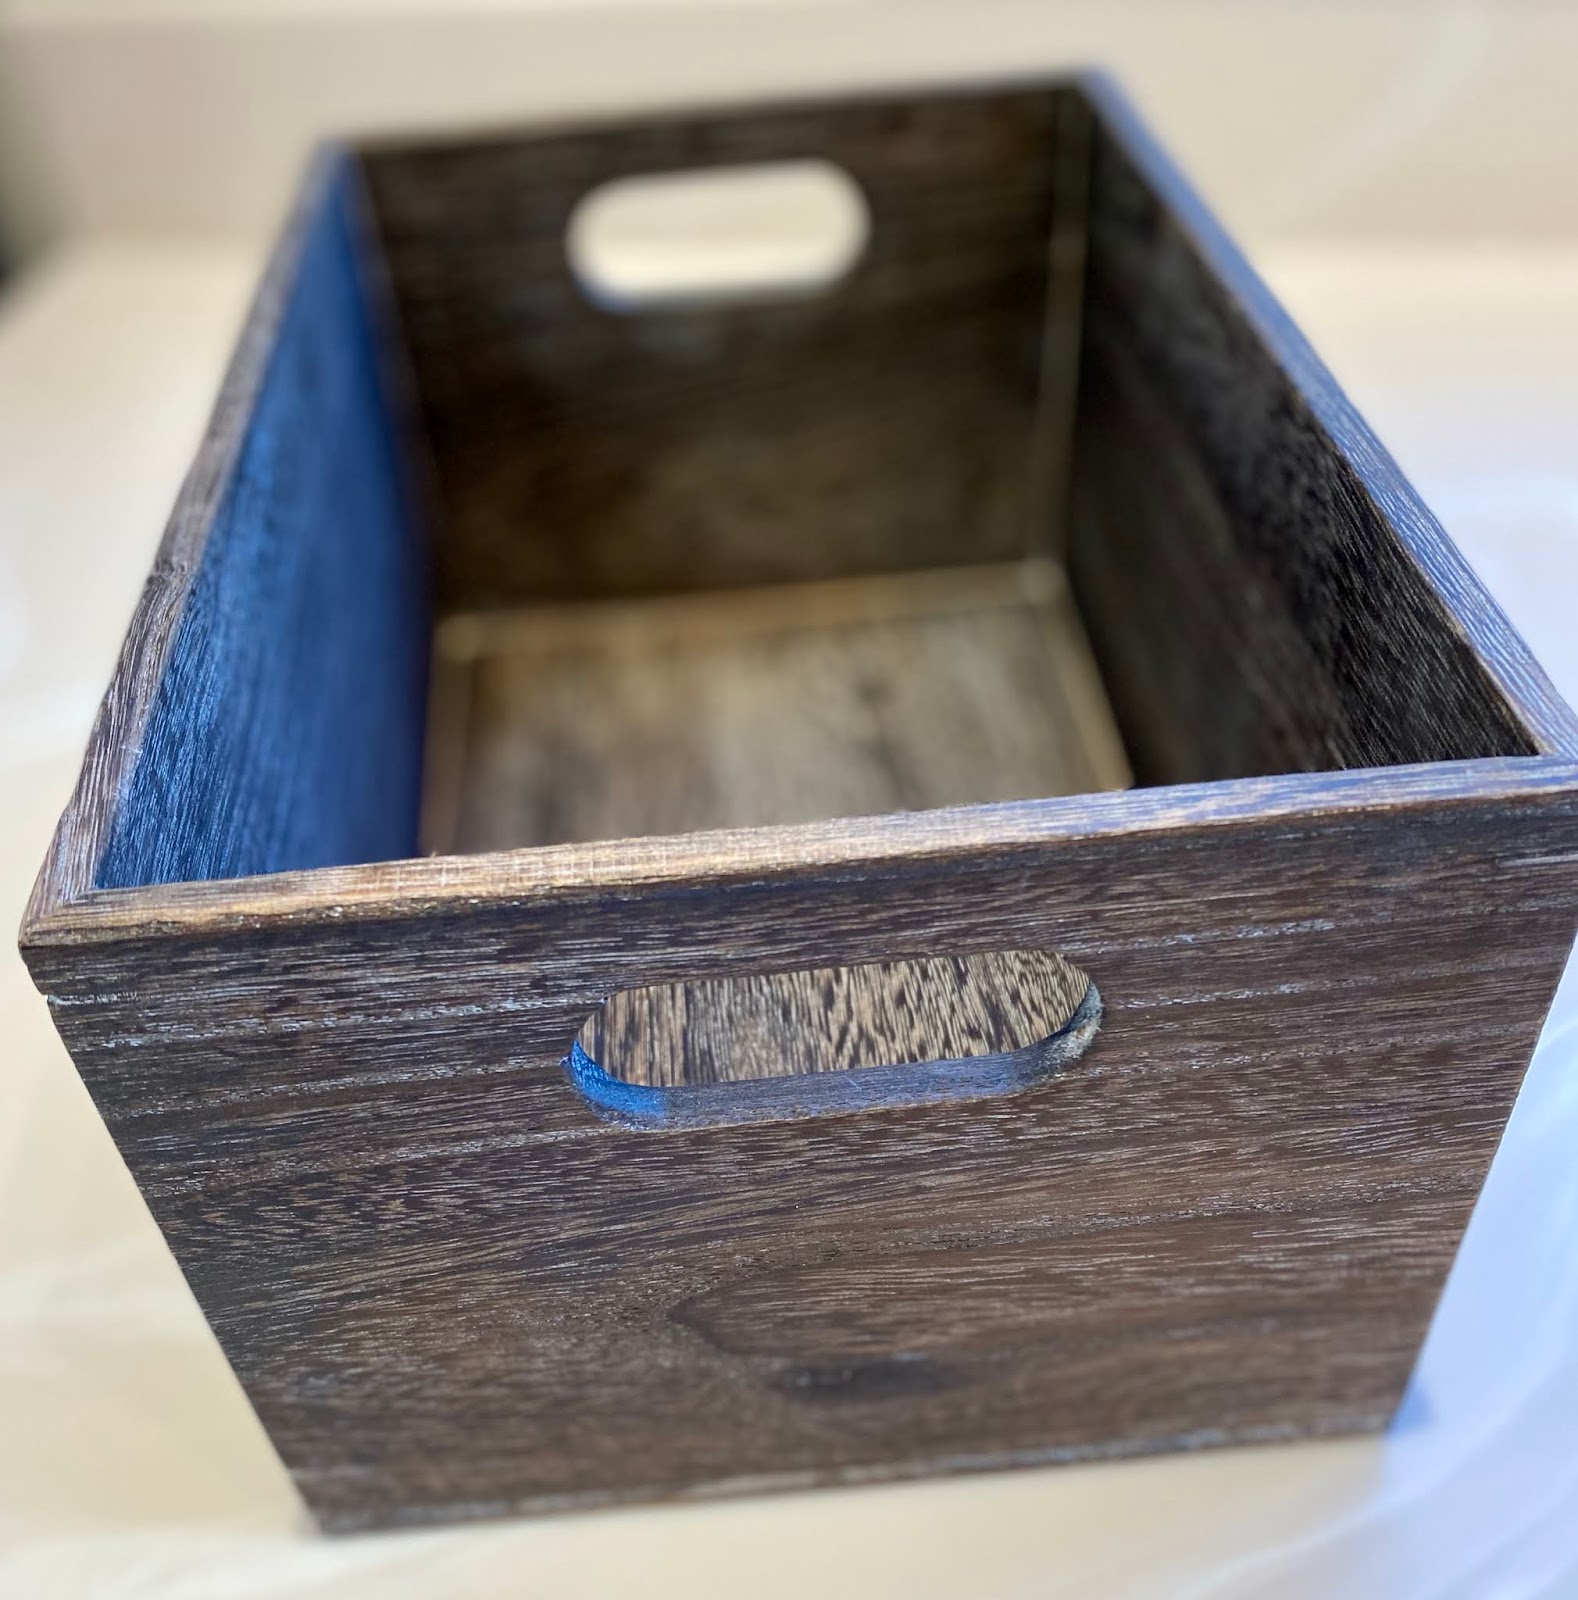
 Then I found this small file box.  (Sorry, I can't remember where I ordered it.  It's been sitting around for a while!!)  And I put all of the smaller, plastic-covered patterns in it.  They fit very well.  Just right!  

But I realized that I would have to look through the whole box to find a particular pattern.  That was when I decided to make file divider cards for it.  


Cereal boxes to the rescue!!  Really, they have so many uses, don't they.  What would we do without cereal boxes?


I used my stash of paper (for making cards) to cover both sides of the cardboard.  Here's the one for Christmas items.


SisterStitches produces patterns of her own to sell, so she got a file section all of her own!


This photo shows the process of auditioning papers.  Yes, just like we do with fabric!!


It turned out just slightly different in the final version.


And here is the final view!  Nice and orderly, and not bad looking, either!  I debated about whether to seal the dividers with ModPodge.  But I don't think they'll get so much handling that they will get damaged.  And besides, Finished is good, right!

Monday, July 13, 2020

Ugly Christmas Sweaters!

I found an idea on Pinterest for "ugly Christmas sweater" gift tags.  Sorry, but I've lost the link to it, so I can't reference it.  But it's very simple.  There was a pattern to print and cut out, but really, it's such a simple shape that it doesn't really need a pattern.  This is a way to use up old Christmas cards.

Here you can see the pattern I used and my tracing marks on a Christmas card.  I really needed to trace on the front, as opposed to the back (where my tracing marks would not be seen) in order to get the "sweater" positioned on the card where I wanted it.  I was just careful to cut out inside the lines.


Here are a couple of the resulting gift tags.  On the back I've simply written "To:" and "From:."  I may punch a hole in the shoulder maybe to attach with a ribbon/string.  Or I may just tape them on a package.


Pretty quick and easy craft to use up some of those pretty cards.

Saturday, July 11, 2020

Birthday for GranddaughterStitches

GranddaughterStitches had another birthday in May.  How in the world did she get to be twelve years old already!?!?!  I'm not sure if she still wants to wear a shirt with her age on it.  So I made the number on this shirt a little more subtle.


And did I mention that GranddaughterStitches loves chickens???  So I made her a chicken pillowcase.  I found the cute chicken fabric, then threw in a couple other colors to complement it.


After that pillowcase, I decided to make another pillowcase with her name on it.  I found some really pretty batiks in my stash to use.  For all of my machine appliqué projects, I fuse the number or letters to the background fabric, then do machine blanket stitch around the edges.


Then on the back of the pillowcase, I put her age, twelve. 


I think GranddaughterStitches really likes her two pillowcases.