Monday, December 28, 2020

1504 Lakeside Avenue

I have been wanting to make a certain embroided wall hanging for quite a while.  So I finally got around to it this fall.


Here is a photo of my parents' house.  I had a regular-size photo, which I xeroxed and enlarged.  I outlined the important parts of the house. 


Then I traced it onto tracing paper.  I had always thought that I'd make this a red-work project.  But then I thought, red isn't exactly my mom's favorite color.  Oftentimes one also sees "blue-work" and "black-work."  But in the end I decided to make it multi-color.


I had a lot of fun with this embroidery.  I used Frixion pens to transfer the image from the tracing paper onto the fabric.  It was a piece of fabric that I had tea-dyed a long time ago, and it had a fusible lining on the back.

I'll show you some of the detail.


Finished with the embroidery, I had to decide on border(s).  These next four photos are really poor quality, but all I was wanting to see was color combinations.


I finally decided on a green flange with the brown grunge fabric.


Of course, I added a hanging sleeve and a label before mailing it to MomStitches for Christmas.  
Of course, I forgot to measure it, but it's not real huge, maybe 15 inches wide(?).

Tuesday, December 22, 2020

A Christmas Wreath

 I made a new Christmas wreath last week.   I got the idea from a wreath I saw at my local quilt store, The Loft, in Gualala.  I saw it in the store a couple years ago, but one thing and another (including a broken arm!) got in the way of my finishing it.  Here's how I made it: 


Tools you need are a chopstick (or 2) or a pencil, a straw-wrapped wreath form, some glue, and quite a few fabric squares about 3" by 3".  I rough cut my squares with a wavy blade to reduce fraying.


This glittery, glow-in-the-dark glue will be wasted here!  But it was handy.


You will actually need many, many of these fabric squares!

I do not know how many squares I cut.  I was keeping track of the count, just for fun (?), but I can't find the little paper with my count on it.  If I find it I will amend this blog post.


I basically used red and green fabrics, with a few "rogue" colors thrown in for variety.  My rogue colors were reds and greens of a "non-Christmas" hue, sort of pink-ish, or a green with a lot of brown in it, etc.


Here is the process.  The pencil or chopstick needs to be sharpened but not too sharp.  You don't want it to poke through the fabric, but it needs to be sharp enough to poke into the wreath.

Center the chopstick in the center of a piece of fabric, then dip the fabric-covered point into a little glue.  Push the whole thing into the wreath form.  And carefully pull the chopstick out.

Repeat.

Repeat.

Repeat.

Just keep filling in the spaces until you don't see any more of the wreath.

You can see that I left the plastic covering on the wreath, but I did remove the label!  I suppose a styrofoam wreath might have worked as well--I haven't tried that.


And here is the final result.  I'm very happy with it.


Tuesday, December 8, 2020

Fabric Shopping Bags--Where Have They All Gone?

I count it as just one more tiny sad thing about this quarantine period.  But we are not able to use our fabric shopping bags.  And I fully agree--I'm not arguing the point.

So while my shopping bags are unoccupied, shall we say, I decided it was a good time to wash all of them.  Here are some of the bags.


Most of these bags are courtesy of the Green Bag Lady.  Teresa has changed the world, I believe, by giving away thousands upon thousands of fabric bags.  All over the world.  You can visit her website here..


This bag is not actually from GBL, although I used her pattern to make it.  I love it because it is made from fabric by Harmony Art.  It's a nice sturdy fabric, too.


I'm pretty sure that this next one is the first bag I ever received from GBL.  It, too, is made from Harmony Art fabric, a very cute little child's alphabet design, with cute little words spelled out in the grid.


And here is its number.  Each bag is numbered and kept track of at the GBH Headquarters.  This bag is number 5,349, fairly early on in the production history.


This is another beautiful Harmony Art print, this time a very pretty polished cotton which has a luxurious feel to it.


Then there's this bag, from the year of Nashville's flooding.  (Can't remember the date.)


This is its number, though, #10,332.


Further on in the progression of bags given away/number of bags.


I count myself fortunate to have had the privilege of working with Teresa, just a little bit, by helping to hand out bags at grocery stores with her and with her "Bag-ettes."


This is my most recent bag (which is the polished cotton shown above), #55,545, which is a great number, don't you think!  The number of bags that have been made to date is about 70,000.  Isn't that fantastic!


So, whenever we do get to emerge from our lairs, I will have nice clean fabric bags to use.  Thank you, Harmony and Teresa!

Monday, November 2, 2020

Baby Bathing Apron

I found the greatest idea on Pinterest!
(Bet no one has ever said that before, right?!?  Just kidding!)
The idea was to make an apron to wear while you're giving your baby a bath.  The top was like a normal apron, but the lower half was simply a towel.  

Isn't that the greatest idea?!?


Here is what I ended up with.  


I found a cute little anchor print fabric to use for the apron top and the little corner piece to dry the baby's head.


This might come in handy, with a new little BabyStitches in our family.


Saturday, October 31, 2020

New BabyStitches (and Sewing, Too!)

Announcement Time!  

There is a new BabyStitches!  Yes, BabyStitches is now a big sister.  I'm so 
excited--we all are--to welcome this new little one into our lives.  And Misses/NanaStitches has been doing some sewing for the little one.

A new baby does present a bit of a naming problem.  Do I need to change all of my GranddaughterStitches' names?  When my first BabyStitches didn't want to be called a baby anymore (totally understand that) I renamed her GranddaughterStitches.  That was easy.  Then I had a new BabyStitches and all was well.  But now I'm going to have another BabyStitches, so I need a new name for the former BabyStitches (who will soon turn four).  So I'm trying to think of a new name to use.  BigSisterStitches?  (maybe)  LittleGranddaughterStitches?  (kind of long)  Maybe I should change the older GranddaugterStitches's name to something like BigGranddaugherStitches?  (I don't know)  My little brain is trying to work on this problem.  If anyone can suggest anything to me, I'd really appreciate it.

When BabyStitches was born, I made her a little mermaid sleeper and her parents really liked it.  It is from a pattern that I found at SeeKateSew.  It's a very good pattern, and has different sizes included, so I made one sleeper in a newborn size, and one in size 3-6 months.  KittyStitches is checking out the ties at the bottom!


Here is a closer photo.  I know, it's not a very baby-like print, but it is the only jersey knit fabric that I have in the house!


And then I found this blue jersey knit fabric, which--again--is not very baby-like.  The photo below shows the ties at the bottom when they are not tied together, before they become a mermaid tail!


And all tied up into a mermaid tail!


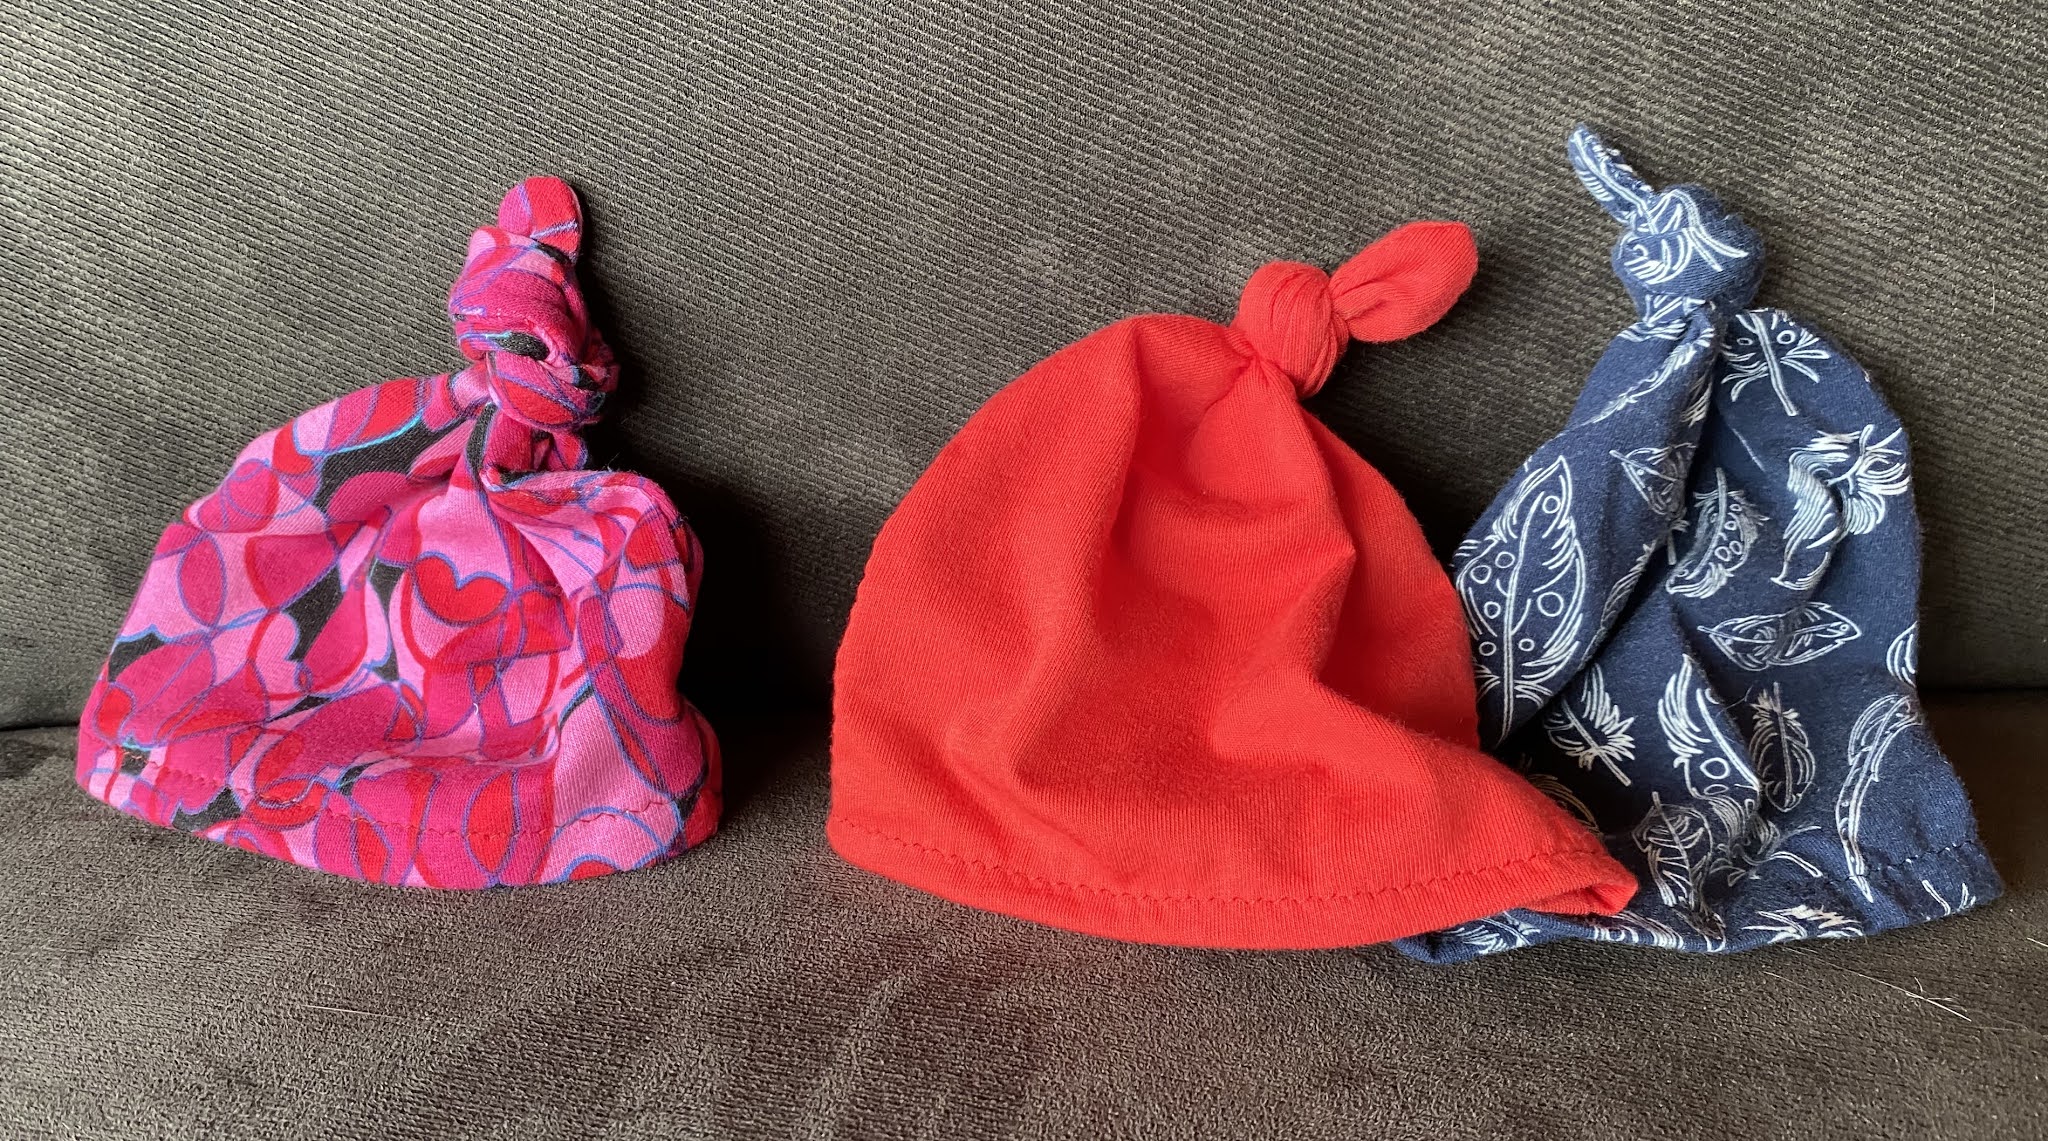
Same website, SeeKateSew.com, also had a cute simple little knotted hat pattern, so I made a few of them for BabyStitches, too.


On Pinterest I found a cute pattern for a bandana bib.  I'm really, really sorry that I can't find the source to link to for this.  I usually pin things to my boards right away, but I didn't this time.  And the author didn't put his/her name/website on the pattern pieces which I printed out.  (So sorry not to give credit where credit is due.)  The front piece is cut just a little bigger than the back piece to form this sort of cowl on the front--just like a bandana would have.  Then I used embroidery designs from a previous post here) to appliqué a letter onto the bib.  I was told by SonStitches and Daughter-in-lawStitches that BabyStitch's name might begin with an A.  


In the back I sewed a little yo-yo to cover the snap.


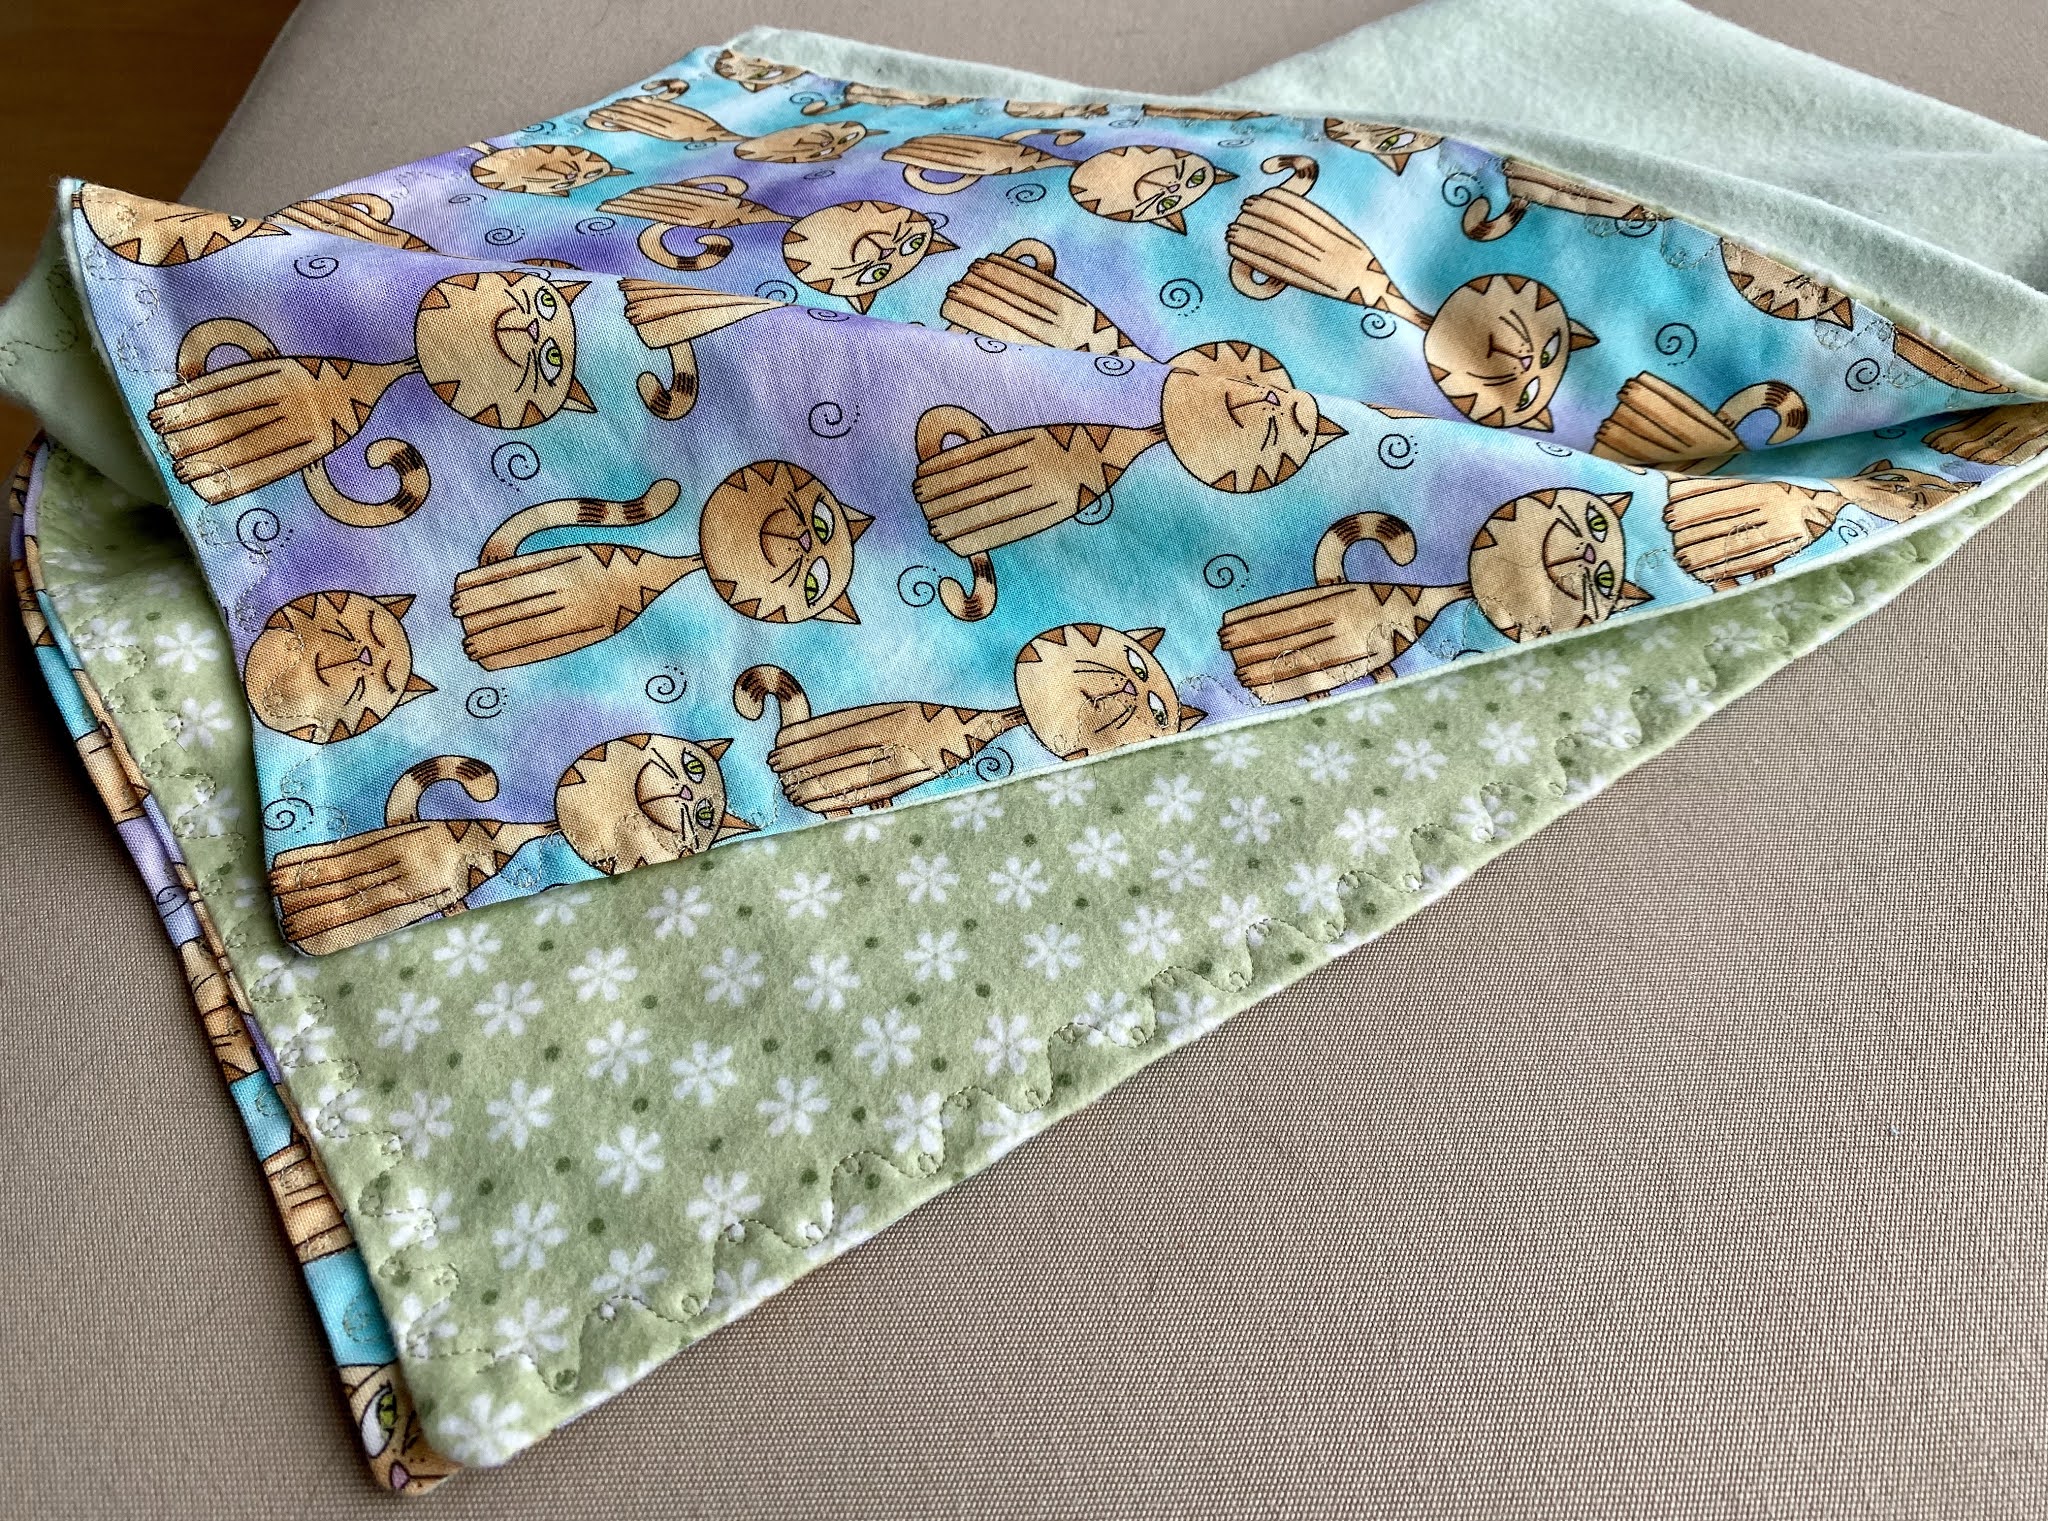
  I found some flannel in my stash, so I paired it with a cute little cat print, and made it into an "unquilted quilt"/receiving blanket.  Simple pillow-case sewing, then sewing a decorative stitch around the outside edges.


Here's a close-up of the decorative stitch.  I think it's quite pretty.  You know, we have a gazillion different decorative stitches on our machines, and hardly ever use them.  So I was happy to find a place for a decorative stitch.


Some more flannel from my stash got turned into another receiving blanket.   I just hemmed the edges of this for a one-layer receiving blanket.


I especially like the words on this fabric!!


I am working on another baby project (more on that later) so I used some of the leftover fabrics from that to make a couple burp cloths.  I used the same decorative stitch around the outside of these. 

Sunday, August 30, 2020

Making Cards

I recently made some more greeting cards, and I used a technique I found on (good old) Pinterest.  The technique is called "One Sheet Wonder."  The idea is that you take one sheet of decorative paper of your choice, and then cut it according to some given directions.  The result is several cards all using that special paper, with none of the pretty paper wasted.  

(Just go to Pinterest and search for One Sheet Wonder.  There are directions for different sizes of decorative paper, some 6" x 6", some 12" x 12", etc.)

And here are the cards I ended up with.


The directions show you suggestions for how to use the resulting pieces of decorative paper to assemble the cards.  Of course, one can do that, or one can invent some new designs.  I followed some of the suggestions, and made some cards with my own designs.


A few close-ups now.  I really liked this way of using little tiny 1" squares.  


Here I added a piece of doily and a little flower with a brad.


All of the suggested card layouts were quite precise, exact, planned out, centered designs.  This was the last card I made, and I decided to do something a little more "haphazard."  And I really like it!


I'm sure I'll use this technique again.  It's a good way to get a lot of cards made efficiently, and to work in a series.