Sunday, September 27, 2015

Fun With Paper Piecing


I had some great fun sewing Christmas ornaments this past week.  I really think paper piecing is fun, and I love what small "pictures" can be created, with such precision.


The three above are Carol Doak patterns, available free on her website.


Look at that tiny candle above with its itty-bitty flame.  The flame measures 5/16" tall.


I liked the zig-zaggy strips at the middle of this ornament.


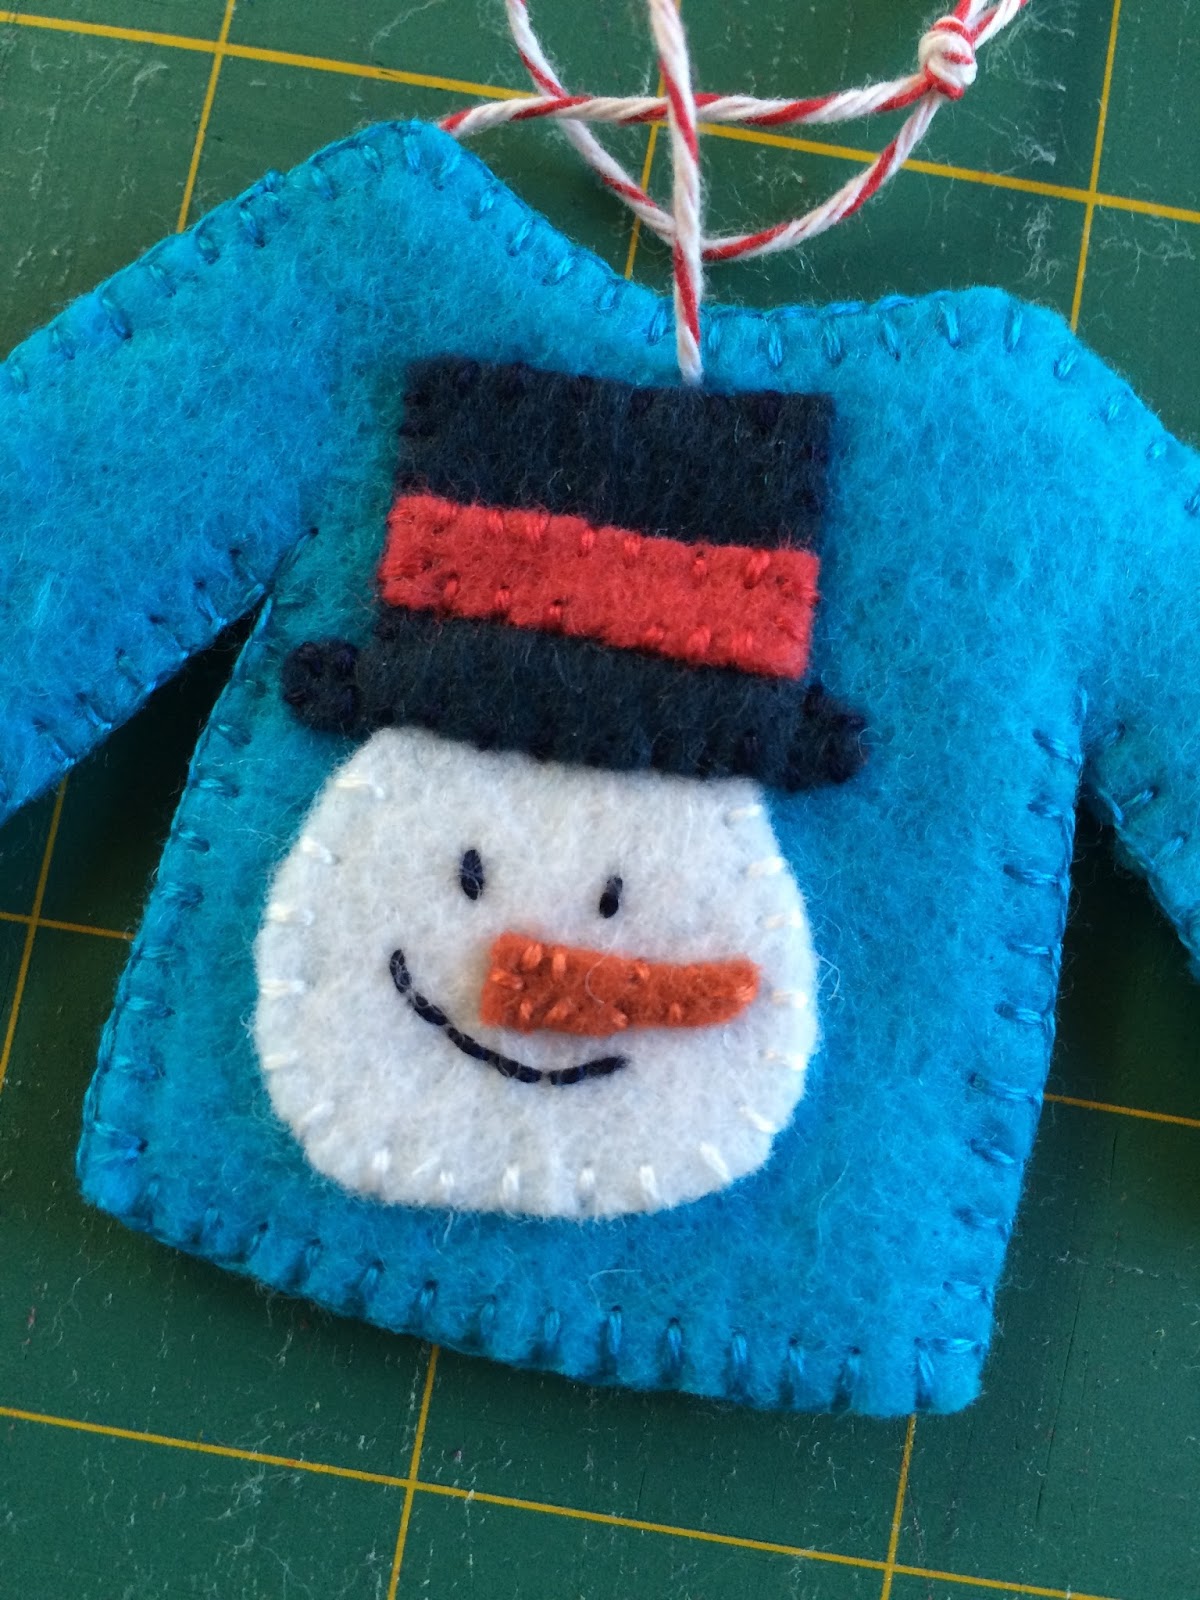
Mr. Snowman still needs some work (embroidery) to give him a face and some buttons.


I love this tree.  And with so few pieces, it's very easy to put together. 

* * *

And then I made a couple more, that were not paper pieced.


This one took a little fussing, but in the end turned out well.  I think the second one will be a lot easier.


And here is a teeny tiny Christmas quilt!

I love making Christmas ornaments.  My goal is to have a tree with nothing but hand-made ornaments.  
"Made in the U.S.A."

Friday, September 18, 2015

Christmas Ornaments

Last year I subscribed to Shiny Happy World's Christmas ornament club.  It was so much fun that I decided to do it again!  I bought the felt fabric bundle and signed up for the patterns.  I'm now on my third week of twelve ornament patterns.


The first pattern was for a snowman sweater.  I actually made two of them.  This was fun to do.  The pattern didn't call for it, but I cut a piece of thin batting a little smaller than the sweater and put it inside, just to add a little fullness to the sweater.


The next week came a pattern for a cute little dachshund puppy wearing an adorable Christmas sweater.  I have a friend who used to have dachshunds, so this ornament makes me think of her. 


Last week's pattern was a cute teddy bear.  I added the Christmas ribbon to give him a little flair.


I wonder what the other ornaments will be this year!  I'll keep you posted.

Monday, September 14, 2015

My President's Quilt

I finally got all the squares put together for my president's quilt.  In our guild each president can request that the members make individual blocks for her to put together into a quilt.  I received 53 four-patch blocks, each containing two squares of my chosen fabric, which I cut down into wonky four-patches. We won't mention that I was president in 2010-11, so who knows why this has taken me so long!!


Then it was time to choose borders.  I was really torn here, and auditioned many different combinations.  I had some companion fabrics to my main fabric, and came up with many other possibilities from my stash.


I even emailed photos to some friends to ask their opinion!


And this is the one I ended up choosing.  Yellow, with a narrow strip of red, and finally the large border of my main fabric.


The next step was making a backing!  I had some lovely border print from the fabric line, so I worked around it.  My quilt is square, so it made it easy to start with a square in the middle and work my way out from there.  I had three extra blocks from friends that were left over, so I made another block and put those four on the back of the quilt.  This quilt is pretty big, and I was not able to photograph all four completed sides of the back.


And now I'm working at the machine quilting.  I'll show you some close-ups of the quilting designs a little later.


Saturday, September 5, 2015

A Small Giants Bag


I recently made myself a new bag to take to Giants games.  This is the same pattern as my previous bag, which had gotten dirty and a little worn--time for a replacement!


I traced a San Francisco Giants logo and embroidered it onto the outer flap.  You can see there is a zipper pocket on the outside.

This time I chose to use orange and black Kona cotton, instead of the baseball prints.  I'm guessing that a black binding will not show very much grubbiness!


This is a view of the inside, after the flap is lifted.  There is a zipper pocket, and also an expandable (pleated) pocket, which is a perfect fit for my iPhone.


And another pocket on the back of the bag.


I decided to try a magnetic closure this time, and sewed it inside the fabric layers.  But I'm not sure it will be strong enough, so I think I'll add a black velcro closure, too.