Saturday, December 9, 2017

Happy First Birthday to BabyStitches!

As I did for my first GranddaughterStitches, I'm making "number" t-shirts for the new BabyStitches in our family.  I usually buy a t-shirt in the appropriate size for this project, but I'm kind out of the shopping area right now, so I turned to Amazon, as usual.  I could not find a single onesie!  But I found multi-packs, so I bought four of them.  

I used some very pretty fabric that I found here.  And I used a different font for each onesie.


This close-up shows that I used a blanket stitch to secure the fused numbers.


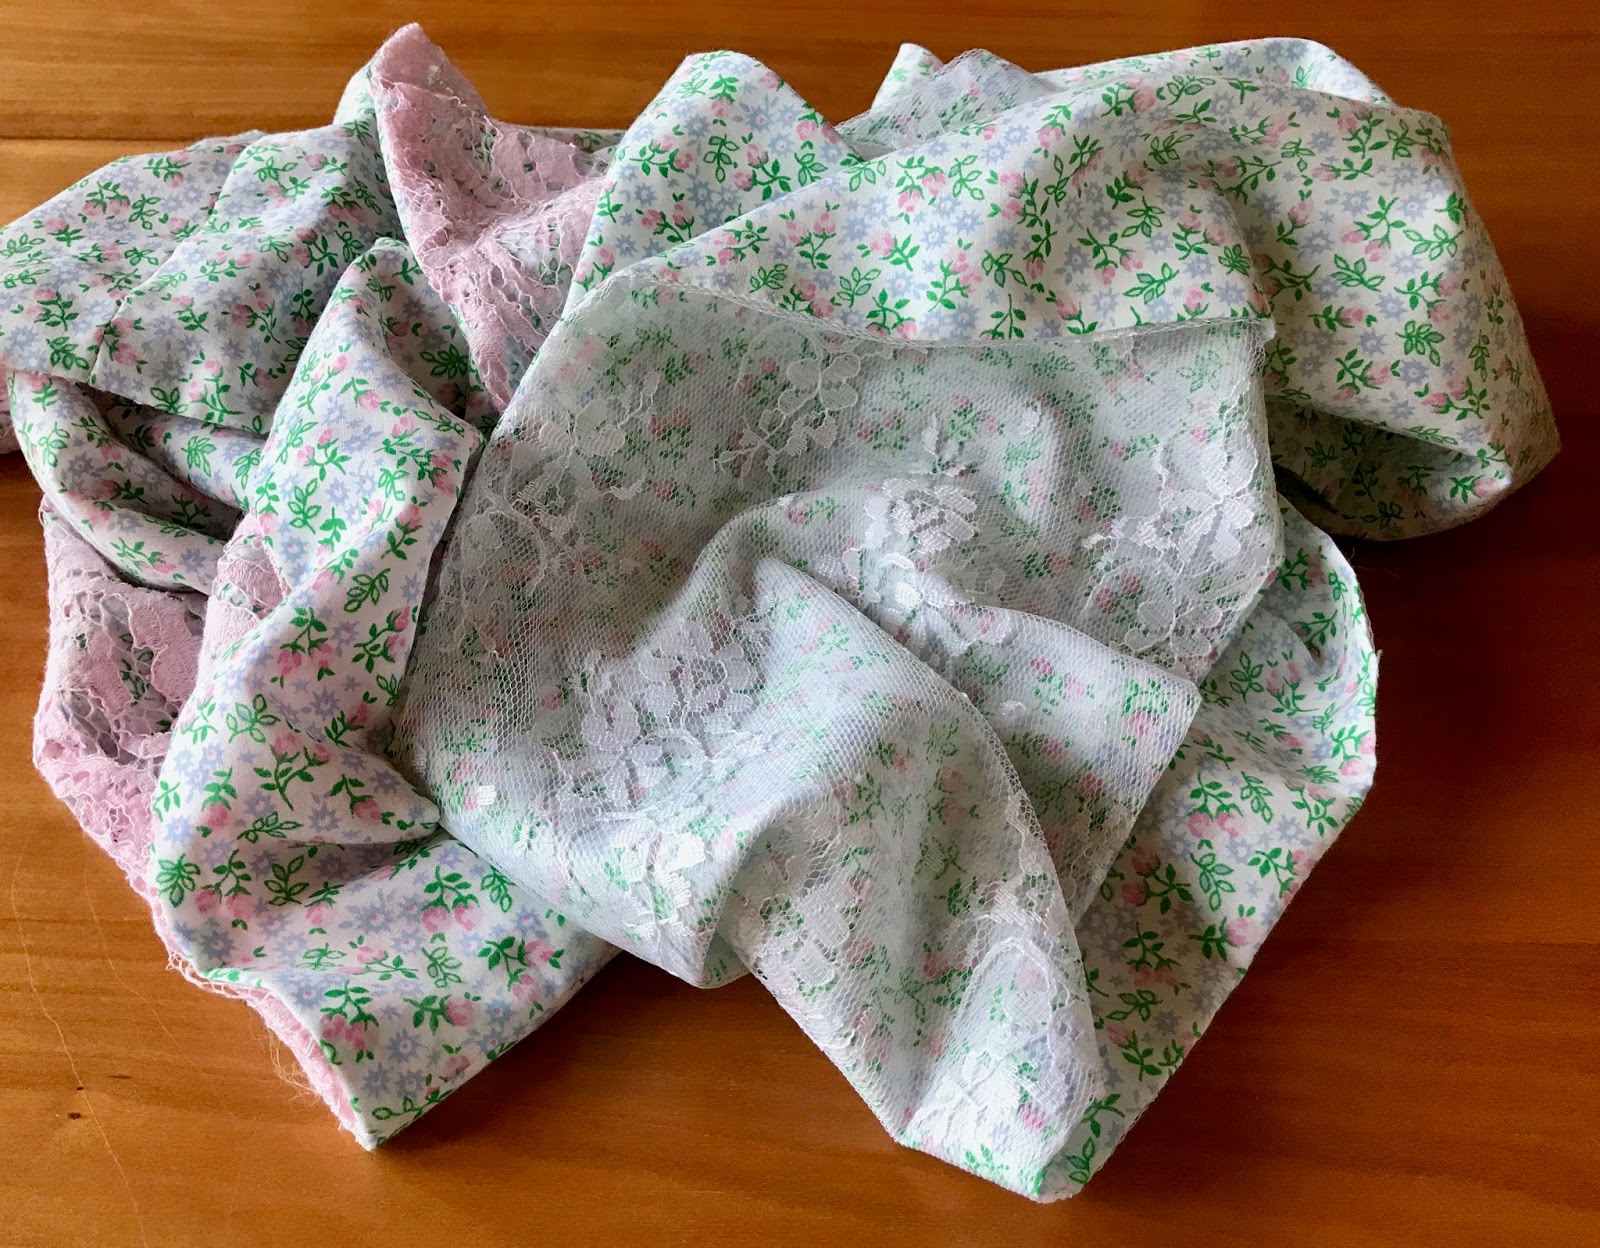
For the pink one, I added a little ruffled lace around the neckline.


I liked the "random" prints that were included in this set-of-four.


For the final onesie, I decided to do something different.  So I added a skirt to the top, which I think makes a cute little outfit.  Thank you to Create and Babble, found on Pinterest, for the idea and the instructions.


And Happy First Birthday to you, BabyStitches!
Love, Nana

Saturday, November 25, 2017

A Quilt For Little Hudson

I have another NieceStitches who had a baby this summer, a little gentleman named Hudson Robert.  Isn't that a nice-sounding name?  I love it!

I chose to do half-square triangles for this quilt.  What a surprise!  I paired blue and white squares for the main part of the quilt.  And I intentionally made the design off center.  You can see where I started it in a previous post.


For the back of the quilt I used two different blue fabrics.  (I think it's cute how the quilt looks with the sun shining through it.)


I used a paisley sort of design for the main part of the quilt.


 In the first border I simply quilted a wavy line of stitching all the way around.  Several trips around the quilt, to be precise!


In the white outer border I used a simple wavy line with balloons on it. . .


. . . till I came to one point and decided to try quilting Hudson's name.


I'm pretty happy with this quilt, and I can't wait to meet the little guy!


Saturday, November 11, 2017

Gorgeous, Dahling!


A friend who is moving decided to whittle her stash down to a packable amount, so she held a fabric sale at her house.  Yes, I really do need some more fabric!!

I found a few really pretty fabrics, including some whites/near whites, which are always good to have.  


My treasure, though, is these gorgeous, luscious fabrics.  Aren't they beautiful!


They are all fat quarters, and I purchased them for a song! 


I think they are really pretty pieces that can be used for some lovely splashes here and there.


Thursday, November 2, 2017

A Logical Progression

As I showed you in a previous post, I added some lace fabric to flowered fabric to make two scarves for myself.  And as there was still lace left when I was done, I think the logical progression is:


A scarf made from the two colors of laces sewn together.


Again, it was a little "futzy" sewing the lace.  I needed to pin carefully (and it's hard to pin fabric that is full of holes!) and again, I used tissue paper underneath for a stabilizer.

I thought of using my little red clips instead of the pins, but then decided against, and toughed it out with the pins.


Friday, October 13, 2017

Sewing Difficulty: Improving

Before

After
My broken arm is healing as well as can be expected.  And I am so, so very happy/thankful to be sewing again.  I can't do everything, but I can do enough to keep me from going bonkers!

Hand sewing is a little harder than machine sewing, from having to hold my left hand under the sewing item.  It helps if I wear my splint. 

Crocheting goes fairly well, unless I try to go too fast! 

My hand and fingers are getting stronger and stronger, which is gratifying.  However, my arm is not strong enough to hold down a ruler and use a rotary cutter with my right hand.  It is, though, strong enough to hold down the ruler so that I can draw a line on the fabric with my right hand.  Then I can use a scissors to cut the fabric along the line.  Not as nice as using a rotary cutter, but it works.  I feel  like I'm doing things the "old fashioned" way!  I have discovered something not very surprising:  cutting fabric this way is not nearly as accurate as using a rotary cutter.

Most of my typing of emails, etc, has been done without capital letters, as my left little finger is very weak, and still some numbness/tingling with it, due to nerve damage during my fall.  For some reason, my right little finger just doesn't know how to use the shift key!

Monday, October 9, 2017

Christmas Ornaments, Already!?!

Yes, I'm making Christmas ornaments.  I'm working on some embroidered ones (like I've made in previous years, like these), and also made a couple little spool ornaments.  


I love wooden spools!


For these ornaments, I simply used a blue sparkly fabric to cover the spools.  (No real explanation or how-to needed for this, I think.  Simply turned under edges and glued to the spool.)


Then I looked at the ends, and they looked rather ugly.  There were no labels, but unattractive glue residue.  I didn't really want to bother with painting, but I wanted those ends covered.  So I grabbed a silver sharpie and that did the trick in no time.  

Then I glued plastic snowflakes (bought for use in making cards, which I've done) on the ends, before finally adding some silver ribbon for a hanger.


As you can see, I made one in the horizontal direction, and one vertical.  I'm pretty sure I'll be making some more, in other Christmas-y colors.

Sunday, September 24, 2017

Lacy Scarf

I've had a piece of fabric in my stash for quite a while, maybe about twenty years--seriously!  I am so glad that I kept it, because it has now become two separate scarves.


I thought it would be nice to add some lace as part of the scarf.  Both to be decorative, as well as to make the fabric go a little farther.  I had seen this done on Pinterest, so thats partly where the idea originated.


Below is a close-up of the fabric, which is a very delicate little floral pattern.  It also has that really fine feel of some Italian cottons, or Liberty cottons.  It is not, however, a Liberty fabric.  It really is quite old, and was once a full skirt for myself.  (MisterStitches even remembers the skirt!)   I think I added a lace trim to the bottom of the skirt, and might have involved some lace at the waistband.  I loved that skirt!


So here are the two scarves, one made with pink lace and one made with white lace, because I just could not decide.  I did have some trouble sewing the lace.  With my first attempt it gathered terribly.  So I put out a plea to my quilt guild, asking for help.  Right away I had several responses, several of which suggested using a stabilizer of some kind.  (Really, I should have thought of that!  Rookie mistake!)  Using the paper stabilizer fixed my problem and made the scarves turn out well.


As soon as I moved the chair to take these photos, KittyStitches had to jump up on the chair to get in the picture, too!


There is actually a little bit of cat tail on the left side of the photo below!


Sunday, September 3, 2017

Scarf From A T-shirt


I saw a post on Pinterest about making a scarf out of a t-shirt.  (Here)  Then, when a friend (thank you, GS) offered me an unused t-shirt, I grabbed it up!  The directions are good, as well as simple.  

I simply cut crosswise strips (about 1 to 1 1/2" wide).  I used only the main part of the shirt, from under the arms to the bottom, but not including the bottom hem.  Since I broke my arm in May, I still don't have enough strength in my left hand/arm to hold down the ruler, which means that I can't use my rotary cutter.  So I had to use a scissors.  The only downside to this is that some of the strips had little jags or jogs on them.  But I don't think it's very noticeable.

Then came the fun part.  I stretched out each and every "circle" I had cut.  That makes the strips curl up into little rolls.


I took six of the strips and braided them together into two braids.  


Then I simply gathered them all up together.  For the "fastener" I cut some of the t-shirt fabric from an unused sleeve.  The braids got loosely sewn by hand into the bunch of rings.  


Then the fastener got sewn shut, enclosing all the loops and the ends of the braids.  Now I'm thinking if I had made the fastener a little prettier (maybe no raw edges showing), that would make it feasible to wear the scarf with the fastener partway down the side.  For another look.

Back side of the "fastener."

And here is my scarf.  I was actually wanting to make a scarf in a neutral tone, so this really worked for me.  


Saturday, August 26, 2017

Half-Square Triangle Quilt

Some of you know that I love love love making and using half-square triangles!  Maybe it's something about the idea of sewing the seams and ending up with two blocks when I'm finished that turns me on.  I'm not sure.  

Anyway, I recently sewed some white squares with blue squares from my Bear Patch Bits.  

I press them four at a time, with the dark side on top.  First I press them as sewn, to set the seam, which I learned on Fons and Porter.


Then it's easy to "unfold" them and press the seam to the dark side.


Pretty ironing board cover is compliments of SisterStitches!


I put them up on my design wall, but it looked too small to me.  So I chose more blue squares, and paired a light blue square with a darker one.  Made them into HSTs, and put them around the edges of my first group of HSTs.


I like how the second group of blocks sort of "contains" the first blocks.  Now the plan is to add a white border, then bind it all up with a dark blue.  Should make a nice little baby quilt.

Thursday, August 17, 2017

A Skirt For GranddaughterStitches

While GanddaughterStitches was here this summer, I proposed making something for her to wear.  She said she'd like to have a skirt, so we "went shopping" in my stash.  And she chose a fabric which has many different colors in striations, one of my favorite fabrics.

I made a simple gathered skirt, and she loved it.


Then, after she left to go back home, I thought I'd take the fabric leftovers to make something to go with her skirt.  In town I found a shirt with our town's name on it. 


 I didn't have a lot of fabric left over, but I had enough to add a little ruffle to the t-shirt sleeves.  I hemmed the edges with a little decorative stitch.  It's fun to use those stitches once in a while!


Because the fabric is extremely variegated, the two sleeve ruffles ended up being different.


But that's ok.  As DaughterStitches would say, "It is what it is."


And here is GranddaughterStitches with her complete ensemble.

Tuesday, July 18, 2017

Back To "Work"

I told you about breaking my arm/wrist previously here.

I'm happy to report that I've been improving a lot.  I now have a removable splint, which gives me more freedom to do things.  I've been going to physical therapy, and doing stretching exercises at home.  I still have a way to go till I have full mobility and strength, but I'm getting there.

I'll show you the before and after x-rays.


This is the original x-ray.  My arm is lying palm down on the table, and there's really not supposed to be a curve in the forearm like that!


This is the latest x-ray, after the second surgery.  Yes, sometimes once is not enough!  I can now call myself bionic, as I have a metal plate in my arm!  They told me it's not big enough to bother the airport metal detectors.


With all this improvement, I'm now able to sew on my machine.    A few things are difficult, such as changing the foot, because that's usually done with the left hand on my machine.  And my left hand doesn't bend like it's supposed to!  I'm really happy to be back sewing.  I tried a little crocheting, but that didn't work, as I needed to bend my left wrist too much and it was making it hurt. And today I tried some hand appliqué.  I thought I could do that because all my left hand has to do is hold the fabric, right?  Well, it does more than that, apparently.  I took four stitches, which were rather awkward to do, and they looked terrible.  So no, I'm not embroidering yet.

But soon.  I hope.

Friday, June 23, 2017

Are We Crazy, Or Not?

People often say that we quilters are crazy because we buy fabric, then cut it into pieces, and sew the pieces back together again.  Well, maybe I am crazier than usual, because in this case I cut up the fabric, sewed the pieces together, and then I cut up those pieces yet again!

A long time ago, I started working on a hand sewing project. Can't believe it was two years ago!  (2015--check it out here!)

I appliquéd approximately one gazillion (I counted!) circles onto squares of fabric.  Many different fabrics and four different sizes.


Then I needed to cut most of the squares into quarters.  After that I rearranged them all and sewed them back into squares.  On some of the large squares I sewed a small square on as one of the quarters.  (As shown below)  Did that make sense?!? 


This is a great big stack of 130 squares.


It was fun rearranging the squares to sew them together.  I dumped the pieces in a large tote bag, stirred them up, and then just reached in and grabbed one!

Interior of bag.
More interior of bag.


 I pressed the seams so they nested very nicely together when I sewed the second seam.


Now all of the squares have been reassembled, and are ready to be sewn together.  But I'm thinking that it might be a good idea to square up all of the blocks so they will go together easier.

The pattern has a specific layout.  I plan to follow that arrangement guideline when putting the squares up on my design wall.  But then I will step back and study the arrangement to make sure I don't have too many of one color all grouped together.

I'm not at my design wall right now, but I wanted to see what it will look like.  So I laid out a six-by-six grid on the bed.  And I'm pleased!  I really like how colorful and scrappy it is.  Exactly what I wanted!

As you can see, some of the squares are left with one whole circle appliquéd down, not cut into quarters.