Showing posts with label appliqué. Show all posts

Monday, May 24, 2021

The Blue Quilt (for lack of a better name!)

This is a quilt that I've been hand appliquéing for quite a while.  The top is all finished.  I added one star into it, because the theme of our guild's challenge title (the challenge show that was supposed to be spring of 2020, but which has been postponed indefinitely--maybe next year) was A Star Is Born. Any quilt qualifies for the challenge, as long as it has a pieced (not appliquéd) star somewhere in the quilt.

I was using this hand appliquéing as a traveling project, something to take along with me when I'm on the move.


After I got the squares put together, I saw a friend's quilt which I really loved.  She had put a narrow white border around the quilt, with a wider pieced border around that.

So I went to my strips box.  It was handy because of the strippy star quilt that I made recently.  I pulled out all the blue fabrics.  I cut some muslin rectangles, 6" wide by about two feet long or so.  On to that muslin I sewed strip after strip after strip.


This shows my little iron (beside my sewing machine) where I'm stitching the strips to the muslin.  Grab a blue strip, sew RST to the last strip, iron, return to machine, repeat.


This is how the quilt top looks now on my design wall.  All the borders have not been  sewn together yet.


This photo shows only the top portion of the quilt.  This is not the whole quilt top

But what name to give this quilt?  I really have no ideas. "Scrappy Elipses"?  Doesn't quite roll off one's tongue.  I'm really at a loss.  I would certainly appreciate any suggestions for a name.


Friday, May 18, 2018

A Perfect Ten!

Quite a milestone!  GranddaughterStitches has turned ten years old!  So here, of course, is a shirt to commemorate the accomplishment.  


I found a very pretty batik fabric for the two numerals.  As usual, fused on and then blanket stitched on the machine.


Quite the model's pose, don't you think?!?


I told GranddaughterStitches that I could remember my DadStitches making a big deal out of my being a "two-number girl." 


And here is a tag I added onto the back of the shirt.  I have learned throughout the years that these tags are often scratchy and uncomfortable, and therefore tend to get removed from the garment.  So this time I added the label onto the outside of the shirt.


Friday, June 23, 2017

Are We Crazy, Or Not?

People often say that we quilters are crazy because we buy fabric, then cut it into pieces, and sew the pieces back together again.  Well, maybe I am crazier than usual, because in this case I cut up the fabric, sewed the pieces together, and then I cut up those pieces yet again!

A long time ago, I started working on a hand sewing project. Can't believe it was two years ago!  (2015--check it out here!)

I appliquéd approximately one gazillion (I counted!) circles onto squares of fabric.  Many different fabrics and four different sizes.


Then I needed to cut most of the squares into quarters.  After that I rearranged them all and sewed them back into squares.  On some of the large squares I sewed a small square on as one of the quarters.  (As shown below)  Did that make sense?!? 


This is a great big stack of 130 squares.


It was fun rearranging the squares to sew them together.  I dumped the pieces in a large tote bag, stirred them up, and then just reached in and grabbed one!

Interior of bag.
More interior of bag.


 I pressed the seams so they nested very nicely together when I sewed the second seam.


Now all of the squares have been reassembled, and are ready to be sewn together.  But I'm thinking that it might be a good idea to square up all of the blocks so they will go together easier.

The pattern has a specific layout.  I plan to follow that arrangement guideline when putting the squares up on my design wall.  But then I will step back and study the arrangement to make sure I don't have too many of one color all grouped together.

I'm not at my design wall right now, but I wanted to see what it will look like.  So I laid out a six-by-six grid on the bed.  And I'm pleased!  I really like how colorful and scrappy it is.  Exactly what I wanted!

As you can see, some of the squares are left with one whole circle appliquéd down, not cut into quarters.

Saturday, April 2, 2016

Spring Training 2016

MisterStitches and I took our (seems to be) annual road trip to Scottsdale, Arizona for Giants spring training.  We had a great drive down, listening to Strangers on a Train by Patricia Highsmith.  You may have seen the old Alfred Hitchcock movie by the same name.  The movie was based on this book.  


The next day I took a jeep trip to the Sonora desert, a little ways outside of Scottsdale.  That was fun!  Hot and dusty, as one would expect.  I learned a lot about cacti and desert animals and desert life.
And of course, we went to baseball games.  We were able to go onfield before one game and watch the Giants take batting practice.  It was really cool to be on the field, so close to the players.


Brandon Crawford (on the right) is one of my favorite players, in addition to being one of the cutest!  Joe Panik isn't too bad either!


MissesStitches and Hunter Strickland.
I got to have my photo taken with Hunter Strickland, one of the relief pitchers.


MissesStitches and Mac Williamson
After the next game we got to go on the field again, and I had my photo taken with Mac Williamson.    He also autographed my baseball hat.  Pretty nice guy.


With all this time in the car, I was able to get some hand-sewing done.  I hand-sewed the binding on my president's quilt, a good job done.


I can only show you a glimpse of this project, as it is for our guild challenge show in May, and I'll show you the whole thing then.  I was doing needle turn appliqué on this piece.


And here are a few Christmas ornaments that I made.  While at home, I did the pre-work of sewing two circles together.  Then in the car I sewed the openings shut, and folded up the sides to form these ornaments.


Wednesday, August 5, 2015

More On My Large Hand-Sewing Project

I've been making good progress on my large hand-sewing scrap quilt project which I showed you here.

Part of the job for this project is cutting many squares, 


and

many corresponding circles of fabric.


Then I have the job of pressing under the edges for hand appliquéing.

 I cut a finished-size template from heat-resistant template plastic.  Then I put some spray starch in the starch can lid, and use a small paint brush (or, in a pinch, a Q-tip) to get a good press on the ironed-over edges of the circles.


After that comes the job of deciding which circle should go with which square of fabric.  
This is the fun part!

Not enough contrast.

Not enough contrast, plus two busy prints together (no!)

Better contrast.

A good combination.

I iron the squares in half once, 


and then once again so that they are in little folded-over squares.  


This shows me the centers of each side of the squares.

At this point I can appliqué the circle to the square.  I fold the circle in half and finger press the very edges, then turn and do it again to make fold marks which can be matched up with the fold marks on the fabric squares.  (Did that make sense!?!)  I use a fair number of those nice smaller appliqué pins to secure everything while I'm hand sewing.  The pins are only 3/4" long, so they don't get in my way as much as longer pins do.

I'm actually making pretty good progress on this quilt.  I still have many circles to appliqué, but I've already done A Lot Of Them.  So I can almost see the end!


Saturday, June 13, 2015

A Box For My Hexie Materials (some of them!)

In some of my hexie supplies I came across this little kit, which included fabric squares and the papers.  So I quickly put it together.  Isn't it cute!!


Back side of the flower.

And I realized when I was looking through these hexie supplies that I really needed a place to corral all of them.  Because EPP has definitely gone from a "I'll try this new technique ONCE" to "Yes, I'm going to be doing more than a little bit of this!"  And I have SisterStitches to thank for getting me into English Paper Piecing.


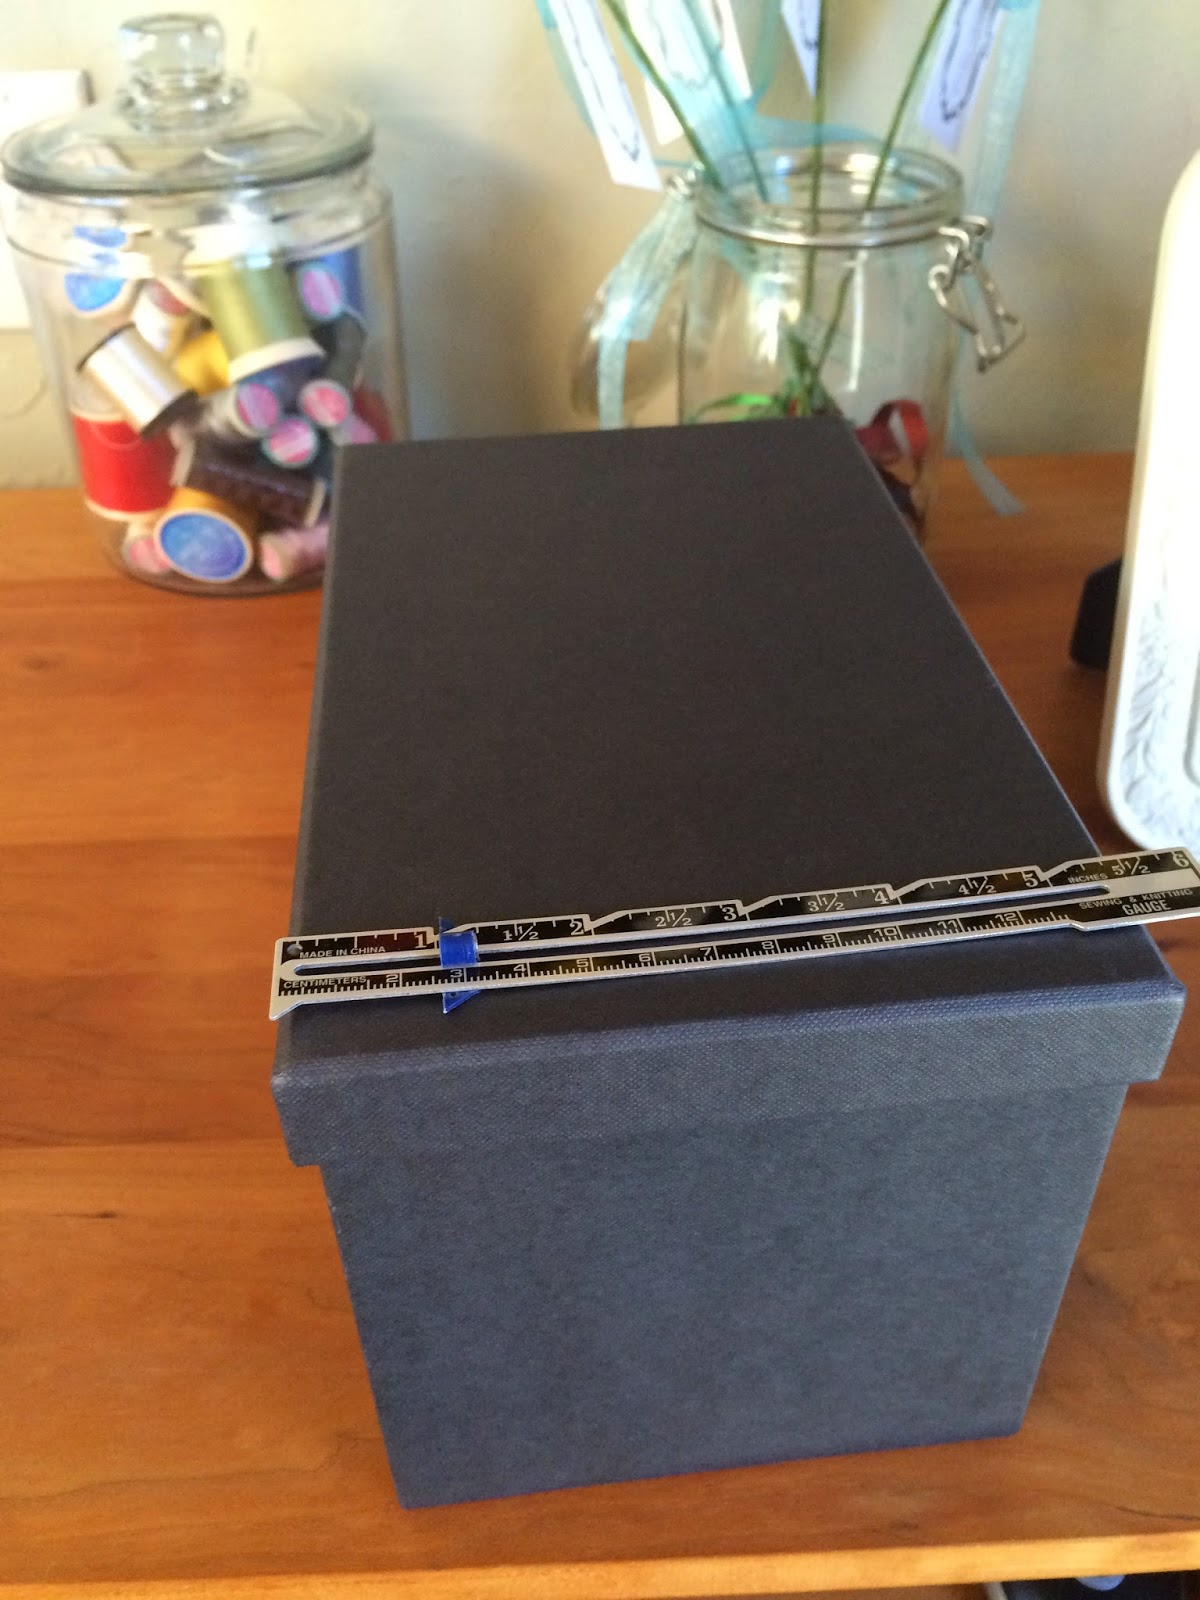
I had this storage box sitting around, not being used.  It seemed like a good size for this project.  As you can see by the ruler placed on top, it is about 5 1/2" wide.


I measured its height, too, and made this little blue fabric base wide enough and long enough to fit the front of the box, with some extra length to fold over the top of the box.

The pins show placement for the EPP flower.


The width of this flower will fit on the front very well.  On the photo above you can see where I've marked with pins just where to place the flower onto the background.


Here is the box with the EPP flower appliquéd onto the background.


I like this "label" for the box so I know what's inside.


And here is what's inside.  These are all the leftover parts and pieces, templates and papers, from 
this project, previously made from a class I took by mail from SisterStitches at The Bear Patch Quilt Company.