Showing posts with label fabric confetti. Show all posts

Saturday, October 5, 2019

"One Red Square" Quilt Guild Challenge

I think I mentioned that our guild's challenge theme for this year is One Red Square.  Anything we enter must contain one red square.  Not two squares or more, just one red square.  I came up with LOTS of ideas for this challenge!  And I carried through on most of them!

There is a large white barn near where I live.  It is the only barn in the immediate vicinity.  And it is called (wait for it. . .) The White Barn.  Every time I drive past it I think, "That barn really needs a barn quilt on it."  So with this challenge, I was able to produce a barn quilt on my very own 
White Barn.  


I used a technique which I have used in the past called Fabric Confetti.  I took a class a few years ago at Asilomar (Empty Spools) from Denise Oyama Miller and Nancy Ryan.  Here's the process in a nutshell.  First I cut the fabric pieces into "confetti."  Fast back and forth with the rotary cutter accomplishes this.  The backing fabric and batting are laid down on a surface, and the colored confetti pieces are laid onto the batting to form the picture.  

When that is finished, a layer of black tulle is (very carefully) laid down on top, being careful not to move the fabric pieces.  Then it gets safety pinned really, really close together to baste it all and to hold the tiny pieces in place.

The next step is to stipple the * out of it, using invisible thread.  That holds everything in place.  Here you can see the quilt in the midst of being quilted down.


After I did that, I laid down the white fabric pieces for the barn itself.  In the photo below you can see that I've made some "barn board" lines in the barn, as well as tiny stippling.


When that was done, I had some fun laying down brown tree trunk pieces amidst the greenery.  I added a fence, which appears in that part of the scene.  I had the very edges of the quilt turned over and pinned for two reasons.  One is so I didn't "leak" any more pieces of fabric onto the floor!  There was already enough of that!  And the other reason is to minimize the risk of getting the edge of the quilt folded over underneath where I was quilting.  Yes, I did do that, and had to rip out some very dense quilting I had done over a tree trunk.


This is just a tiny sample of what the floor looked like, as well as the clothes I was wearing.  Little tiny fabric pieces everywhere!


Here's a close-up of part of the barn, where you can see the two slightly different colors I made the barn to give an impression of shadows.
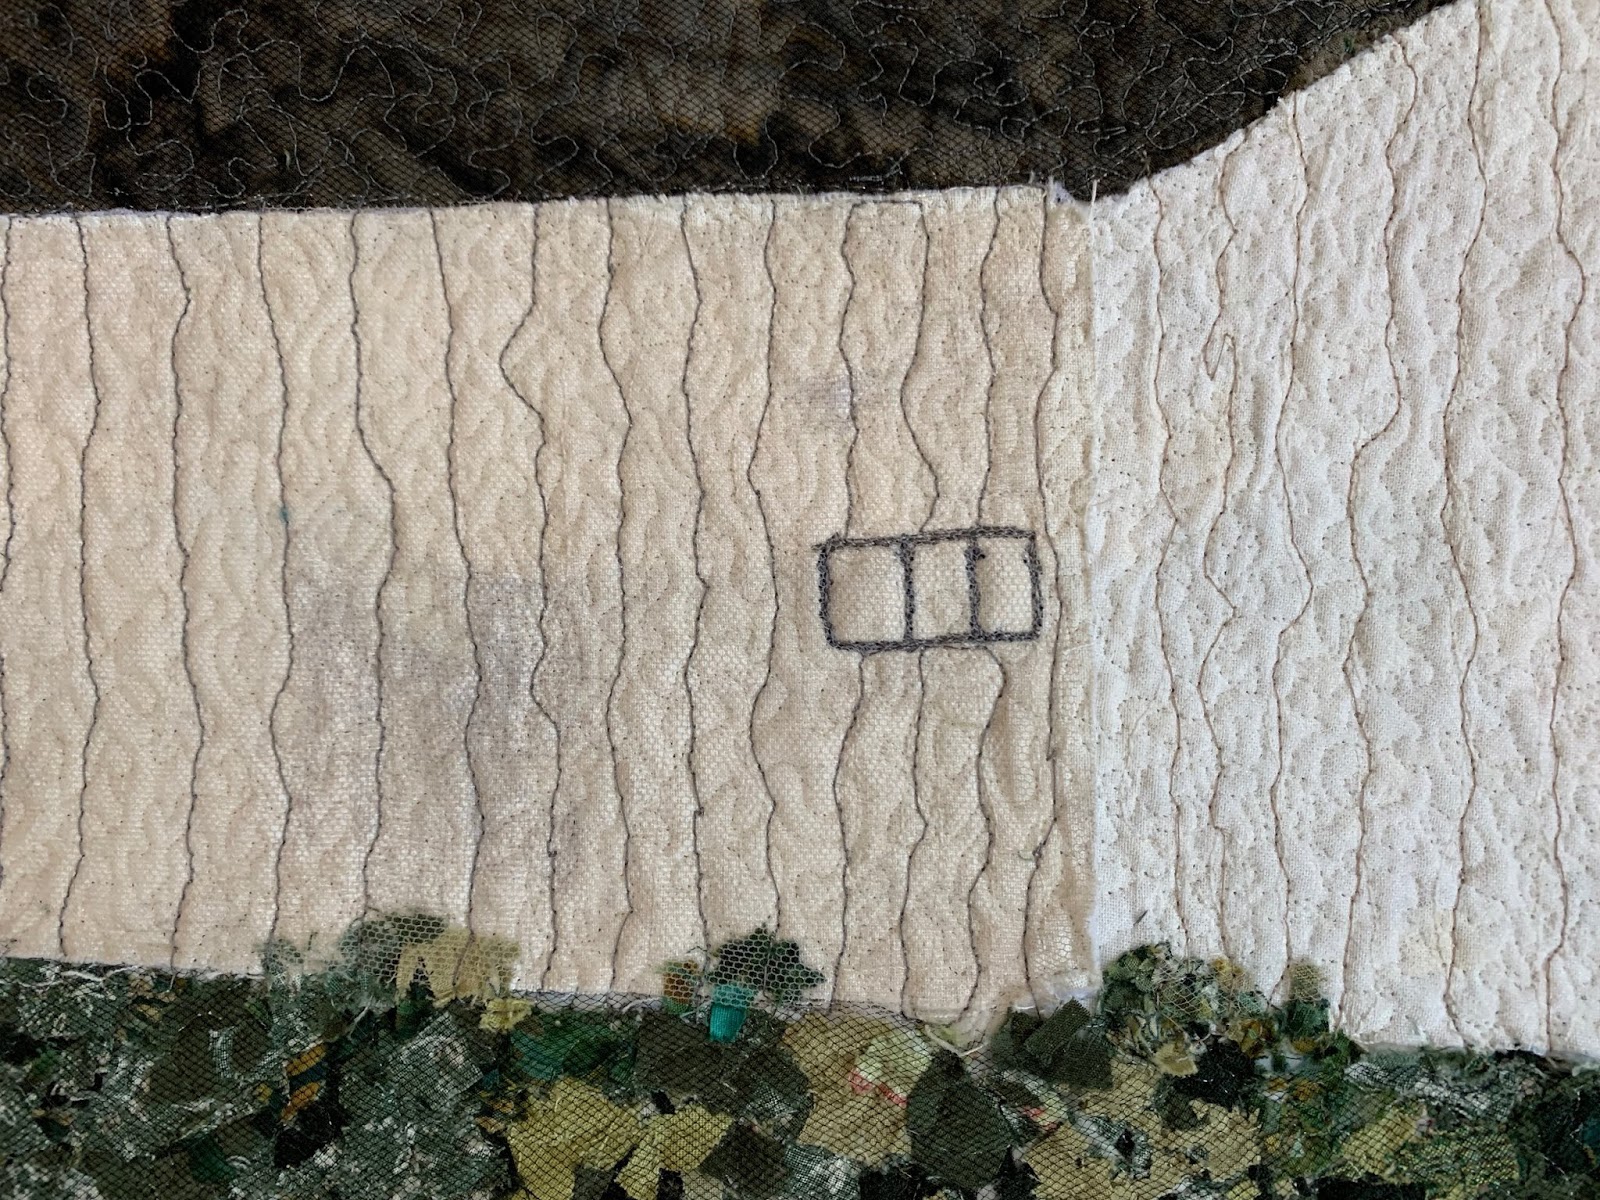


I created some pink "Naked Ladies" and yellow dandelions and tall grasses in the foreground.  Naked Ladies are properly known as amaryllis belladonna.


Friday, December 14, 2018

The Final Journey--A Quilt

The theme for our guild's challenge this year was "Journey."  My immediate thought was "the final journey," or death.  (I'm not always so macabre, I promise!!)  And what better way to show that, I thought, than "the light at the end of the tunnel."  So I googled that phrase and found these two representations, which I thought were perfect.


And I knew just what method I wanted to use to show my idea.  I learned this method back in 2015 in an Empty Spools class at Asilomar.  And I blogged about the quilt I made back then here.

 So I started cutting fabric confetti.  This is a very simple process.  Simply lay a piece of fabric down on the cutting mat, then cut random up and down strokes with the rotary cutter.  After that, cut random horizontal strokes.  You end up with confetti!


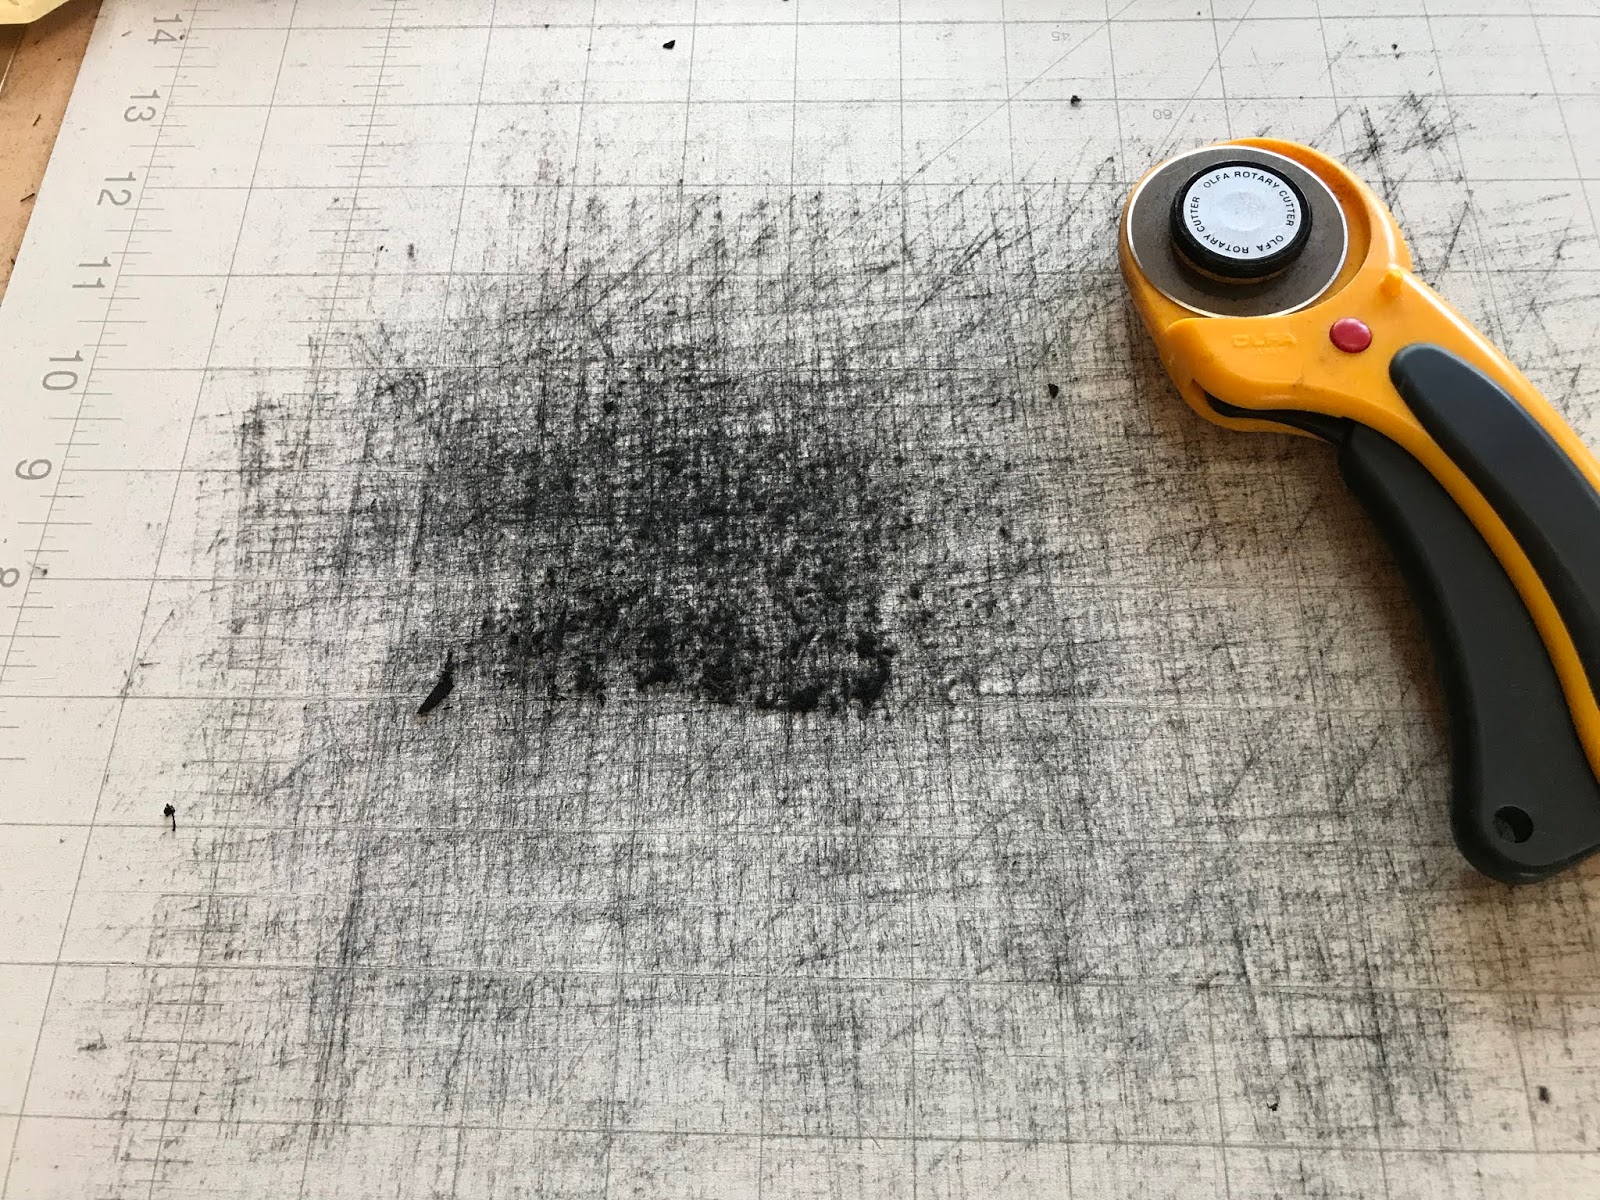
Maybe it wasn't a wise choice to cut the black fabric on a white cutting mat.  Uh-oh!


The plastic bags are kind of shiny and distorting, 
 but this shows some of the different colors of fabric that I cut into confetti.  I must add that with a lot of these, I had to get out more fabric and cut more confetti, as I ran out when I was building the design.


Finally I'm starting on the design!  Using the photo as a suggestion, I started laying down different colors of confetti fabric.  I started with the lightest colors and worked my way out to the edge.  (I have my backing fabric taped to the table, wrong side up, and then that is just batting laid over it.)  The confetti pieces stick pretty well to the batting.  Although I would not do this in front of an open window on a windy day!

You can see that m&ms are sometimes required when doing this!

Here is a close-up of some of the lighter pieces.


And this is what your floor looks like--even on a good day!!


Here I've made quite a bit of progress.  I just kept adding more fabric bits in a circular design.


You can see how the color gradation is changing as I get to the darker colors.  I wanted the light center to be off-centered on my quilt.


I pretty much have the whole piece filled with fabric bits in this photo.  Now comes the fun part!


A piece of black tulle gets laid--Very Carefully--on top of the whole thing.  Pretty sure MisterStitches helped me with this part.  Because once you lay the tulle down, you really don't want to re-position it.


And then came the fun part of safety pinning the living daylights out of it!  The pins have to be placed very close together so that the fabric pieces don't shift.  And yet, you can see that the fabric has shifted some; the white batting is showing through.  That will get taken care of with the quilting.

I know I used every safety pin in my house, and then borrowed some from a friend for this!


This photo shows the quilting.  While I'm quilting, I need to stop every so often and use a long pin to reposition some of the fabric pieces that have migrated.  This is the part where it gets quilted oh-so-heavily, to hold down all the little pieces.


When the quilting was all done, I hung it back up on the wall.  Wow, it really looks different from this angle!  Instead of laying on a table top!  


But now you can see a problem I had.  That white batting really looks awful.  At this point, I thought that maybe I should have used black batting, but that would have shown through the lighter fabrics, probably.  Not sure.  Maybe I should have used white batting for the inside circle and then black batting to fill in the outside edges.  That might have worked.  

What I did here was to take a sharpie and color in all the side parts of the batting.  
This. Was. Not. A. Fun. Job.


Another part of this challenge was that we had to use at least a five-inch square of a particular blue fabric.  I pondered how I was going to achieve this!  But then I simply cut the five-inch square into confetti.  I spread the little pieces around in the outer black part of the quilt.  And it worked!  In fact, I really like the effect. 


Here is a close-up of the little blue specks.


The final product.  About 36" by about 36".


I should maybe add a p.s. here at the end.  In May of 2017 I fell and broke my left arm.  That really hampers sewing and quilting!  I already knew this because I had broken my left arm in 2007 also!  But this type of "quilting" was very easy to do with just one (dominant) hand.  All the cutting of the confetti used just my right hand.  I started placing the confetti on the batting with just one hand.  Then I needed two hands for basting and quilting, and my arm had healed by then!