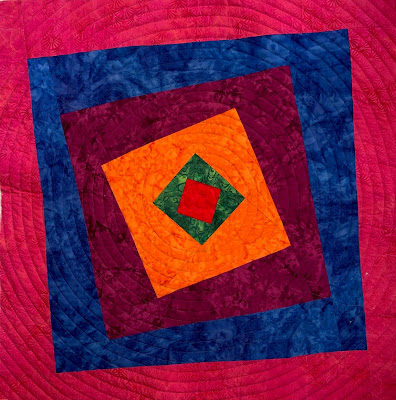
This is my original drawing of how I wanted this quilt to look. I'm not sure what this "progression" of squares is called, or even if it has a term. But I knew that I wanted my "one red square" to be in the center, and then angle the other squares around it.
The progression of my drawings. . .
. . . to the final drawing, which I took to the copy shop to have enlarged.
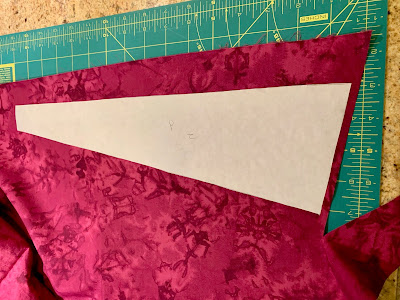
When I brought home my extra large version of the pattern, I traced those pieces onto freezer paper. I ironed the freezer paper onto the fabric, and cut 1/4" away from the edges to make my fabric pieces.
I found that I needed to label the pattern pieces (N, S, E, and W) just to keep them straight to myself. Theoretically, all of the orange pieces are the same, all of the blue pieces are the same, etc. But labeling them helped me to keep everything where it was supposed to be. It's not the easiest thing in the world to sew large pieces of fabric together and keep the freezer paper on them! The whole thing is about 3 1/2 feet square.
I decided that I wanted to quilt one big spiral on this quilt because it is so angular. I've always liked the look of spiral quilting, but have never done it. I searched on Pinterest for instructions and found some good ones. The source was Flourishing Palms, and the instructions were very thorough. (Thank you, F.P.!)
I started by drawing around a quarter with a white chalk marker, just as Flourishing Palms directed. Not all of my stitches are perfect, but all in all I'm very pleased with them.
Getting to the bigger, outer circles was a snap! Frustratingly, the very center circles were the hardest to sew, and also the first ones I sewed. And those inside circles will probably also be more noticed than the easier, neater, outer quilting lines.
When I got to the edge of the quilt, I had to lift my presser foot and "travel" to the next corner to get all the corners filled in.
And here is the finished quilt. I debated about how to bind it--basically I was going between pink binding and black binding. In the end I decided to do a faced binding.


No comments:
Post a Comment