Tuesday, May 26, 2020

I Love Fabric!

I love fabric!  

Have I told you that lately?

I absolutely love fabric!

I love to iron it, I love to work with it, I love to smell it, I love to fondle it.

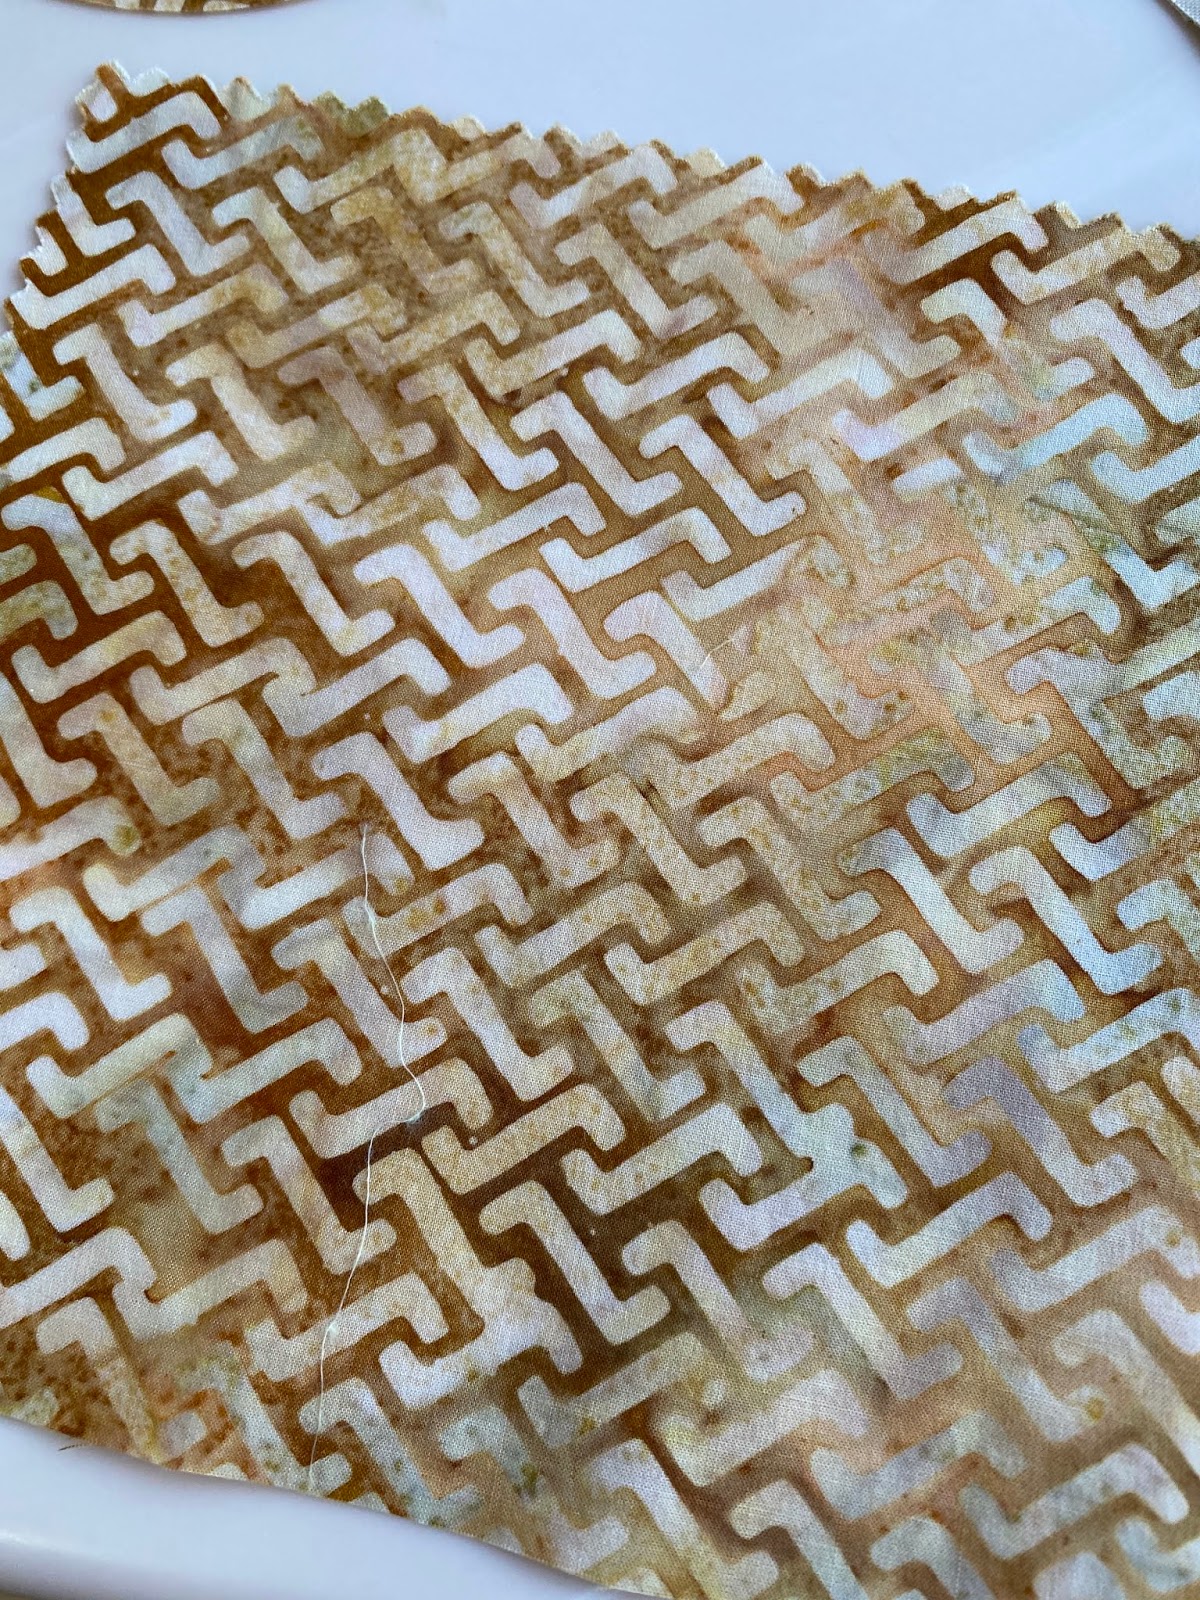
I was just ironing these fabrics the other day.  Aren't they beautiful!  It was such a joy to iron the wrinkles out of them and make them oh, so smooth.


You can just imagine how smooth this batik fabric is--almost like glass!


And the delicate little print of this fabric.  Oh, delightful!!


Isnn't fabric wonderful!!??

Sunday, May 17, 2020

Scrappy Strip-Pieced Star Quilt (Part 2)

Part 1 of this post can be found here. 

After getting the squares all sewn together in (hopefully) the right direction (!), I thought about what I could use for a border.

After auditioning several fabrics, I chose a light green grunge fabric for the borders.  At this point my quilt top measured about 76" square. 


Then, as I searched through my stash for some fabric for the back, I came across this yummy piece of Kaffe Fassett.  It was not quite wide enough for this quilt back.  But it was long enough so I decided to start with the KF fabric, and add to it.


More strip-piecing came to the rescue!!  I knew that I needed to add about 15" on each side of the KF fabric to make it wide enough for the backing.  I found some unbleached muslin that was just the right size for a foundation, so I started some more stripping!


Adding strips to the muslin fabric, and then pressing each strip down.

This is one of the long strips that I sewed to add to the backing fabric.  I made two of these strips, one for each side of the quilt back.


As I'm sewing along on this project of scraps, it's really interesting to "travel along memory lane" as I come to fabrics that I have used in the past for other projects.  Some are real favorites.  Here are a few.

This is some wonderful "bread fabric" that I found and used for aprons at TwoFish Baking Company.


The pretty blue floral here was the main fabric for my President's Quilt.


The green print in the center is some of HarmonyArt's organic cotton.  Along with a favorite 
orange-ish gingko leaf batik.


And here you can see a glimpse of the green fabric that I used to make "potholders" for Christmas gifts last year!


The beautiful green floral in the center is a lovely fabric, a smooth and silky cotton, reminiscent of a Liberty of London fabric.


Below is another pretty pink HarmonyArt fabric, alongside some Winnie The Pooh fabric that I used to make a quilt for GranddaughterStitches quite a few years ago. 


The purple grape fabric is from some table napkins that I made a long time ago, and the green pea fabric is from a baby quilt that I made for BabyStitches just three years ago.


Looking through your fabrics can be a walk down Memory Lane!

Friday, May 8, 2020

Phone Carrying Case

For a while I have been wanting a carrying case for my iPhone.  I want it just for use at home, to wear over my shoulder so I can keep my phone handy when the clothes I'm wearing don't have a pocket.  I saw a woman one day on the street who had a regular-looking phone case, except that it had a long strap connected to it, and she was wearing it over her shoulder.

So I looked around for one to buy.  Amazon to the rescue!  I found only one, and it said that it fit my phone model.  I wondered about that, because the opening on the back of the phone case for the camera lens didn't look just like mine.  But they said it fit, so I bought it.  Yes, my phone did fit, and it didn't seem to matter about the lens opening.  However!  I was wearing it one day and all of a sudden a siren started going off from my phone! A really LOUD siren.  I've never heard a sound like that coming from my phone!  I turned it off, and went about my business, and the siren went off again!  So that case was a "no-go" for me.
Back to Amazon, looking for phone cases again.  I found another one, and it said it fits my phone, and the camera opening looks right.  I ordered it.  Lo and behold, it's about a quarter of an inch too long for my phone!  Man!  This shouldn't be so hard!  I was really frustrated.

So then I decided to do something that I should have tried in the first place.  I looked on line for a pattern to make a phone case.  And I found one.  This is the link to the site I found on Pinterest.  The name of the website is "SewCanShe," (cute name).  I used these directions as a guide, but deviated somewhat.  I measured my phone and read what size phone this fits, and made mine a little tiny bit wider.  It called for a zippered pocket on the back, but I skipped that part.  In the name of simplicity and speed.  I don't need this for going shopping or anywhere outside, I just want it for indoor use.


Another change I made was not using rotating hardware to clip to the sides.  I didn't have any!  (And in quarantine I can't just run to the store and get some!)  I simply tied a fat knot in my cord that goes around my neck.  


I chose two contrasting blue batiks from my stash, and I'm pretty pleased with how it turned out.  I wear it most days at home.  It keeps my phone right by my side.


Thank you, SewCanShe!!

Saturday, April 25, 2020

Quarantine Clothes Hangers

I guess we all have some time on our hands, with this Coronavirus quarantine going on.  One of the things I do when I have some spare time is browse through my Pinterest files.  In my "For The Home" category, I have this item as a way to use up fabric scraps.  The directions are here.  Very simple, really.

I used some of the (boxes full of) trimmed selvage strips that I have kept.  (I did throw away some, though.  I mean, why did I even bother to save a strip that is about 1/4 in wide?!?)


Corrie's directions (in the link) said to use plastic hangers without hooks on them.  All of my plastic hangers have hooks on them.  So I just kind of worked my way around the hooks.  Yes, they don't look quite as nice as the hangers without hooks, but they're ok with me.


I decided to try it with wire hangers, too.  The only difference is that since it's a smaller diameter, I needed to wrap more times around.  But I have lots and lots of selvage strips, so I don't see myself running out any time soon!


Corrie said to tie a bow when you get back to the top, so I started leaving a good size tail at the beginning, too.  She also said to secure the fabric at the beginning, and at the joins with either masking tape or a hot glue gun.  I started out using masking tape, but the second day I used the hot glue gun, as I thought that would make it "cleaner."  Wish I had my low temperature glue gun, as I got quite a bit of it on my fingers!  No bad burns, though.


Do you ever do this with your wire hangers?  I sometimes bend the "arms" down for a particular blouse or top.  That way I don't get "dimples" on the shoulders.


I got quite a few of them finished.  With this quarantine, the whole house may become wrapped in fabric strips!  Maybe even the wooden hangers?!?


Did I mention that this makes a good activity to do while watching a favorite movie?


Friday, April 17, 2020

When Your Christmas Presents Need Explaining

For Christmas, SonStitches and Daughter-in-lawStitches gave me a few things that were on my wish list.  However, they had no idea what they were!!  So I had some "splaining" to do.

These cute little curley-cues are actually to control thread ends on spools that don't catch the thread.


Voila!


And I actually made some bias tape while they were here to demonstrate these bias tape makers.


Awesome Christmas presents!  Thanks, guys!!


Monday, April 13, 2020

Alphabet Embroidery

 A blogging friend of mine, Jenny of Elefantz, designed an embroidered alphabet set last year, and gave away the instructions on her website/blog.  (I think they are still available in her shop to buy.)  They are so cute, and I've now finished all 26 of them.  Jenny had designed them with the idea of making them into pin cushions.  I thought about that.  You can see in the photo below that I sewed two extra pieces of fabric onto the letter "b" in anticipation making a pin cushion

But I wasn't sure I wanted to make that many pin cushions!  My plan now is to maybe make them into Christmas tree ornaments, but I haven't made up my mind for sure.  Maybe I'll use them as little blocks in an alphabet baby quilt.


You can see some of the cute details in the following pictures.  
The little heart hanging from the letter "c," 


the flower on the letter "e,"


and the cute orange flower on the letter "f."


MisterStitches and I were talking about the letters.  I had just showed them all pinned up on my design wall.  He suggested that I make a decorative alphabet of my own.  I think I might just do that!


I'll keep you posted on any design ideas!

Friday, April 3, 2020

An Apron For BabyStitches

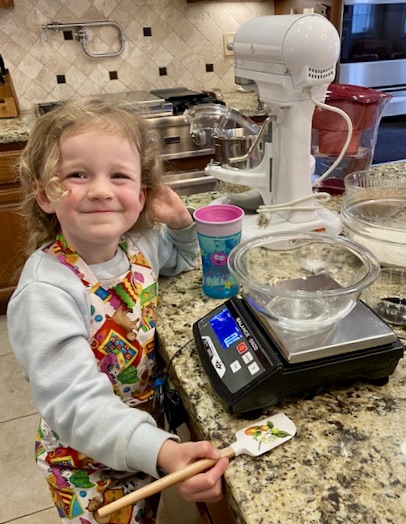
BabyStitches turned three in December!!  Boy, is she growing fast!!  In addition to her "Number 3" shirts, (which I'll hopefully get posted here one of these days!) I made her a little apron.  I was talking to SonStitches on the phone and asked what the little one might like for her birthday. He replied that she'd really like an apron to wear when she's helping them in the kitchen.


And here is the result.  


I used a wavy green print for one side of the apron.


The other side is a cute cat print.  


I think it's obvious which fabric BabyStitches likes best.


And when baking is over, another type of apron is needed!


The end result.