I thought of a little project the other day. You see, I have a piece of paper on the door out of my studio which says, "Did you unplug the iron?" I just don't want to leave the room and forget to unplug the iron! Having recently had a close call with a fire at my neighbor's house, I've become a little more fire-safety conscious.
Granted, a hand-written note on a scrap of paper is a little tacky, so I decided to make a better sign. Why not sew it!?!?
I searched on the internet for a copyright-free image of an iron. Below is the image I found, and the copy I reduced so the iron was 4 1/2" high.

Using my high-tech lightbox (aka tape on my patio window!), I traced the outline of the iron onto two (yes, two) layers of freezer paper, which were already ironed together.

Now, remember that your final applique piece will be backwards from the pattern you draw. So keep that in mind, if it matters to you which way the iron faces.
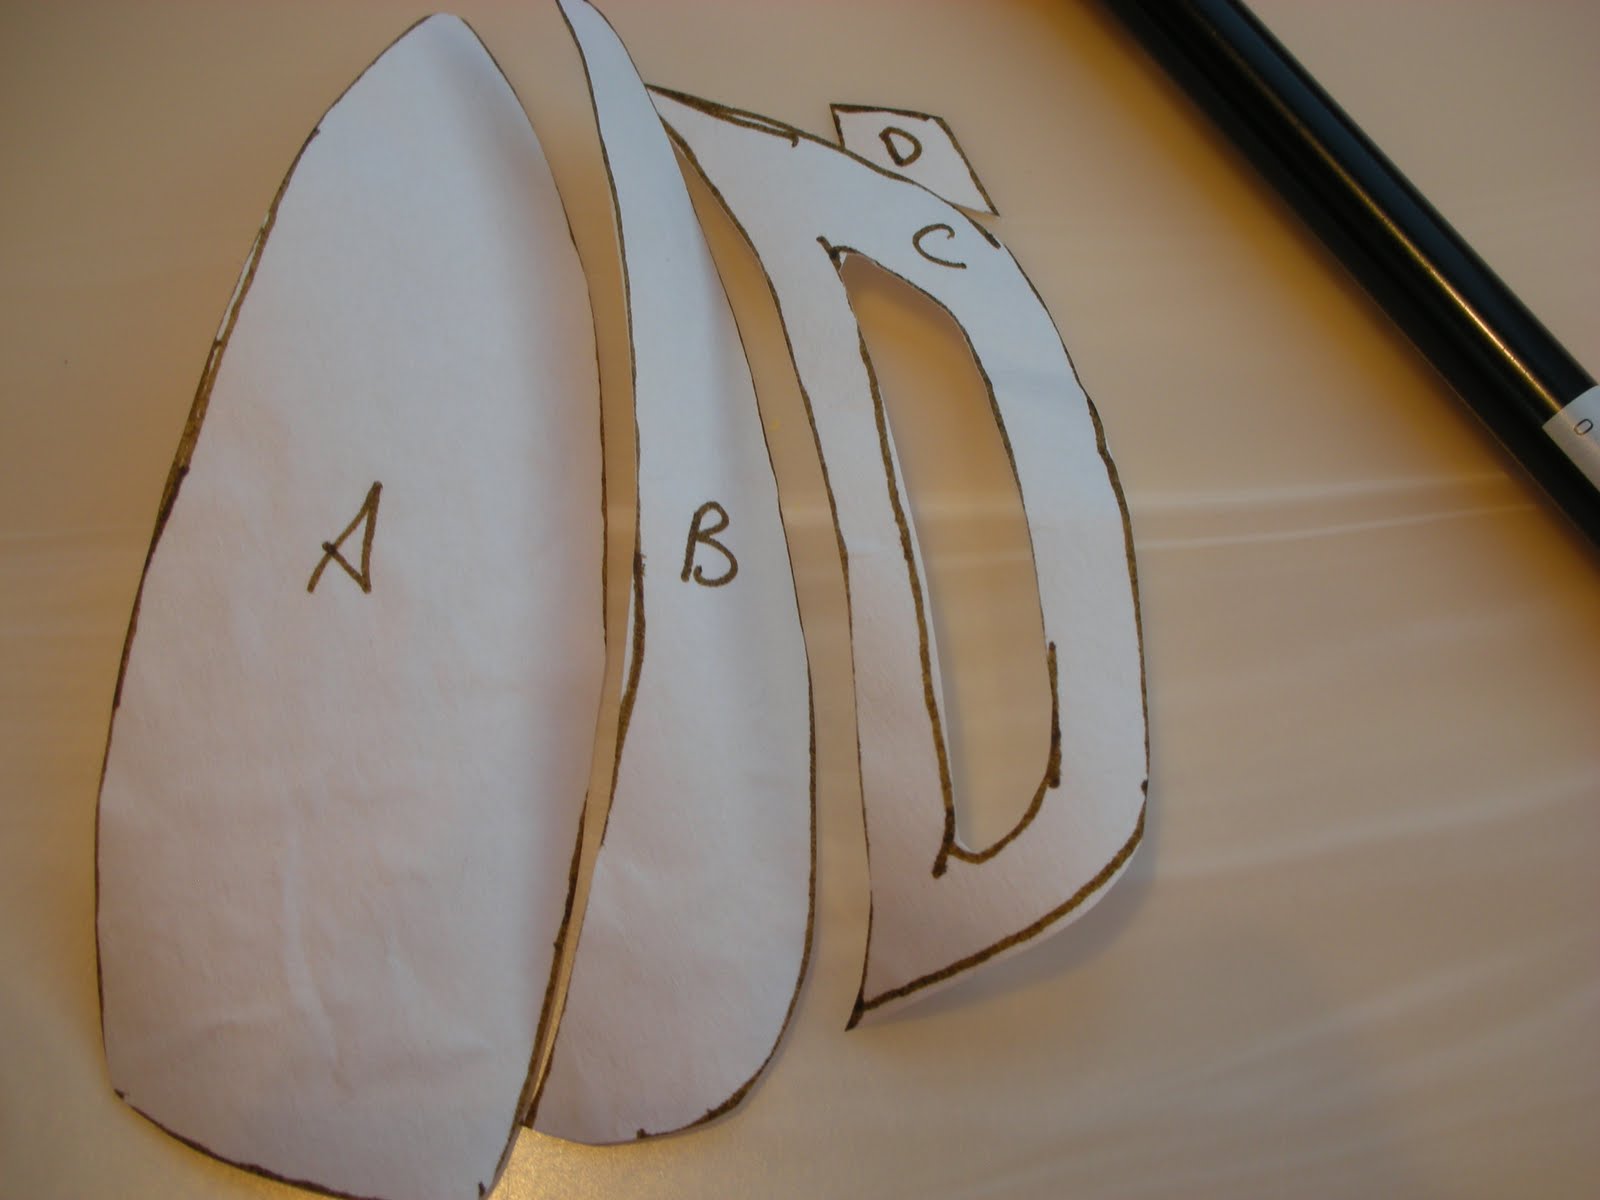
I used a sharp paper scissors to cut apart all the pieces. It helps to label the pieces, A, B, C, and D, just to help keep track of what goes where.
Oh, also, be sure to use a pen that is NOT water-soluble to draw the pieces on the freezer paper.
Ask me how I know.
Next step is to iron the pattern pieces onto the back side of your fabric. Then trim about a 1/4" around the edges. With the handle (Piece C), you need to cut a slit in the very center of it.

Now we'll iron down the edges. You can use either a full-size iron, or a smaller hobby-size iron. I sprayed a little spray sizing into the can's lid and used a small, clean make-up applicator to get the sizing onto the fabric edges. This gives a really nice crisp ironed edge. Clip the curves as necessary.
Leave un-ironed the areas that you see marked in red in the photo below. They do not need to
be turned under, because another piece of fabric will be placed over that portion of fabric. On the small piece D (the knob on the iron) press over only the top and two sides, leaving the bottom side raw.

Here it is with all the edges ironed down.

Before we applique down piece C, we will tuck that little piece D underneath C, and sew across it.

Now it is all pinned down onto my background fabric, and I have begun sewing some of the edges. I really like using those very small applique pins, as they are very short and therefore don't get in the way while I'm sewing as much as the longer pins.
Keep posted for the rest of the project.
This looks great Jan, I am a big fan of applique pins too!
ReplyDelete