Monday, November 2, 2020

Baby Bathing Apron

I found the greatest idea on Pinterest!
(Bet no one has ever said that before, right?!?  Just kidding!)
The idea was to make an apron to wear while you're giving your baby a bath.  The top was like a normal apron, but the lower half was simply a towel.  

Isn't that the greatest idea?!?


Here is what I ended up with.  


I found a cute little anchor print fabric to use for the apron top and the little corner piece to dry the baby's head.


This might come in handy, with a new little BabyStitches in our family.


Saturday, October 31, 2020

New BabyStitches (and Sewing, Too!)

Announcement Time!  

There is a new BabyStitches!  Yes, BabyStitches is now a big sister.  I'm so 
excited--we all are--to welcome this new little one into our lives.  And Misses/NanaStitches has been doing some sewing for the little one.

A new baby does present a bit of a naming problem.  Do I need to change all of my GranddaughterStitches' names?  When my first BabyStitches didn't want to be called a baby anymore (totally understand that) I renamed her GranddaughterStitches.  That was easy.  Then I had a new BabyStitches and all was well.  But now I'm going to have another BabyStitches, so I need a new name for the former BabyStitches (who will soon turn four).  So I'm trying to think of a new name to use.  BigSisterStitches?  (maybe)  LittleGranddaughterStitches?  (kind of long)  Maybe I should change the older GranddaugterStitches's name to something like BigGranddaugherStitches?  (I don't know)  My little brain is trying to work on this problem.  If anyone can suggest anything to me, I'd really appreciate it.

When BabyStitches was born, I made her a little mermaid sleeper and her parents really liked it.  It is from a pattern that I found at SeeKateSew.  It's a very good pattern, and has different sizes included, so I made one sleeper in a newborn size, and one in size 3-6 months.  KittyStitches is checking out the ties at the bottom!


Here is a closer photo.  I know, it's not a very baby-like print, but it is the only jersey knit fabric that I have in the house!


And then I found this blue jersey knit fabric, which--again--is not very baby-like.  The photo below shows the ties at the bottom when they are not tied together, before they become a mermaid tail!


And all tied up into a mermaid tail!


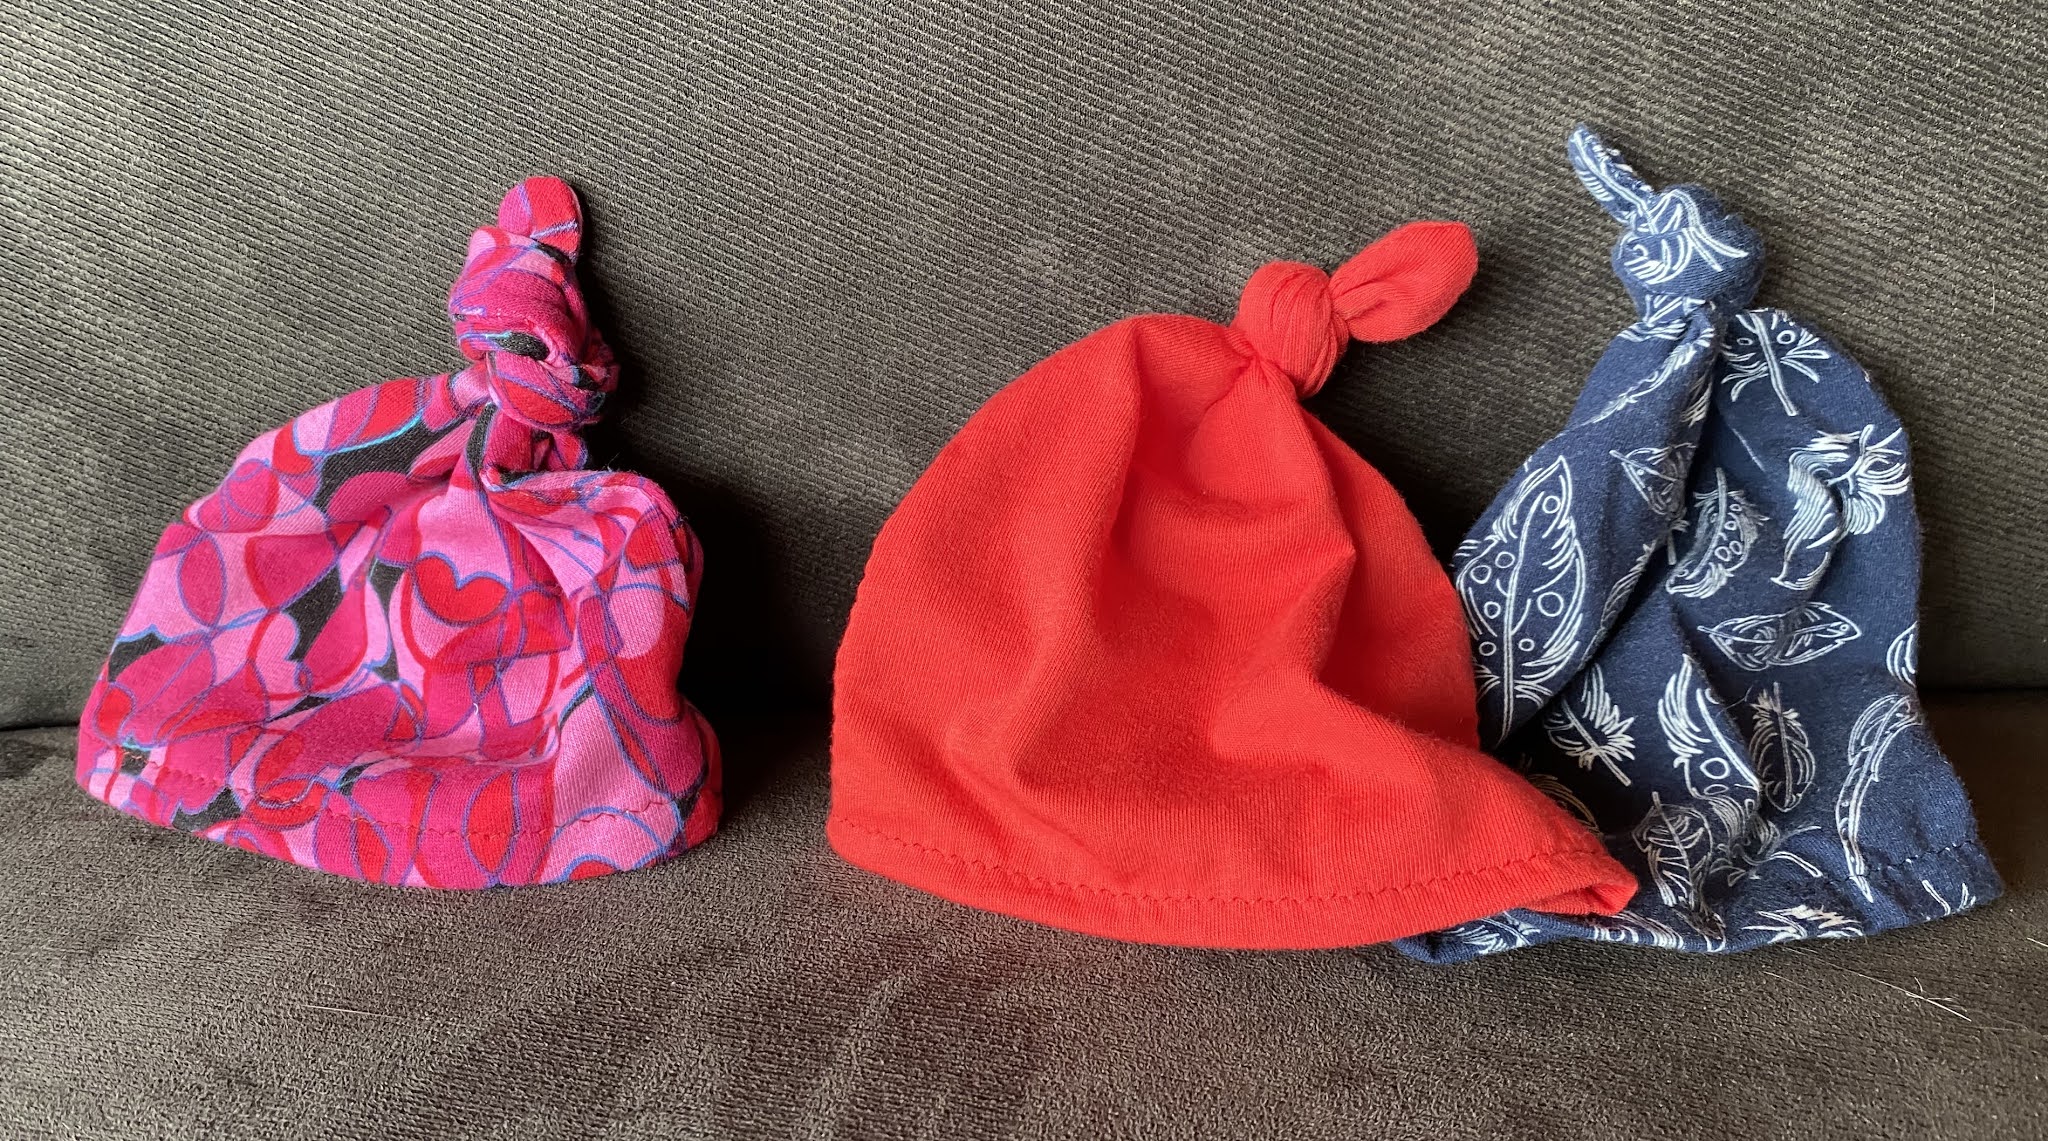
Same website, SeeKateSew.com, also had a cute simple little knotted hat pattern, so I made a few of them for BabyStitches, too.


On Pinterest I found a cute pattern for a bandana bib.  I'm really, really sorry that I can't find the source to link to for this.  I usually pin things to my boards right away, but I didn't this time.  And the author didn't put his/her name/website on the pattern pieces which I printed out.  (So sorry not to give credit where credit is due.)  The front piece is cut just a little bigger than the back piece to form this sort of cowl on the front--just like a bandana would have.  Then I used embroidery designs from a previous post here) to appliqué a letter onto the bib.  I was told by SonStitches and Daughter-in-lawStitches that BabyStitch's name might begin with an A.  


In the back I sewed a little yo-yo to cover the snap.


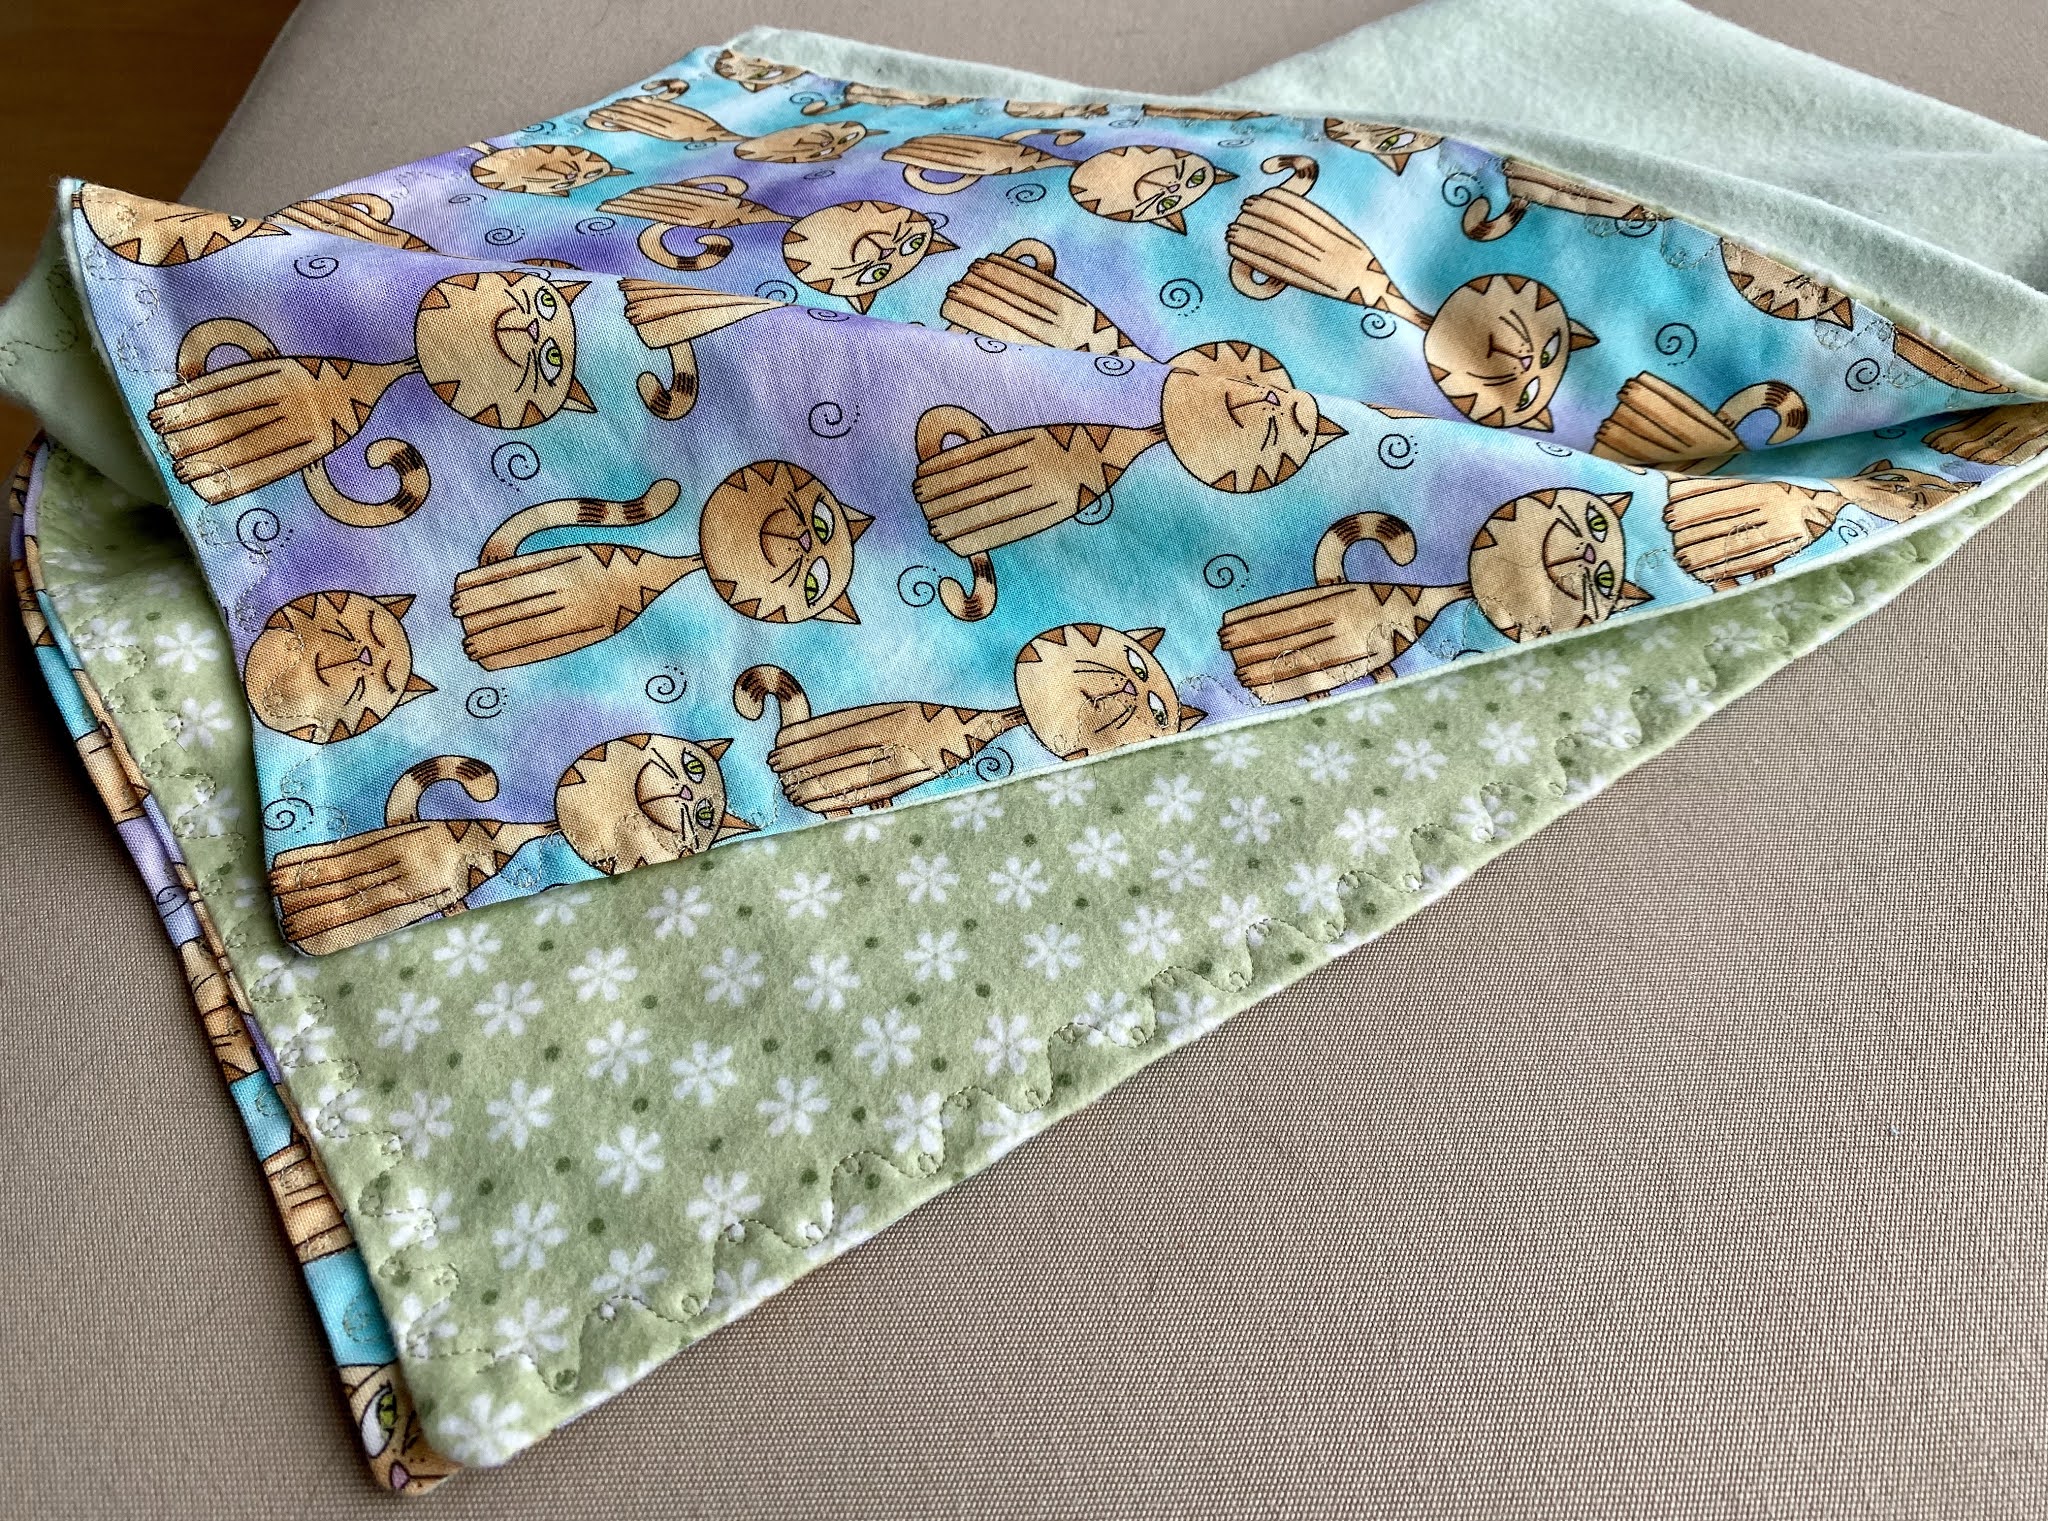
  I found some flannel in my stash, so I paired it with a cute little cat print, and made it into an "unquilted quilt"/receiving blanket.  Simple pillow-case sewing, then sewing a decorative stitch around the outside edges.


Here's a close-up of the decorative stitch.  I think it's quite pretty.  You know, we have a gazillion different decorative stitches on our machines, and hardly ever use them.  So I was happy to find a place for a decorative stitch.


Some more flannel from my stash got turned into another receiving blanket.   I just hemmed the edges of this for a one-layer receiving blanket.


I especially like the words on this fabric!!


I am working on another baby project (more on that later) so I used some of the leftover fabrics from that to make a couple burp cloths.  I used the same decorative stitch around the outside of these. 

Sunday, August 30, 2020

Making Cards

I recently made some more greeting cards, and I used a technique I found on (good old) Pinterest.  The technique is called "One Sheet Wonder."  The idea is that you take one sheet of decorative paper of your choice, and then cut it according to some given directions.  The result is several cards all using that special paper, with none of the pretty paper wasted.  

(Just go to Pinterest and search for One Sheet Wonder.  There are directions for different sizes of decorative paper, some 6" x 6", some 12" x 12", etc.)

And here are the cards I ended up with.


The directions show you suggestions for how to use the resulting pieces of decorative paper to assemble the cards.  Of course, one can do that, or one can invent some new designs.  I followed some of the suggestions, and made some cards with my own designs.


A few close-ups now.  I really liked this way of using little tiny 1" squares.  


Here I added a piece of doily and a little flower with a brad.


All of the suggested card layouts were quite precise, exact, planned out, centered designs.  This was the last card I made, and I decided to do something a little more "haphazard."  And I really like it!


I'm sure I'll use this technique again.  It's a good way to get a lot of cards made efficiently, and to work in a series.

Sunday, August 2, 2020

Five-Minute Craft

This really does take only about five minutes!  Super simple.  And, no machine needed.  (Although you could use it, if you'd prefer.)

I found this cute little denim "container" on good old Pinterest.  Here is the link.


You start with the bottom leg portion of some jeans.  The hem on the jeans makes for a nice finished edge on the top of the resulting container.  Below you can see that I'm hand-stitching the upper portion of the leg together.


Next I pushed open the sewn-up leg and sewed across the shorter ends to box off the bottom of the container.


This is just a view of the other side of this boxing-off seam.  You can see where the hand-sewn seam intersects the side seam of the jeans.


Then simply turn it right side out, fold down the top a little, and sew on a button if you like.  Or a pin.  Or a brooch.  Or a ribbon bow. Or a different kind of embellishment.  


I've been using this on my sewing table to toss in little scraps that are big enough to cut into 2" x 2" squares.

I should add that I used a pair of my own jeans for this project.  I could get a bigger denim container if I used a pair of MisterStitches's jeans, because they have a wider leg.

Friday, July 24, 2020

Pattern File Box

I store a lot of my patterns in a file cabinet beside my machine.  That works pretty well.  But I noticed that the files were getting "messed up" with the smaller patterns (the kind that usually come in plastic covers).  They didn't fit the 8 1/2" x 11" format of the file drawer!

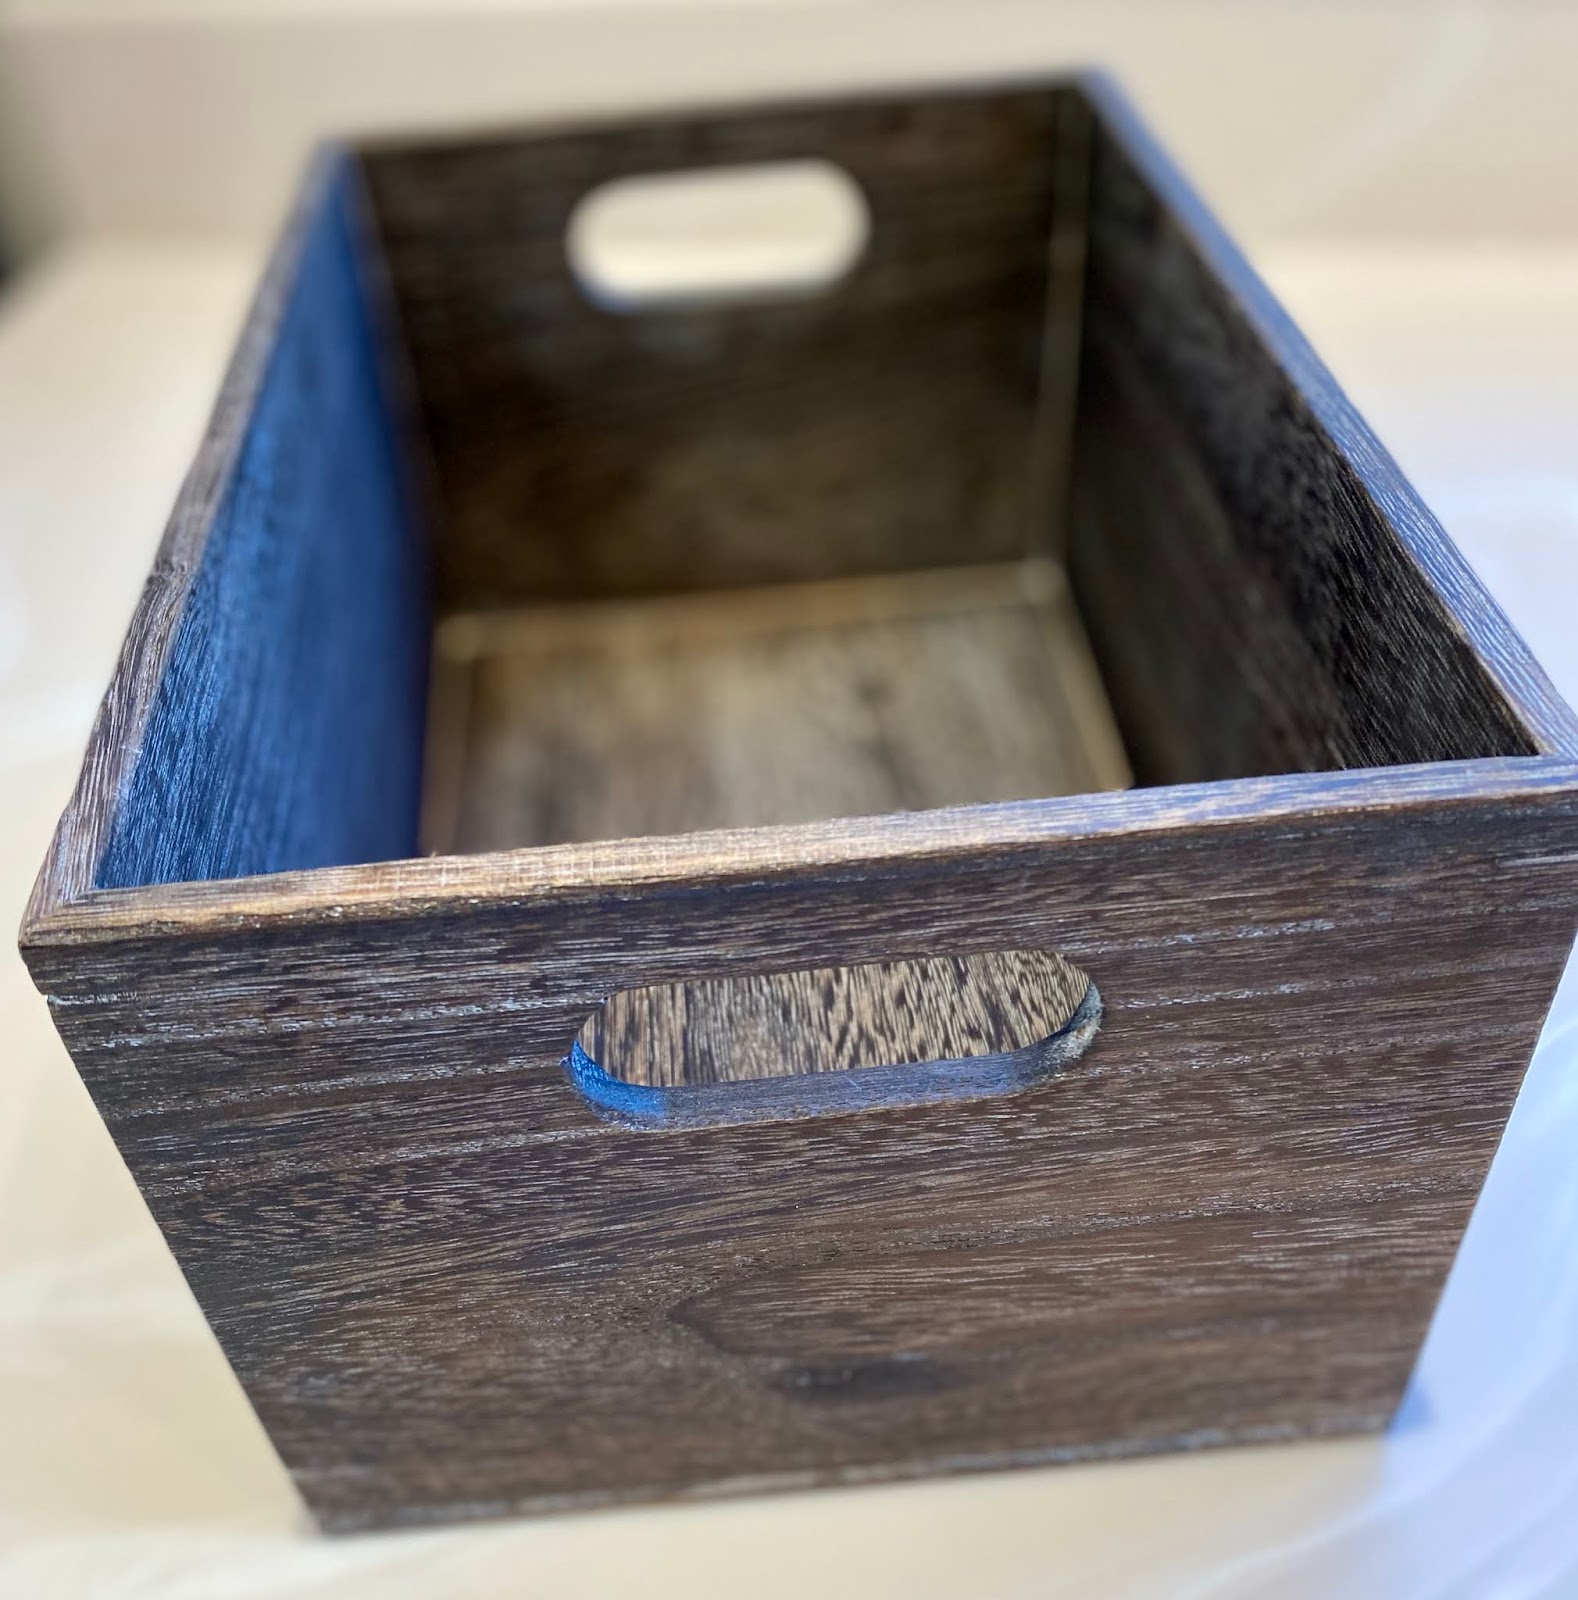
 Then I found this small file box.  (Sorry, I can't remember where I ordered it.  It's been sitting around for a while!!)  And I put all of the smaller, plastic-covered patterns in it.  They fit very well.  Just right!  

But I realized that I would have to look through the whole box to find a particular pattern.  That was when I decided to make file divider cards for it.  


Cereal boxes to the rescue!!  Really, they have so many uses, don't they.  What would we do without cereal boxes?


I used my stash of paper (for making cards) to cover both sides of the cardboard.  Here's the one for Christmas items.


SisterStitches produces patterns of her own to sell, so she got a file section all of her own!


This photo shows the process of auditioning papers.  Yes, just like we do with fabric!!


It turned out just slightly different in the final version.


And here is the final view!  Nice and orderly, and not bad looking, either!  I debated about whether to seal the dividers with ModPodge.  But I don't think they'll get so much handling that they will get damaged.  And besides, Finished is good, right!

Monday, July 13, 2020

Ugly Christmas Sweaters!

I found an idea on Pinterest for "ugly Christmas sweater" gift tags.  Sorry, but I've lost the link to it, so I can't reference it.  But it's very simple.  There was a pattern to print and cut out, but really, it's such a simple shape that it doesn't really need a pattern.  This is a way to use up old Christmas cards.

Here you can see the pattern I used and my tracing marks on a Christmas card.  I really needed to trace on the front, as opposed to the back (where my tracing marks would not be seen) in order to get the "sweater" positioned on the card where I wanted it.  I was just careful to cut out inside the lines.


Here are a couple of the resulting gift tags.  On the back I've simply written "To:" and "From:."  I may punch a hole in the shoulder maybe to attach with a ribbon/string.  Or I may just tape them on a package.


Pretty quick and easy craft to use up some of those pretty cards.

Saturday, July 11, 2020

Birthday for GranddaughterStitches

GranddaughterStitches had another birthday in May.  How in the world did she get to be twelve years old already!?!?!  I'm not sure if she still wants to wear a shirt with her age on it.  So I made the number on this shirt a little more subtle.


And did I mention that GranddaughterStitches loves chickens???  So I made her a chicken pillowcase.  I found the cute chicken fabric, then threw in a couple other colors to complement it.


After that pillowcase, I decided to make another pillowcase with her name on it.  I found some really pretty batiks in my stash to use.  For all of my machine appliqué projects, I fuse the number or letters to the background fabric, then do machine blanket stitch around the edges.


Then on the back of the pillowcase, I put her age, twelve. 


I think GranddaughterStitches really likes her two pillowcases.